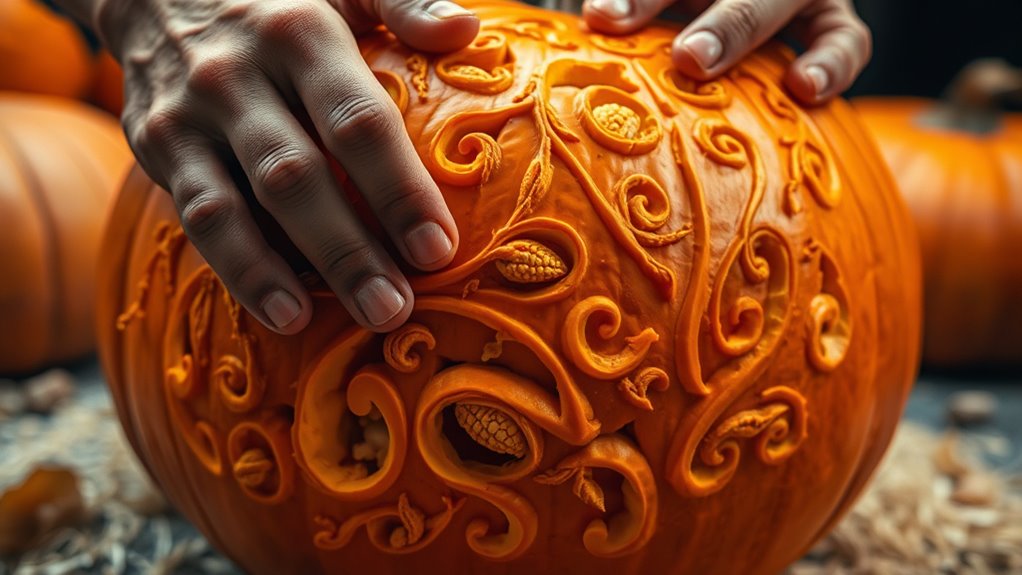
To elevate your pumpkin carving skills beyond basics, focus on intricate pattern techniques that require precision and patience, using fine tools for detailed designs. Try 3D sculpting to shape layers of pumpkin flesh into realistic figures or textures. Experiment with different materials like faux pumpkins and textured paints for contrast. Layer colors and carve depths to add dimension, and incorporate light and shadows for dramatic effects. Keep exploring these advanced methods to create truly stunning pumpkin art.
Key Takeaways
- Master intricate pattern carving with precision tools, varying depth, and patience for detailed designs.
- Create 3D pumpkin sculptures by layering flesh, hollowing sections, and shaping with sculpting tools for realistic effects.
- Incorporate diverse materials like faux pumpkins, textured fabrics, and glow-in-the-dark paint for added depth and contrast.
- Use layering techniques, peeling skin to reveal vibrant colors and adding multi-dimensional elements to enhance designs.
- Experiment with lighting effects—candles, LEDs, shadows—to add drama and depth to carved pumpkins.
Intricate Pattern Carving Techniques
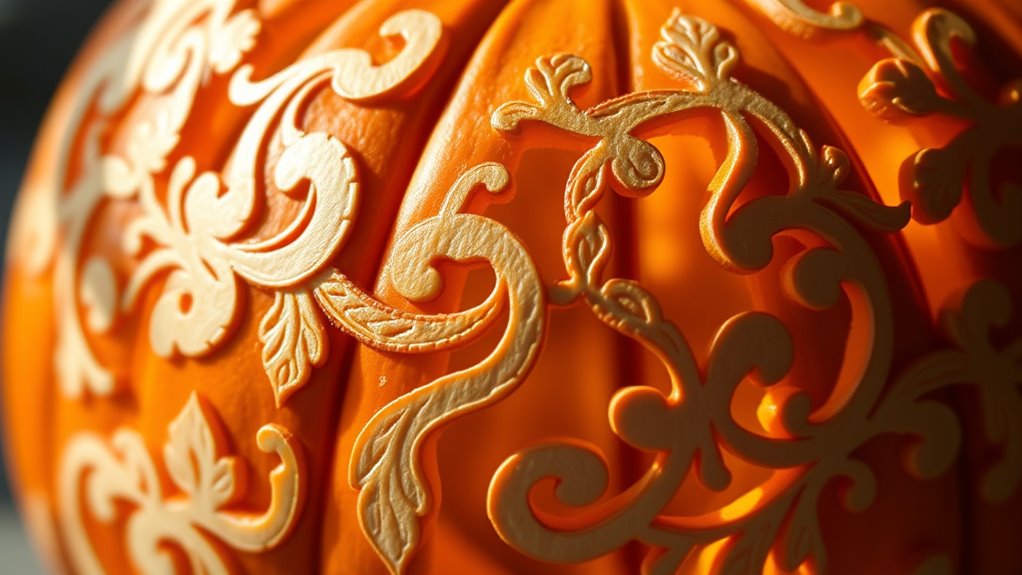
When carving intricate patterns into a pumpkin, precision and patience are essential. To achieve detailed designs, focus on depth control—varying how deep your cuts are adds dimension and contrast. Shallow cuts create delicate lines, while deeper ones add emphasis. Tool selection is equally important; use fine-tipped tools like precision carving knives, dental picks, or needle tools to navigate tight curves and tiny details. These tools give you better control and reduce the risk of slipping, which can ruin your design. Start with a steady hand and work slowly, paying close attention to how much pressure you apply. By mastering depth control and choosing the right tools, you’ll produce more refined, professional-looking patterns that stand out. Additionally, understanding best tools for intricate carving can help you achieve even more precise and impressive results.
3D Pumpkin Sculpting Methods
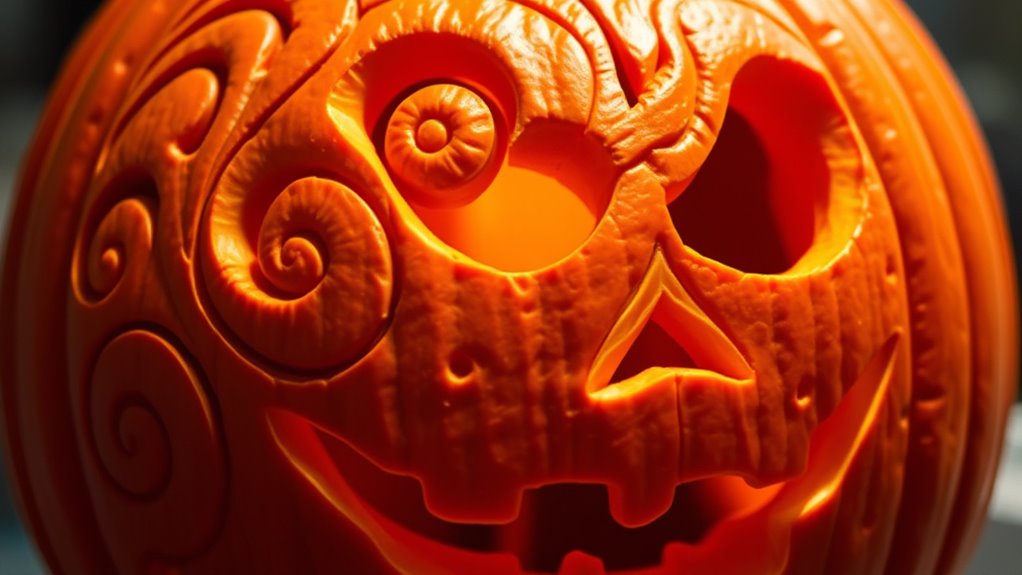
Building on your skills with detailed carving, sculpting pumpkins introduces a new dimension to your pumpkin art. Instead of just carving, you shape the pumpkin’s flesh to create three-dimensional figures. Start by removing the top, preserving the pumpkin stem to maintain authenticity. Use sculpting tools or knives to carve out layers, giving depth and texture to your design. You can hollow sections to create intricate details or add a realistic touch. Don’t forget to roast the pumpkin seeds after carving—this is a great way to enjoy a tasty snack and reduce waste. Preserving the pumpkin stem adds a natural, finished look to your sculpture. With patience and precision, pumpkin sculpting elevates your craft beyond traditional carving, offering a creative challenge with impressive results. Proper color accuracy in your tools and techniques can also help you achieve more realistic and visually striking effects.
Using Different Materials and Textures
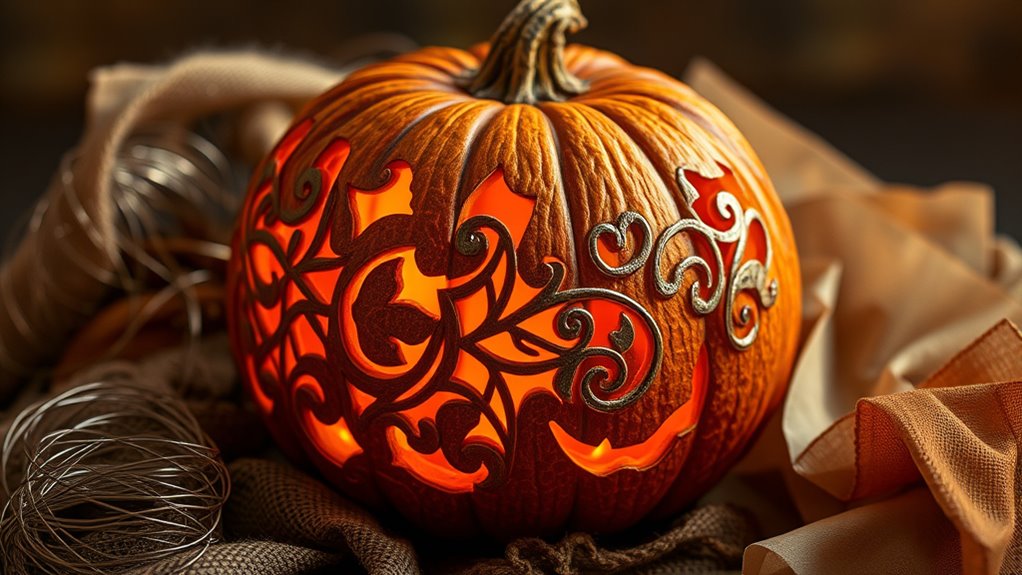
Incorporating different materials and textures into your pumpkin art can make your designs more dynamic and visually interesting. For example, you might add a faux pumpkin to create contrast or depth, combining real and artificial elements for a unique display. Using glow in the dark paint allows you to add accents that come alive in low light, enhancing the spooky or festive vibe. Textured materials like fabric, burlap, or metallic accents can give your pumpkin a tactile quality that stands out. You can also experiment with different carving surfaces, such as rough or smooth finishes, to create varied visual effects. These techniques help you move beyond traditional carving, making your pumpkin art more creative and engaging.
Layered and Multi-Color Carvings

Layered and multi-color carving techniques allow you to create striking and complex pumpkin designs that stand out. By carefully peeling away layers of the pumpkin’s skin, you reveal vibrant colors underneath, adding depth and contrast. This approach enhances details, making your design more dynamic. To achieve this, you might consider harvesting pumpkin seeds in advance, preparing a clean workspace, and preserving the pumpkin stem to maintain stability. Proper pumpkin seed harvesting ensures you have fresh seeds for roasting or planting, while stem preservation keeps your pumpkin intact during carving. These techniques demand patience but reward you with a multidimensional piece that captures attention. With practice, layered and multi-color carvings can transform your pumpkin into a true art piece beyond basic carving styles. Additionally, understanding pumpkin qualities such as firmness and flesh thickness can help you select the best pumpkin for intricate multi-layered designs.
Incorporating Light and Shadow Effects
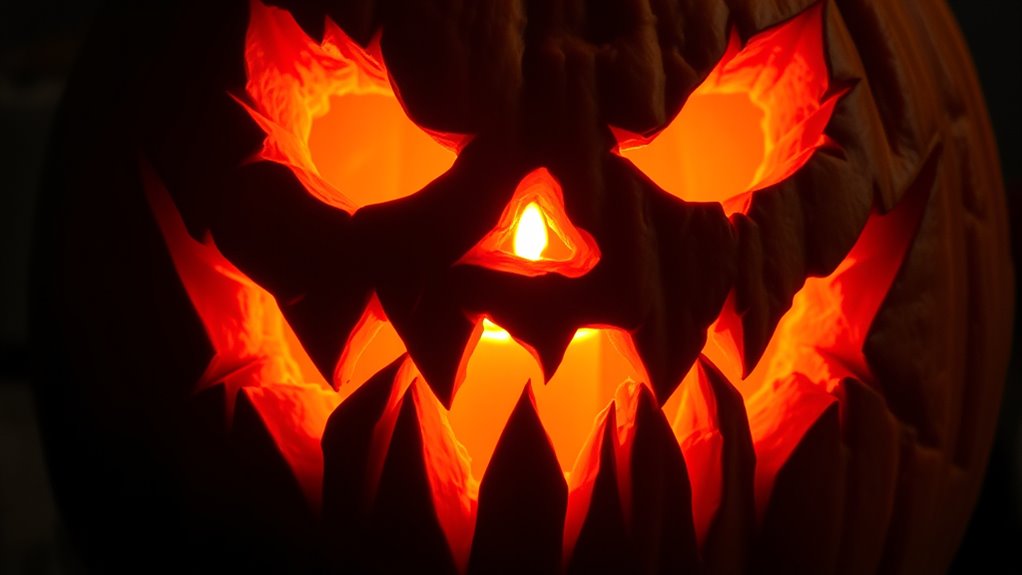
After mastering layered and multi-color carving techniques, adding light and shadow effects can truly elevate your pumpkin art. Start by experimenting with different lighting arrangements inside your pumpkin, such as placing candles, LED lights, or small spotlights to create varied intensities. Use shadow projection techniques by carving thinner areas that allow light to pass through subtly, casting intricate shadows on surrounding surfaces. Consider positioning lights at different angles to emphasize specific features or create dramatic effects. You can also carve silhouettes or detailed patterns that cast striking shadows when lit. Combining these methods enhances depth and dimension, transforming your pumpkin from simple decor into a mesmerizing piece of art. Remember, strategic lighting is key to achieving compelling light and shadow effects. Utilizing concepts like data management can ensure your lighting setup remains safe and effective, especially when incorporating electronic lights or multiple sources.
Stenciling and Template-Based Designs
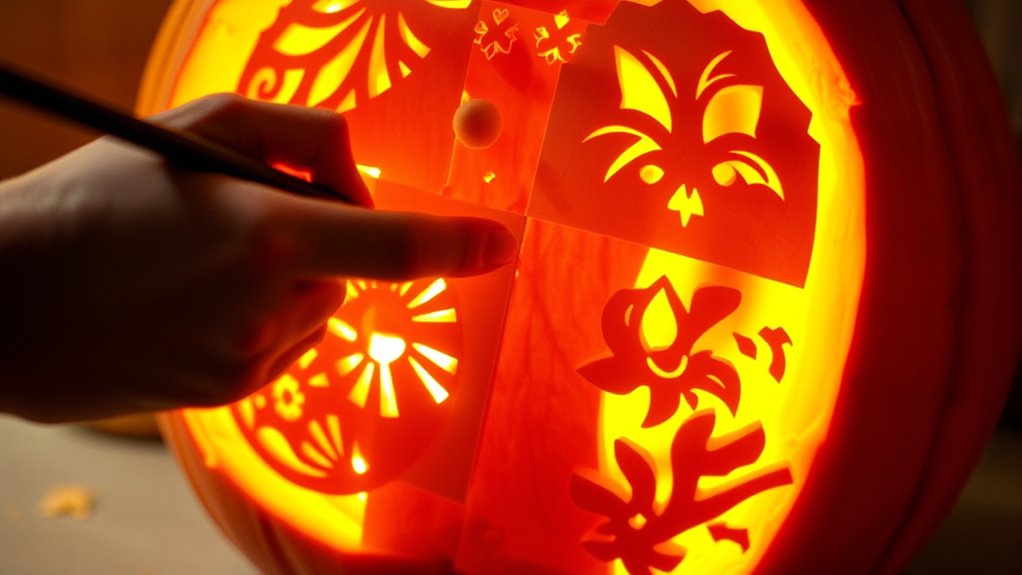
Using stencils and templates is a straightforward way to achieve precise and intricate pumpkin designs. They help improve stenciling precision and make template application simple. To get started, consider these steps:
Stencils and templates make detailed pumpkin designs easy and professional-looking.
- Choose a design that matches your skill level and print or draw it on sturdy paper.
- Tape the stencil securely onto the pumpkin, ensuring it stays in place.
- Use a pin or needle to prick small holes along the design’s lines, then remove the stencil and connect the dots with a marker for clean carving.
- Incorporate organization techniques to keep your workspace tidy and prevent misplaced tools while working on your project.
This method allows you to focus on detail and accuracy, making complex patterns manageable. Whether you’re creating a spooky scene or a festive pattern, using stencils and templates elevates your pumpkin carving with professional-looking results.
Combining Painting and Carving for Unique Effects
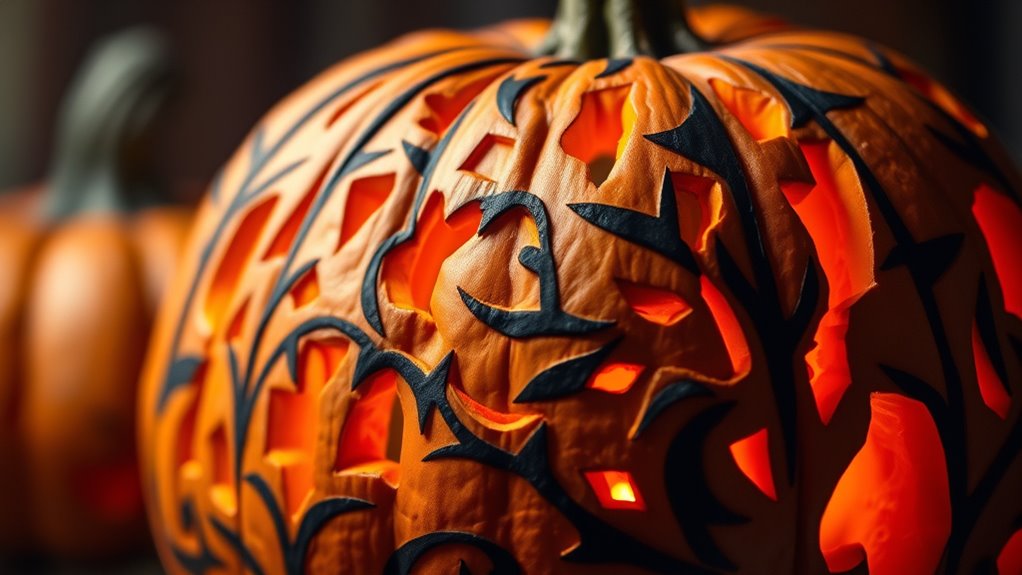
Combining painting and carving opens up a world of creative possibilities, allowing you to achieve effects that carving alone can’t accomplish. Use painting techniques like shading, layering, and color blending to add depth and dimension to your pumpkin. Carefully plan your design to enhance carved details with painted accents, creating striking contrasts and textures. Remember to prioritize carving safety by using sharp tools carefully and working in a well-lit area. Applying paint after carving not only enhances your design but also seals the pumpkin, helping it last longer. Experiment with different paint colors and techniques to achieve unique effects, like faux stone or metallic finishes. Incorporating attention during your creative process can help you notice small details that make your design stand out. This hybrid approach elevates your pumpkin from simple decor to a true work of art.
Frequently Asked Questions
What Tools Are Best for Detailed Pumpkin Carving?
You should use specialized tools like fine-tipped carving knives and precision gouges for detailed pumpkin carving. These tools help you create intricate designs and clean lines. A precision drill or micro-engraving tools also work well for adding tiny details. Using carving templates can guide your work and guarantee accuracy. With the right specialized tools and templates, you can achieve stunning, detailed designs that stand out.
How Do I Preserve My Carved Pumpkin Longer?
To preserve your carved pumpkin longer, you should focus on pumpkin preservation and carving sealing techniques. Start by cleaning out the pumpkin thoroughly and applying a bleach solution or petroleum jelly on the cut edges to prevent mold and dehydration. You can also spray the surface with a mixture of water and vinegar to inhibit bacteria. These steps help keep your pumpkin fresh and vibrant for a longer period.
Can I Use Household Items for Unique Carving Textures?
Yes, you can use household items to create unique textures on your carved pumpkin. Try using a metal spoon or a screwdriver to etch patterns or add depth. A toothbrush can create a stippled effect, while a pineapple corer can carve intricate patterns quickly. These household items give you creative control and help you craft textured designs that stand out. Experiment with different tools to achieve the most striking and original results.
What Are Some Safety Tips for Intricate Carving?
You need to be a carving superhero to avoid accidents! Always wear safety gear like cut-resistant gloves and eye protection to shield yourself from rogue knife slips. Make certain carving supervision if you’re working with kids or beginners, catching mistakes before they turn into mishaps. Keep your tools sharp and stable, carve on a sturdy surface, and take your time—rushing turns your masterpiece into a potential disaster. Safety first for a fun, fright-free experience!
How Do I Fix Mistakes During Complex Carving Projects?
When you make mistakes during complex carving projects, don’t panic. For mistake correction, gently scrape away or sand down the unwanted area with a fine tool or knife. Use carving touch-ups like small sculpting tools or even toothpicks to refine details. If needed, apply a tiny bit of pumpkin flesh or toothpick to fix small holes or uneven edges. Stay patient and work slowly to achieve the best results.
Conclusion
Now that you’ve explored advanced pumpkin carving techniques, you’re ready to create truly stunning displays. Remember, practice makes perfect, and every carve adds to your skill. Don’t be afraid to experiment with textures, colors, and lighting—these details make your pumpkin stand out. Keep pushing your creative boundaries and enjoy the process. As the saying goes, “Rome wasn’t built in a day,” so be patient and enjoy your artistic journey.
