
To document your build like a pro, focus on taking detailed, well-lit photos at each critical step, capturing key areas from multiple angles. Pair these with clear notes about tools, techniques, and any challenges you faced. Use sketches and diagrams to clarify complex parts. Consistent visuals and organized notes help you troubleshoot, refine your process, and save time on future projects. Keep exploring—there’s more to mastering this method that can make your builds smoother.

Get decor and gifts delivered free with Prime
- Fast, free delivery on millions of items
- Prime Video, Amazon Music and more included
- Member-only deals all year
Key Takeaways
- Take detailed, well-lit photos at each critical build stage from multiple angles for clarity.
- Capture close-ups of joints, wiring, and modifications to document intricate details.
- Pair photos with descriptive notes on tools, techniques, and challenges faced during assembly.
- Use diagrams or sketches to clarify complex steps and enhance visual understanding.
- Maintain consistent photo style and organized notes for efficient future troubleshooting and replication.

Have you ever finished a build and wished you had documented it better? It’s a common feeling among builders, whether you’re working on a complex project or a simple craft. Proper documentation can save you hours of frustration later on, especially when you need to troubleshoot, modify, or replicate your work. The good news is, you don’t need fancy equipment or extensive experience to effectively record your builds. Using simple tools and techniques, you can create a clear record that makes future projects smoother and more manageable.
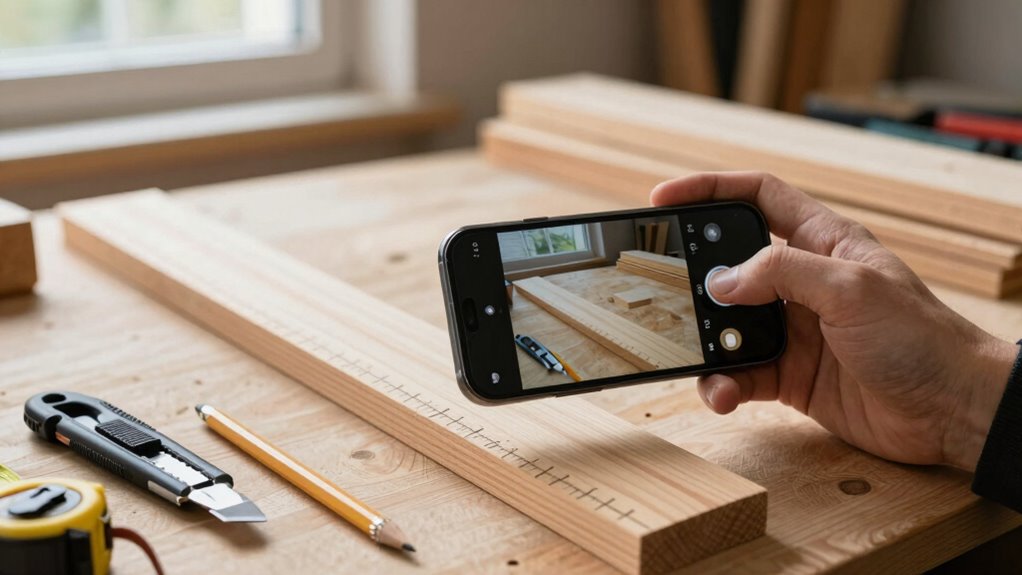
Start by capturing detailed photos at each critical stage of your build. Use your smartphone or a digital camera—these are accessible, easy to operate, and produce high-quality images. Focus on key areas like joints, wiring, fittings, or any custom modifications. Take multiple angles and close-ups. Good lighting, natural or well-placed artificial light, ensures your photos are clear and easy to interpret later. Incorporate a consistent method for taking pictures, maybe with a plain background or grid to help you compare different steps. This consistency helps you understand your process at a glance, reducing the chances of missing important details.
Capture detailed, well-lit photos from multiple angles with a consistent background to clearly document each build stage.
In addition to photos, jot down notes immediately after each step. Describe what you did, the tools and techniques used, and any challenges faced. These notes become a valuable reference when you revisit your project. Keep a dedicated notebook or digital document, and organize it sequentially. This way, you can quickly locate specific details when needed, avoiding the common mistake of trying to recall every detail from memory, which often leads to inaccuracies. Additionally, accurate documentation can help you improve your skills and refine your process over time. Incorporating visual records such as diagrams or sketches can also enhance your understanding and make troubleshooting easier. Regularly reviewing your notes and images can also provide insights into common mistakes and areas for improvement, helping you become more efficient. Maintaining comprehensive records also supports process optimization, making future builds more efficient and precise.
Using these tools and techniques not only improves your documentation but also helps you identify and avoid common mistakes. For instance, you might notice recurring issues like improper connections or misaligned parts, which can be corrected in future builds. Over time, your documentation becomes a personal manual, guiding you through complex procedures and saving you from repeating errors.
digital camera for detailed project photos
As an affiliate, we earn on qualifying purchases.
As an affiliate, we earn on qualifying purchases.
Frequently Asked Questions
What Equipment Is Best for Professional-Quality Build Photos?
To capture professional-quality build photos, use a DSLR or mirrorless camera with a macro or standard lens for sharp detail. Apply lighting tips like soft, even lighting, and avoid harsh shadows. Set your camera to a low ISO, aperture around f/8 to f/11 for depth, and adjust shutter speed accordingly. A tripod guarantees stability, and good lighting enhances clarity, making your build photos clear and impressive.
How Often Should I Update My Build Documentation During the Process?
You should update your build documentation regularly, ideally after each significant step, to keep maintenance scheduling on track and guarantee team collaboration stays smooth. Some might think it’s tedious, but frequent updates save time later by preventing miscommunications. By documenting your build process consistently, you create a clear, detailed record that benefits everyone involved and makes future troubleshooting or modifications much easier.
Can I Use Smartphone Photos for Detailed Build Documentation?
Yes, you can use smartphone photos for detailed build documentation, but keep in mind smartphone limitations like lower resolution and potential blurriness. To improve clarity, use photo editing apps to crop, enhance, and organize your images. Make sure to take multiple shots from different angles and good lighting. This way, your documentation remains clear and useful, helping you troubleshoot or share your build with others later.
What Lighting Conditions Yield the Best Build Photos?
Think of your photos as a canvas—bright, even lighting paints the clearest picture. Natural light, especially during the golden hour, provides soft, warm illumination that highlights details beautifully. If indoors, use diffuse artificial lighting, avoiding harsh shadows. Combining natural light with gentle artificial sources creates balanced, detailed photos. Clear, well-lit images make your build documentation sharp and professional, ensuring every detail is captured perfectly for future reference.
How Do I Organize and Store My Build Photos Effectively?
You should organize your build photos using clear storage solutions like labeled folders or digital albums. Incorporate material labeling to easily identify each stage or part of your project. Digital options like cloud storage or external drives keep your images safe and accessible. Consistently naming and categorizing photos helps you quickly find specific details later, saving time and effort when referencing or sharing your build progress.
Conclusion
So, after all this fuss about documenting your build, you might wonder if it’s worth the effort. Ironically, the very act of meticulously recording every step guarantees you’ll never forget an essential detail—yet it’s often the first thing skipped in haste. But trust me, future you, armed with well-documented progress, will thank present you for avoiding sleepless nights and costly mistakes. Because in the end, the best-built projects are those that remember their own story.
Halloween Picks
halloween
As an affiliate, we earn on qualifying purchases.