To create DIY creepy lenticular and animated portraits, start by gathering art supplies, digital tools, and safety gear. Choose unsettling images and prepare them with lighting, cropping, and effects to enhance eerie features. Design a series of slightly altered images for animation, then print them onto lenticular sheets or assemble layered compositions. Add finishing touches like shadows and spooky colors, and display the portraits with strategic lighting. Keep exploring these techniques to craft haunting visuals that captivate and terrify—ready to learn more?
Key Takeaways
- Select eerie or distorted photos, then enhance with shadows, lighting, and color effects for a haunting atmosphere.
- Create a series of slightly altered images to animate or produce lenticular prints with depth and movement.
- Use digital illustration and precise measurements to ensure seamless animation or lenticular alignment.
- Incorporate subtle motion, flickering shadows, or color shifts to intensify the creepy effect in animations or prints.
- Display portraits with strategic lighting and framing, maintaining high contrast and unsettling details for maximum impact.
Gathering Materials and Tools

Before you begin creating your creepy portraits, it’s important to gather all the necessary materials and tools. Start with your art supplies, like pencils, paints, markers, or digital tools, depending on your preferred medium. You’ll also need safety gear, such as gloves and a mask, especially if working with paints, adhesives, or any chemicals. Make sure your workspace is well-ventilated and organized, so you can work efficiently and safely. Collect a variety of brushes, cutting tools, or styluses to add detail to your portraits. Don’t forget a ruler or stencil for precise lines. Having everything ready beforehand helps you stay focused and ensures your creepy portraits come out just right. Proper art supplies are key to a smooth and enjoyable creative process.
Choosing and Preparing Your Portraits

Start by selecting photos that have strong, eerie qualities or unusual expressions to set the creepy tone. Make certain to prepare your images by adjusting contrast, removing distractions, and resizing them for easy editing. Proper preparation ensures your portraits look haunting and professional in the final project.
Selecting Suitable Photos
Choosing the right photos is essential to creating compelling creepy portraits. You want images with high photo resolution to capture fine details, making the creepy effect more striking. Facial expressions should evoke unease or ambiguity—smiles that seem too wide or eyes that appear unnerving work well. Select photos with good lighting to ensure clarity and avoid shadows that obscure features. Consider angles that emphasize asymmetry or distortions, adding to the unsettling vibe. Here’s a quick guide:
| Aspect | Tips |
|---|---|
| Photo resolution | Use high-res images for sharp details |
| Facial expressions | Choose ambiguous or unsettling expressions |
| Lighting | Prefer well-lit photos to highlight features |
| Angles | Opt for unusual or distorted perspectives |
| Overall vibe | Aim for images that evoke discomfort or eeriness |
Pick images that set the perfect creepy tone for your project. Additionally, ensuring your selected photos align with the principles of design can help enhance the overall eerie effect.
Preparing Images Properly
To prepare your images effectively, you need to carefully select and optimize your portraits to enhance their creepy impact. Focus on gallery composition to create a disturbing or unsettling vibe, positioning the subject for maximum effect. Confirm your image resolution is high enough to maintain detail when printing or enlarging, avoiding pixelation. Adjust brightness and contrast to accentuate shadows and eerie highlights. Crop the photo to emphasize the face or key features, creating a more intense focal point. Consider converting images to black and white or desaturating them for a haunting atmosphere. Finally, remove any distracting background elements so the viewer’s attention remains on the creepy portrait itself. Proper preparation ensures your images deliver maximum impact in your DIY project. Additionally, understanding Kia Tuning options can inspire creative ways to modify your vehicle’s aesthetic to match the unsettling vibe of your portraits.
Designing the Creepy Effect

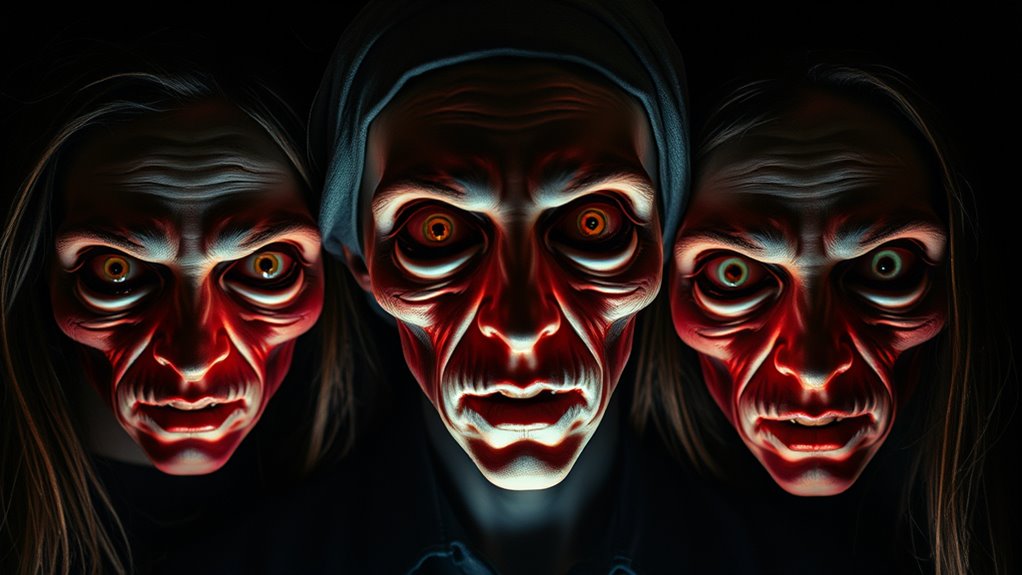
Creating a genuinely creepy portrait hinges on manipulating visual elements to evoke unease. You should focus on lighting techniques that cast sharp shadows or eerie highlights, emphasizing unsettling features or creating an unnatural glow. Low, uneven lighting can make parts of the face appear distorted or mysterious. Framing compositions also play a key role; tight close-ups or off-center angles can create a sense of imbalance or discomfort. Crooked or asymmetrical framing draws the viewer’s eye in unpredictable ways, heightening tension. Subtle details—like emphasizing hollow eyes or exaggerated expressions—enhance the creepy effect. Combining strategic lighting with deliberate framing allows you to craft a portrait that subtly unsettles viewers, making it feel alive with sinister intent. Additionally, incorporating ambient sounds or subtle audio cues can intensify the creepy atmosphere when paired with visual effects.
Creating the Sequential Images for Animation

When developing sequential images for animation, it’s essential to plan each frame carefully to guarantee smooth progressions and a cohesive creepy effect. Use digital illustration techniques to craft each image, ensuring consistent lighting, shadows, and facial expressions. Photo editing helps refine the details, making progressions seamless and unsettling. To create effective sequences, consider these steps:
Careful planning and digital tweaks ensure seamless, unsettling animation sequences.
- Sketch rough concepts before digitizing for clarity.
- Slightly alter facial features or expressions between frames.
- Adjust colors and contrast for mood consistency.
- Test the sequence by viewing frames in rapid succession to identify jitters or abrupt changes.
- Pay attention to visual continuity to maintain the eerie atmosphere throughout the animation.
Printing and Assembling Lenticular Sheets

Before printing your lenticular sheets, make sure your images are properly prepared and aligned. Start with accurate color calibration to ensure vibrant, consistent colors across all images. Double-check the resolution and size to match your lenticular sheet specifications. When it’s time to print, consider adhesive options that won’t cause warping or bubbles; a thin, clear adhesive or specialist lenticular glue works best. Carefully place the printed image onto the lenticular sheet, maintaining alignment to prevent distortion of the animation effect. Use a roller or squeegee to press out air bubbles and ensure a smooth bond. Proper preparation, precise alignment, and suitable adhesive choices are essential for achieving a crisp, professional-looking creepy portrait with seamless lenticular effects. Additionally, understanding printing and assembling techniques can significantly improve the final result.
Assembling Your Animated Portrait

Assembling your animated portrait requires careful attention to detail to guarantee a smooth and professional result. Focus on lighting techniques to highlight key features and create a haunting atmosphere. Proper framing composition ensures your portrait looks balanced and draws viewers’ attention where you want it. When putting everything together:
- Adjust lighting to cast shadows that enhance creepiness
- Use framing techniques to center or creatively offset your subject
- Secure the lenticular or animation layer carefully to avoid misalignment
- Double-check the overall composition for visual impact and clarity
- Consider the role of visual harmony to ensure all elements work cohesively for a captivating effect.
Taking these steps ensures your animated portrait is mesmerizing and unsettling. Keep your workspace organized, and work deliberately to avoid mistakes. With precise lighting and framing, your creepy creation will truly stand out.
Adding Finishing Touches and Effects
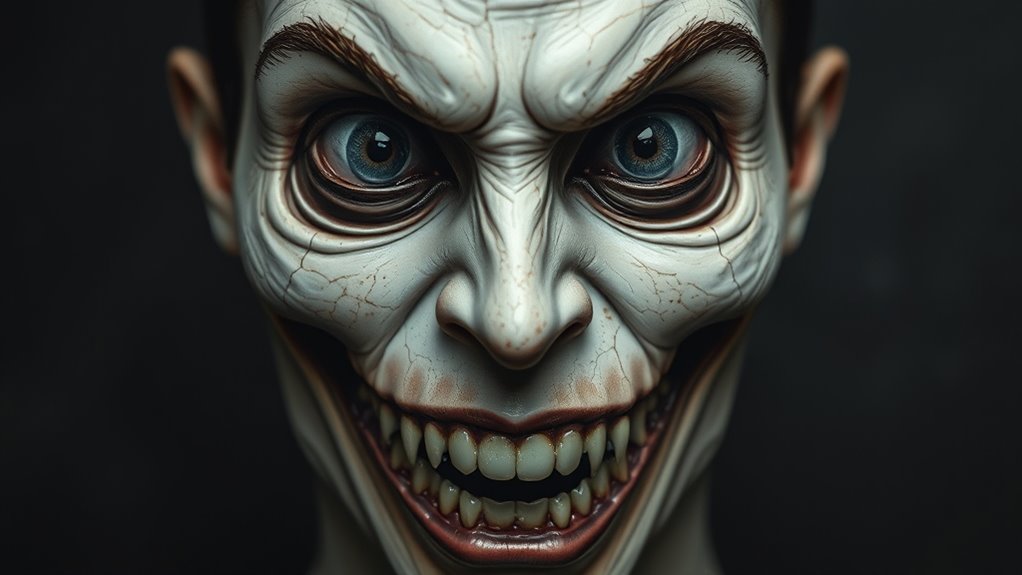
Now it’s time to add those final touches that make your portrait truly creepy. You can enhance depth with shadows, create unsettling moods with color filters, and bring your piece to life with subtle motion effects. These details will turn a simple image into a haunting masterpiece. Paying attention to local resources can also provide inspiration for regional themes or styles to incorporate.
Enhancing With Shadows
Adding shadows to your creepy portraits can dramatically increase their eerie effect, giving your images depth and dimension. Proper shadow depth and strategic light placement are key to creating a haunting atmosphere. Focus on where the light hits and where shadows naturally fall to emphasize facial features or unsettling details. Adjusting shadow intensity can make certain areas more prominent or subtle, heightening the creepy vibe. To refine your shadows, consider these tips:
- Use a soft brush for smooth, realistic shadow transitions
- Place shadows behind or beneath features to add depth
- Vary shadow darkness to create contrast and focal points
- Experiment with light angles to enhance the portrait’s unsettling mood
- Incorporate macronutrient ratios to understand how lighting and shadows can influence the mood and tone of your artwork.
Mastering shadow placement transforms a simple image into a truly creepy and immersive piece.
Applying Color Filters
Applying color filters can instantly set the mood of your creepy portraits by overlaying hues that evoke unease or mystery. Using digital filters aligned with color theory, you can create eerie atmospheres or highlight specific features. Experiment with cool blues and greens for a chilling effect, or warm reds and yellows to suggest danger. These filters help emphasize shadows and contrasts, making your portrait more unsettling. Here’s a quick guide:
| Filter Type | Effect | Best Used For |
|---|---|---|
| Blue | Cold, unsettling | Creepy, ghostly looks |
| Red | Intense, alarming | Horror, tension |
| Green | Eerie, unnatural | Unsettling, surreal |
| Sepia | Vintage, creepy nostalgia | Old, haunted vibe |
| Monochrome | Stark, dramatic | Focused, sinister mood |
Additionally, adjusting color saturation and contrast can further enhance the visual impact of your portraits, emphasizing the mood you wish to convey.
Adding Motion Effects
To give your creepy portraits a haunting final touch, incorporating motion effects can make them feel more alive—and unsettling. Use lighting techniques to highlight certain facial features or create shadows that flicker subtly, enhancing the eerie vibe. Employ color grading to add a cold, desaturated tone or eerie glow, heightening the unsettling atmosphere. To maximize impact, consider these tips:
- Animate subtle movements like blinking or shifting eyes for a more disturbing effect
- Sync lighting flickers with motion to simulate flickering candles or faulty bulbs
- Use color grading to emphasize shadows or introduce unnatural hues
- Combine slow zooms or pans to create a sense of disorientation
- Incorporate quality assessment techniques to ensure your effects are seamlessly integrated and enhance the overall creepiness
Applying these motion effects transforms your portraits into immersive, creepy experiences.
Displaying and Maintaining Your Creepy Art

When it comes to showcasing your creepy portraits, choosing the right display method can make all the difference in enhancing their eerie effect. Focus on lighting techniques that highlight the unsettling details—use directional, low, or colored lighting to cast shadows and create a mysterious ambiance. Framing considerations are equally important; opt for dark, simple frames that don’t distract from the artwork, and position your portraits at eye level for maximum impact. Keep the display area clean and free of clutter to maintain the creepy vibe. Regularly check the condition of your art and lighting to prevent damage or fading. Properly maintaining your portraits ensures they stay as haunting and enthralling as the day you finished them. Additionally, exploring remote hackathons can inspire innovative approaches to art display and preservation techniques.
Tips for Customizing and Enhancing Your Creations

Personalizing your creepy portraits is a great way to make them truly unsettling and unique. To enhance their eerie effect, focus on embellishing details that add depth and realism. You can incorporate unsettling textures or subtle distortions to heighten the creepiness. Combining styles, like vintage with modern elements, creates a jarring, unsettling contrast that amplifies the unsettling vibe. Experiment with different techniques to customize your artwork further. Consider adding eerie lighting effects or ghostly overlays to intensify the mood. Don’t be afraid to mix media or use unexpected materials for a more disturbing, layered look. Remember, the key is to keep the details subtle yet impactful, making your portraits both intriguing and haunting. Incorporating market-related returns can also help you understand how various techniques might influence the overall impact and durability of your artwork over time.
Frequently Asked Questions
What Are Some Common Mistakes to Avoid During the Project?
To avoid mistakes, watch out for photo distortion, which can ruin your creepy effect, and adhesive mishaps that might cause your images to peel or shift. Make certain you align your images carefully and use quality adhesives to keep everything secure. Take your time during assembly, double-check your work, and avoid rushing through the process. These precautions help ensure your lenticular or animated portrait turns out spooky and professional.
How Long Does It Typically Take to Complete a Project?
It usually takes about 4 to 8 hours to complete your creepy portrait project, depending on your skill requirements and experience level. If you’re new to this, expect more time for learning and troubleshooting. A clear project timeline helps you stay organized, so allocate extra time for assembling lenticular layers or animating images. With patience and practice, you’ll finish faster and achieve more impressive creepy effects.
Can I Use Digital Tools Instead of Physical Materials?
Yes, you can definitely use digital software and virtual techniques instead of physical materials. This approach often speeds up the process and offers more control over the creepy effects you’re aiming for. With digital tools, you can experiment freely, making adjustments instantly without waste. Whether you’re creating lenticular illusions or animated portraits, software like Photoshop or After Effects helps you craft detailed, spooky imagery efficiently.
What Safety Precautions Should I Consider While Working?
You should always wear safety gear like gloves and goggles to protect yourself from sharp tools and chemicals. Make certain proper ventilation to avoid inhaling fumes from paints, adhesives, or solvents. Keep your workspace organized and well-lit, and follow manufacturer instructions carefully. If working with electrical components, double-check connections and unplug devices when not in use. Prioritizing these safety precautions helps prevent accidents and keeps your creative process enjoyable.
How Can I Troubleshoot Issues With Lenticular Image Alignment?
To troubleshoot lenticular image alignment issues, start by checking the lens alignment carefully. Make certain the lenses are properly positioned and secured, as misalignment can cause blurry or distorted images. Then, verify your image calibration; make sure the images are correctly aligned for the lenticular lens. Adjust the positioning as needed, and test again. Precise lens alignment and accurate image calibration are key to achieving sharp, seamless lenticular effects.
Conclusion
Now that you’ve crafted your creepy portrait, let it haunt your space with its eerie charm. Remember, each detail you add brings it closer to life—literally and figuratively. With patience and creativity, your art transforms from simple images to a mesmerizing, unsettling spectacle. Embrace the process, and let your spooky masterpiece be a reminder that with a little DIY magic, you can turn ordinary into extraordinary—an artful nightmare that lingers in the mind.
