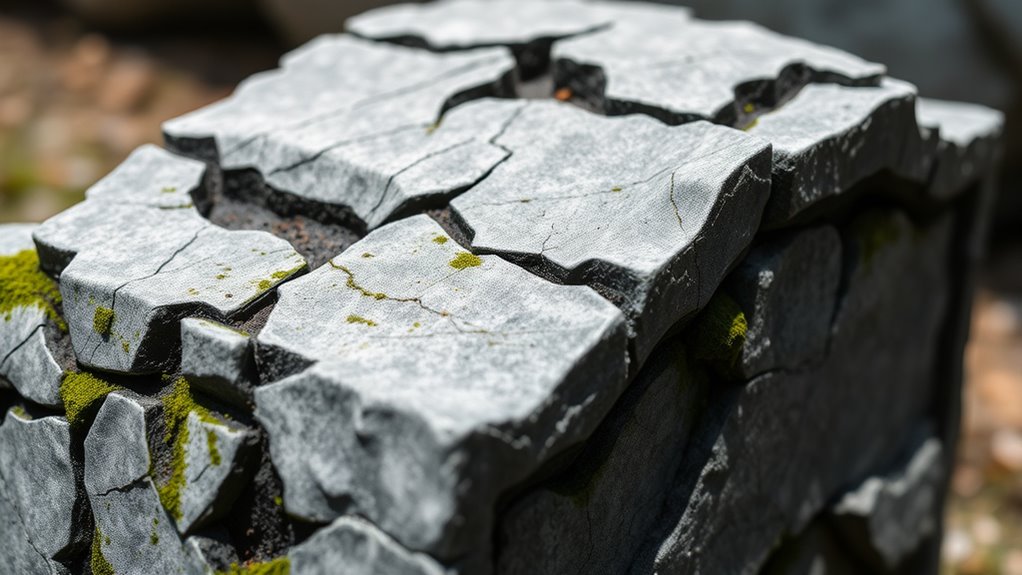
To create realistic foam tombstones, start by choosing high-density, weather-resistant foam with a smooth surface for easy carving and painting. Use sharp tools like hot wire cutters or craft knives to shape your design, adding details like cracks and moss for realism. Apply dark, blending paints with dry brushing techniques, and seal everything with weatherproof coatings. For more tips on making your spooky tombstones stand out and last, keep exploring how to perfect your craft.
Key Takeaways
- Choose high-density, smooth craft foam for durability and easy carving.
- Sketch your tombstone design on foam before carving with hot wire cutters or craft knives.
- Add realistic textures like cracks and moss using fine tools and techniques.
- Paint with layered shades of gray, black, and green, then dry brush highlights for depth.
- Seal with weatherproof coating and display with strategic lighting for a spooky effect.
Selecting the Right Materials for Foam Tombstones

Choosing the right materials is essential for creating durable and realistic foam tombstones. When selecting foam, opt for high-density types that offer better foam durability, ensuring your tombstone withstands handling and weather. This type of foam resists dents and breaks, making it a smart investment for long-lasting decorations. Additionally, consider the foam’s surface texture; a smooth surface improves paint adhesion, which is vital for detailed painting work. Proper paint adhesion prevents peeling and chipping, keeping your tombstone looking authentic over time. Avoid cheaper, softer foam options, as they tend to degrade faster and make painting more difficult. By choosing quality foam designed for craft projects, you’ll set a solid foundation for your tombstone that’s both sturdy and easy to paint. Using specialized foam for crafts can further enhance the durability and appearance of your project.
Shaping and Carving Your Foam Block
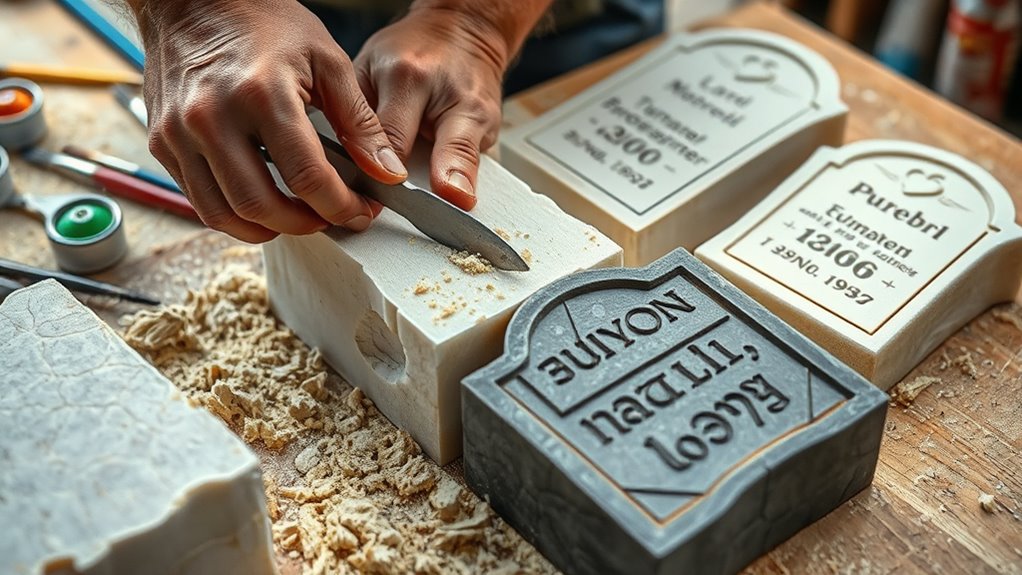
To shape and carve your foam block effectively, start by sketching your design onto the surface with a pencil. The foam density you choose impacts how easily you carve; softer foam (low density) is simpler for detailed work, while denser foam offers more durability. Use the appropriate carving tools, such as hot wire cutters or craft knives, to remove material carefully along your lines. Begin with larger cuts to establish the overall shape, then refine with smaller tools for details. Keep your tools sharp to ensure clean cuts and reduce chipping. Work slowly and steadily, carving away small sections to avoid mistakes. Proper technique and the right tools will help you achieve a smooth, professional-looking tombstone shape. Additionally, practicing unrepentant cheater strategies can help you understand emotional responses that may affect your work process.
Adding Details and Textures to Enhance Realism
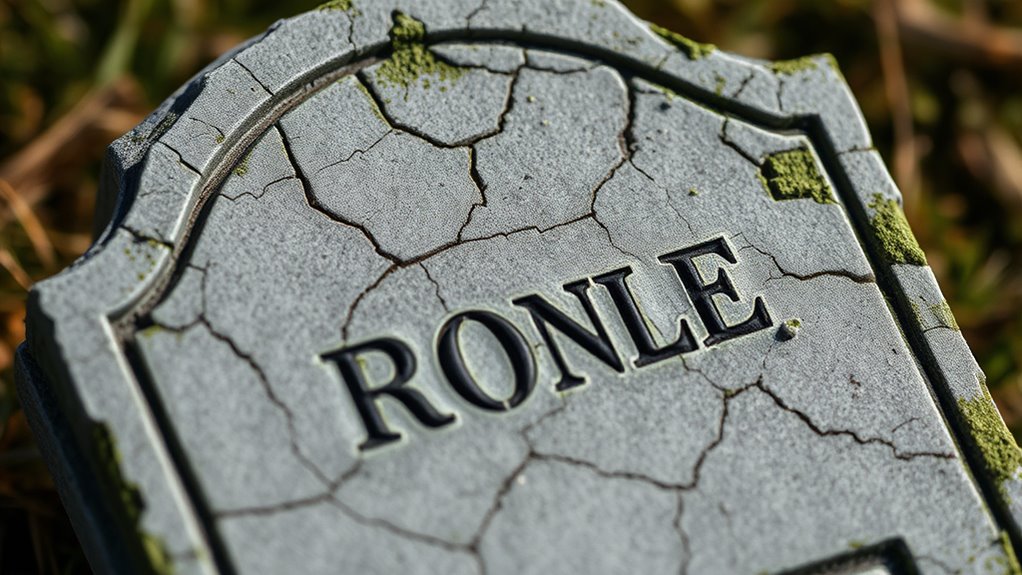
Adding details and textures can make your foam tombstone look more realistic and aged. To achieve this, incorporate moss effects to create a weathered, overgrown appearance and add crack details for an authentic, aged stone look. These small touches considerably boost realism and visual impact. Using specialized tools like hot wires or carving knives allows for more precise and natural-looking cracks and textures.
Painting Techniques for a Spooky Finish
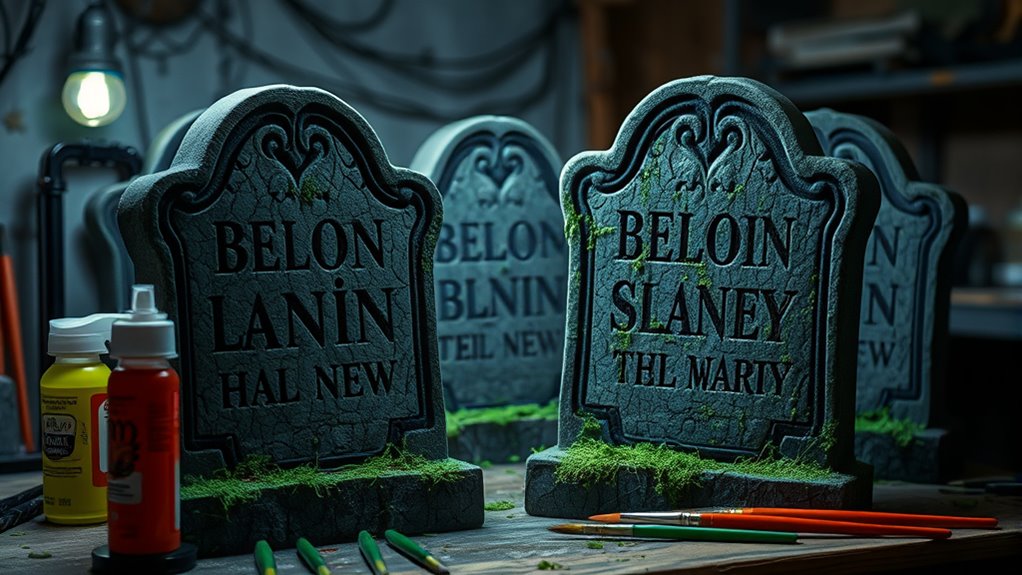
Achieving a spooky finish on your foam tombstone involves applying strategic painting techniques that create shadows, highlights, and an eerie atmosphere. Start with color blending to seamlessly transition between dark grays, blacks, and muted greens, giving your stone a weathered look. Use a dry brush to add subtle highlights on edges and cracks, enhancing depth. Finish with a weatherproof coating to protect your paint job from the elements and ensure longevity. To achieve the best results:
- Mix darker shades into base colors for shadows and depth.
- Lightly dry brush lighter hues for highlights and worn areas.
- Apply a weatherproof coating in thin layers, allowing each to dry thoroughly.
- Proper headphone connection ensures your audio experience complements your haunting project, especially if you’re setting up sound effects for extra ambiance.
These techniques will give your tombstone a realistic, haunting appearance that withstands weather.
Tips for Displaying and Maintaining Your Tombstones
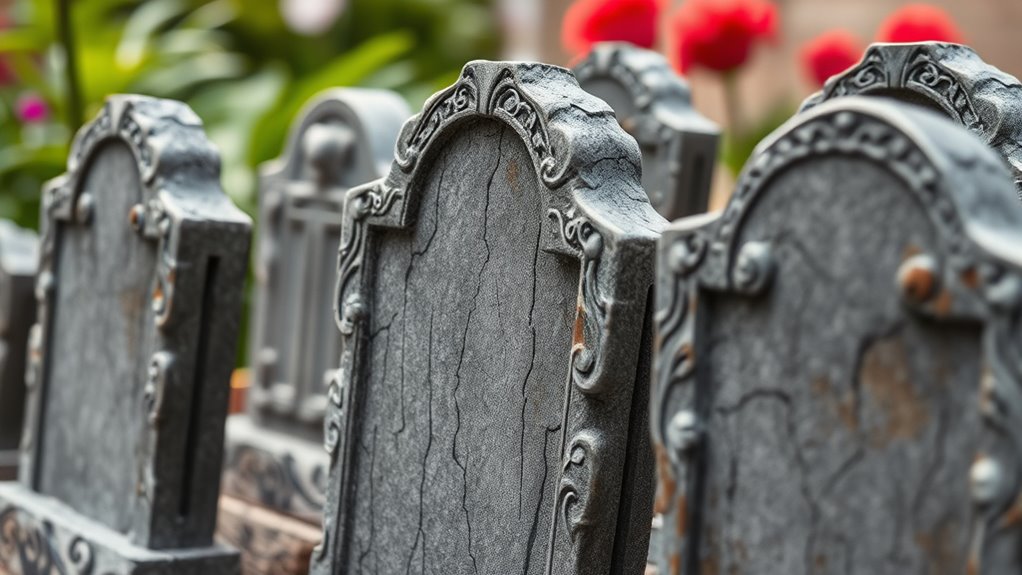
Properly displaying and maintaining your tombstones guarantees they stay hauntingly realistic and weather-resistant throughout the season. Start by choosing strategic lighting setups that highlight your tombstones’ details and create an eerie atmosphere. Use spotlights or solar-powered lanterns to illuminate them at night without damaging the foam. To keep your tombstones in top shape, follow weatherproofing tips such as sealing them with clear outdoor sealant, which protects against rain and UV rays. Position your tombstones on stable bases to prevent tipping, and consider adding gravel or mulch around the base for extra stability. Regularly check for damage or wear, and touch up paint or sealant as needed. Additionally, be attentive to conflict resolution skills to address any issues promptly and maintain your display’s overall impact. With proper display techniques and maintenance, your DIY tombstones will remain impressively spooky and durable all season long.
Frequently Asked Questions
How Long Do Foam Tombstones Typically Last Outdoors?
Foam tombstones typically last about 1 to 3 years outdoors, depending on foam durability and weather resistance. If you choose high-density foam and apply weatherproof coatings, they’ll withstand rain, sun, and wind longer. Regular maintenance, like sealing and repainting, extends their lifespan. Without proper protection, exposure to moisture and UV rays can cause the foam to degrade faster, so investing in weather-resistant materials is essential for longer-lasting outdoor tombstones.
What Safety Precautions Should I Take During Carving and Painting?
Imagine you’re wielding a tiny chainsaw in a storm of foam dust—scary, right? To stay safe, always wear protective gear like goggles, masks, and gloves, because those little foam particles love to sneak into your eyes and lungs. Make sure proper ventilation by carving outdoors or in a well-ventilated space. Stay cautious, and you’ll avoid turning your Halloween project into a hazardous adventure!
Can I Reuse Foam Tombstones for Different Halloween Themes?
Yes, you can reuse foam tombstones for different Halloween themes. To do so, carefully clean and store your foam after each use to prevent damage. Reusing foam allows you to customize themes easily; you can paint new designs or add accessories to match your current spooky vibe. Just guarantee you use proper safety precautions when carving and painting to keep your project safe and effective.
Which Tools Are Best for Detailed Carving Work?
To bring your tombstone visions to life, pick tools that feel like extensions of your hand. For detailed carving techniques, a fine-tipped hot wire cutter and precision knives cut through foam with ease, carving intricate designs. The best tools comparison shows that Dremel rotary tools with diamond bits excel at fine detail, while dental picks and fine rasps help refine edges. These tools turn your spooky ideas into hauntingly detailed masterpieces.
How Can I Make My Foam Tombstone More Weather-Resistant?
To make your foam tombstone more weather-resistant, start by applying a protective coating like a clear sealant or spray foam sealer. These sealant options create a barrier against moisture and UV rays, preventing damage and deterioration over time. Be sure to thoroughly coat all surfaces and edges, and reapply as needed. This simple step guarantees your tombstone stays looking great, even after exposure to the elements.
Conclusion
Now, imagine your foam tombstones standing eerily in the moonlit yard, their weathered surfaces whispering stories of ghostly tales. With your careful carving and hauntingly realistic paint job, you’ve created a spooky centerpiece that captures attention and sparks imaginations. Keep them well-maintained, and they’ll remain chillingly convincing for seasons to come. Your DIY tombstones aren’t just decorations—they’re portals to spooky worlds, ready to cast their eerie spell on all who pass by.
