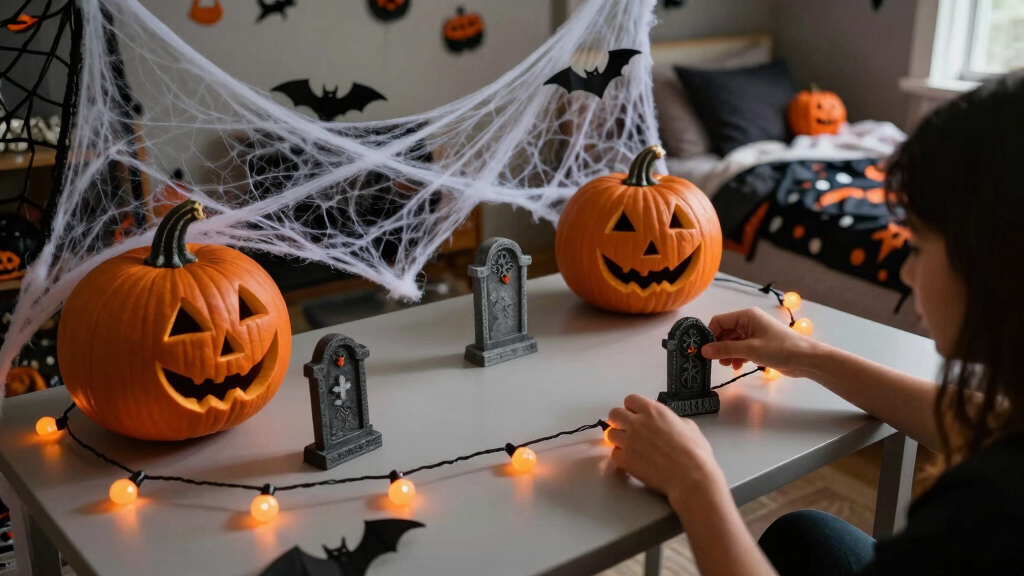

This guide helps students transform their dorm rooms into festive Halloween spaces using simple, budget-friendly decorations. It covers easy DIY ideas, seasonal accents, and safe setup tips. Designed for beginners, the process takes approximately 1-2 hours, making it perfect for a quick seasonal refresh.

Get decor and gifts delivered free with Prime
- Fast, free delivery on millions of items
- Prime Video, Amazon Music and more included
- Member-only deals all year
Difficulty: Beginner | Time: 1-2 hours
What You’ll Need
Tools & Materials:
- scissors
- hot glue gun or double-sided tape
- ruler or measuring tape
Knowledge:
- basic crafting skills
- ability to operate a hot glue gun safely (if used)
Gather all materials before starting. Use lightweight decorations to avoid damaging walls or furniture. Set aside enough time to finish without rushing.
As an affiliate, we earn on qualifying purchases.
Before You Start
Ensure your dorm room is clean and free of clutter. Confirm that your decorations are dorm-friendly, avoiding anything that could damage walls or violate dorm policies. Prepare a clean workspace for crafting and decorating.
Step-by-Step Instructions
Step 1: Choose a color theme and gather decorations
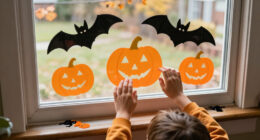
Select a Halloween color palette, such as black and orange, purple and green, or classic orange and black. Collect decorations like banners, string lights, paper cutouts, and small figurines that match your theme. Include DIY elements like paper bats, ghosts, or pumpkins.
Tip: Use items you already own or inexpensive items from dollar stores. Keep a variety of textures and sizes for visual interest.
Check: All decorations are gathered, matching your chosen color theme, and ready for placement.
Step 2: Create DIY hanging decorations
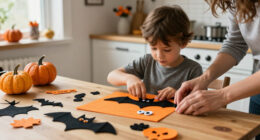
Cut out shapes like bats, ghosts, or pumpkins from black, white, or orange paper or felt. Attach string or ribbon to the shapes to hang. Secure the strings to the ceiling or wall using removable hooks or adhesive strips.
Tip: Use lightweight materials to prevent falling. Test hangings before final placement to avoid sagging or falling.
Check: Hanging decorations are securely suspended and evenly spaced, creating a festive overhead display.
Arrange banners or garlands along the wall or ceiling edges. Tape or use adhesive hooks to hang paper cutouts and banners at eye level or above furniture. Space them evenly for a balanced look.
Tip: Avoid overloading walls; use lightweight tape or adhesive that won’t damage paint. Adjust spacing to fill empty areas neatly.
Check: Walls are decorated with themed banners and cutouts, creating a vibrant, spooky backdrop.
Step 4: Add themed lighting
Place string lights around bed frames, windows, or doorways. Use colored bulbs or orange/ purple string lights for a spooky glow. Turn them on to verify proper functioning and desired ambiance.
Tip: Choose LED lights for safety and energy efficiency. Avoid extension cords that may cause tripping hazards.
Check: Room is illuminated with soft, themed lighting that enhances the Halloween atmosphere.
Step 5: Arrange tabletop and floor decorations
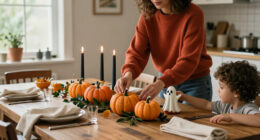
Position small figurines, pumpkins, or faux cobwebs on desks, shelves, or the floor. Use adhesive putty or non-damaging tape to secure lightweight items. Place larger items towards focal points like the bed or window.
Tip: Vary heights and group items for visual interest. Avoid cluttering pathways.
Check: Decorations are neatly arranged, creating focal points without obstructing movement.
Step 6: Add final touches and clean up
Adjust decorations for balance and remove any excess tape or glue. Sweep or vacuum to remove craft debris. Store leftover materials for future use.
Tip: Step back and view the room from different angles to ensure a cohesive look.
Check: Room feels festive, balanced, and ready for Halloween celebrations or photos.
Common Mistakes to Avoid
- Overloading walls or ceiling with decorations — Use lightweight materials and limit the number of hangings to prevent damage or falling objects.
- Using damaging adhesives or tapes — Choose removable, dorm-safe adhesives that won’t peel paint or leave residue.
- Cluttering walkways or furniture — Arrange decorations to enhance space without obstructing movement or access to essentials.
- Ignoring safety with electrical lights — Use LED string lights, verify cords are in good condition, and avoid extension cords on the floor.
Troubleshooting
Problem: Decorations fall or sag
Solution: Reinforce with additional adhesive or switch to lighter materials.
Problem: Lights flicker or don’t turn on
Solution: Test bulbs before hanging, replace malfunctioning bulbs, and verify power sources.
Problem: Walls or furniture damaged after removal
Solution: Use non-damaging adhesives like painter’s tape or removable hooks; remove decorations gently.
What Success Looks Like
The room is decorated with themed banners, hanging cutouts, lights, and tabletop items that create a festive atmosphere. Decorations are securely placed, safe, and visually balanced. The room clearly reads as Halloween-themed when viewed at a glance.
Next Steps
Maintain the decorations until Halloween or the event. Store reusable items in a safe place for next year. Consider adding themed treats or activities to enhance the holiday experience.
Frequently Asked Questions
How can I hang decorations without damaging the walls?
Use removable adhesive strips or painter’s tape that won’t peel paint. Avoid nails or push pins in dorm walls unless permitted.
What decorations are best for small dorm rooms?
Opt for lightweight, wall-mounted banners, string lights, and tabletop figures. Keep clutter minimal to maximize space.
How can I make my decorations more spooky?
Use dim lighting, add faux cobwebs, and incorporate themed props like skeletons or creepy eyes. Play spooky music for added effect.
Are there safety tips for using lights and electrical decorations?
Always use LED lights, check cords for damage, and avoid overloading outlets. Turn off lights when not in use to prevent hazards.
Halloween Picks
halloween
As an affiliate, we earn on qualifying purchases.