To create DIY animated props with servos and simple circuits, start by choosing the right servo based on your movement and force needs. Then, gather basic components like power supplies, resistors, and microcontrollers, and wire everything securely. Program your servos for smooth motion, and troubleshoot issues like power drops or loose connections. By focusing on reliable control circuits and creative mechanisms, you can bring your props to life—continue exploring for detailed tips and techniques.
Key Takeaways
- Select appropriate servos with suitable torque and durability for smooth, reliable animation.
- Use a stable 5V power supply with adequate current capacity to prevent voltage drops.
- Connect servo control signals to microcontroller PWM pins and ensure proper wiring for consistent operation.
- Incorporate basic sensors and simple circuits with transistors and resistors for interactive effects.
- Calibrate and test servos regularly to achieve precise, realistic movements in your prop projects.
Understanding Servos and How They Work
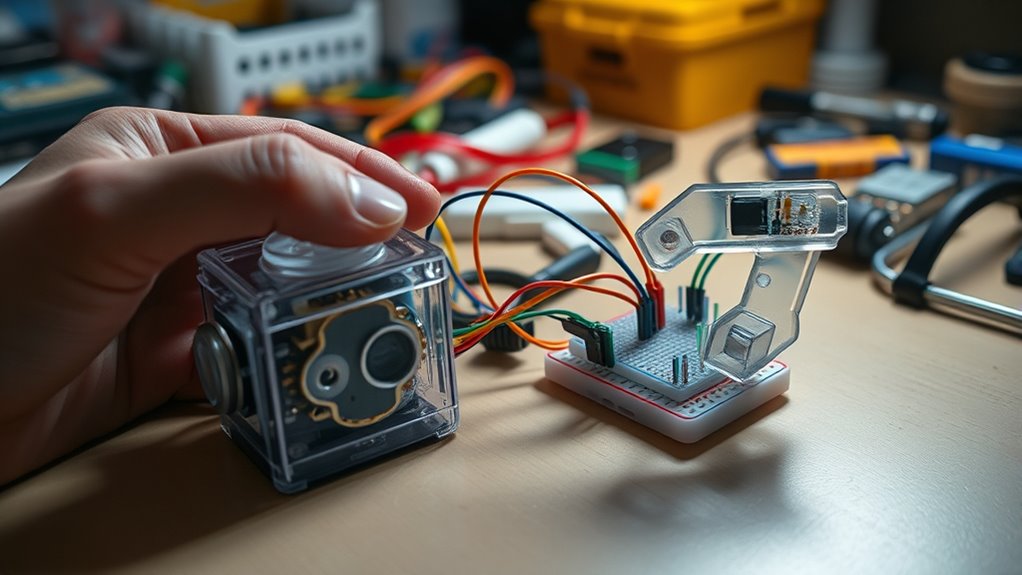
Servos are essential components in creating animated props because they convert electrical signals into precise mechanical movement. Inside a servo, a small motor turns a servo gear, which translates rotation into controlled movement. The servo gear’s design determines how accurately the servo can position itself. When selecting a servo, you need to contemplate torque specifications, which indicate the maximum force the servo can exert. Higher torque is necessary for moving heavier parts or resisting external forces. Understanding these aspects helps you choose the right servo for your project, ensuring smooth and reliable motion. Servos typically receive pulse signals that tell them how far to rotate, allowing for precise control. Mastering how servos work will give you a solid foundation for building animated props with accurate and consistent movements. Additionally, understanding servo control signals is crucial for achieving precise and synchronized movements in your projects.
Selecting the Right Servos for Your Project
Choosing the right servo for your project depends on understanding your specific movement and force requirements. Look for servos with good servo durability to withstand repeated use and potential stress from your animated prop’s motions. Consider the torque needed to move your parts smoothly without straining the servo. Additionally, evaluate power consumption; some servos draw more current, which can impact battery life or power supply choices. If your project runs on batteries, opt for a low-power servo to extend runtime. High-durability servos are ideal for complex or long-term displays, while less powerful options may suffice for simple movements. Matching the servo’s capabilities with your project’s demands ensures reliable performance and longevity. Understanding servo specifications helps in selecting the most suitable component for your animated prop.
Basic Components Needed for Animated Props
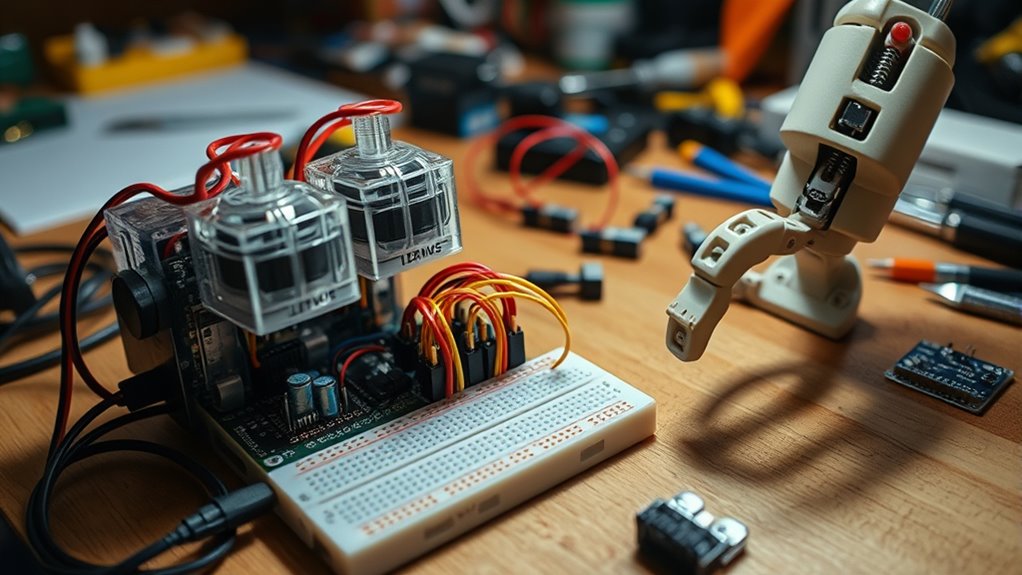
To bring your animated props to life, you’ll need a few essential components that work together seamlessly. The core element is the servo motor, which provides precise movement; choose the right size and torque for your project. Alongside servos, you’ll need a power supply capable of handling the load, ensuring circuit safety to prevent shorts or damage. Basic wiring supplies like breadboards, jumper wires, and resistors help establish secure connections. It’s also important to keep servo maintenance in mind—regularly check and lubricate moving parts to ensure smooth operation. Using quality components and following safety guidelines minimizes risks and keeps your project running reliably. Additionally, understanding Mazda Tuning concepts can help you optimize your setup for better performance and longevity. With these components, you’re well on your way to creating engaging, animated props that perform flawlessly.
Wiring Your Servos to a Power Source and Controller
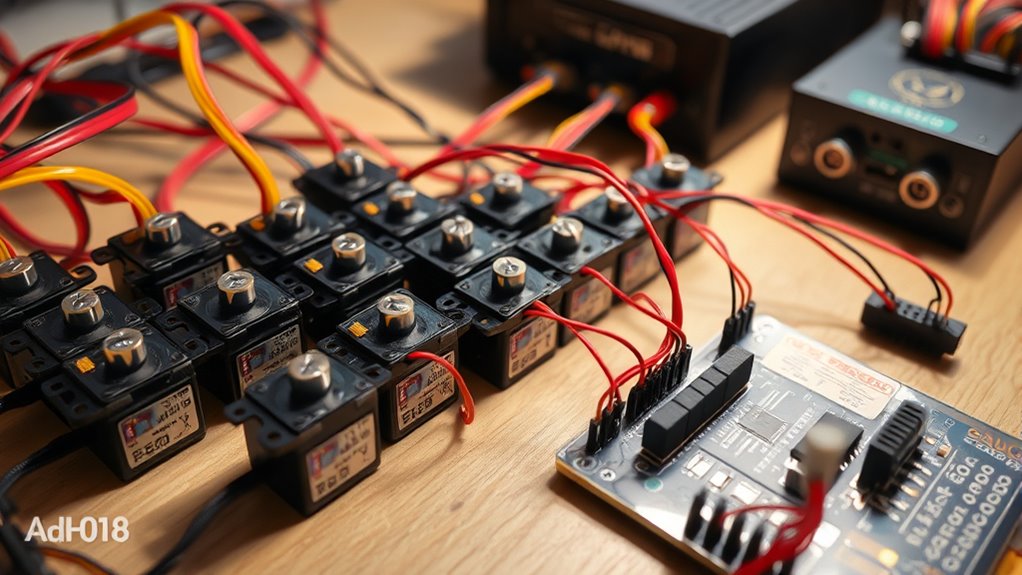
Connecting your servos to a power source and controller is an essential step to guarantee smooth operation. First, choose a reliable power source that provides adequate current for all your servos, typically a 5V supply. When wiring, use proper wiring techniques to prevent shorts and ensure stable connections. Connect the power (red) wire of each servo to the positive terminal of your power source, and the ground (black or brown) wire to the negative terminal. Then, connect the control wire (usually yellow or white) from each servo to your controller’s signal pins. Keep wiring neat and secure to avoid disconnections during movement. Avoid sharing ground lines improperly, and always double-check your connections before powering up to prevent damage. Proper wiring techniques lead to reliable, consistent servo performance. Additionally, ensuring your power supply has sufficient capacity is critical for maintaining the servos’ performance and longevity.
Programming Servos With Simple Microcontrollers

Choosing the right microcontroller is key to easy servo programming, so consider factors like pin count and compatibility. Once you have your microcontroller, basic servo programming involves sending specific signals to control movement and position. With simple code and a clear understanding, you’ll quickly bring your animated props to life. Incorporating balancing poses into your practice can also improve your overall control and stability when working with servos.
Microcontroller Selection Tips
When programming servos with simple microcontrollers, selecting the right one is vital for smooth and reliable motion control. Look for microcontrollers with sufficient I/O pins to handle multiple servos and sensors. Good sensor calibration support helps guarantee accurate movements, especially if your prop relies on sensory input. Power management is also essential; choose a microcontroller with efficient power use to prevent overheating and conserve batteries. Consider ones with built-in voltage regulators or support for external power supplies to maintain stable operation. Compatibility with common programming environments, like Arduino or MicroPython, makes coding easier. Additionally, check community support and available libraries, which can simplify integrating servos and sensors into your project. A well-chosen microcontroller streamlines setup, improves control, and enhances the reliability of your animated prop. Reliable operation is crucial for ensuring your prop functions smoothly during performances.
Basic Servo Programming
Once you’ve selected a suitable microcontroller, programming your servos becomes the next step in bringing your animated prop to life. Start by understanding basic servo control signals, typically using PWM (Pulse Width Modulation). Proper servo calibration is essential to guarantee your servo moves accurately within its range, so adjust the signal timing accordingly. Keep power management in mind; servos can draw significant current, so use a dedicated power source if necessary to prevent voltage drops that could cause erratic movement. Write simple code to send specific PWM signals to position the servo at desired angles. Testing and fine-tuning your code will help achieve smooth, reliable motion. Additionally, understanding the contrast ratio of your setup can help in optimizing the visibility of your animations in various lighting conditions. With careful calibration and power considerations, your servos will perform precisely as intended, adding realistic movement to your prop.
Designing Mechanisms for Smooth Movement

Creating smooth movement in your animated props hinges on designing effective mechanisms that minimize friction and jerky motions. To achieve this, focus on proper joint placement and lightweight materials to reduce stress on servos. Incorporate camouflage techniques, like covering moving parts or using flexible joints, to hide mechanical details and create a seamless appearance. Sound synchronization plays a key role in enhancing realism; timing movements precisely with audio cues ensures a natural flow. Use gentle, gradual servo movements instead of abrupt shifts, which smooths out the animation. Proper alignment and secure mounting prevent unwanted wobbling or jitteriness, contributing to fluid motion. Additionally, understanding business principles can help you plan and budget your project effectively, ensuring successful implementation. With careful planning and attention to detail, your prop will move smoothly, convincingly bringing your creative vision to life.
Troubleshooting Common Issues in Servo Circuits
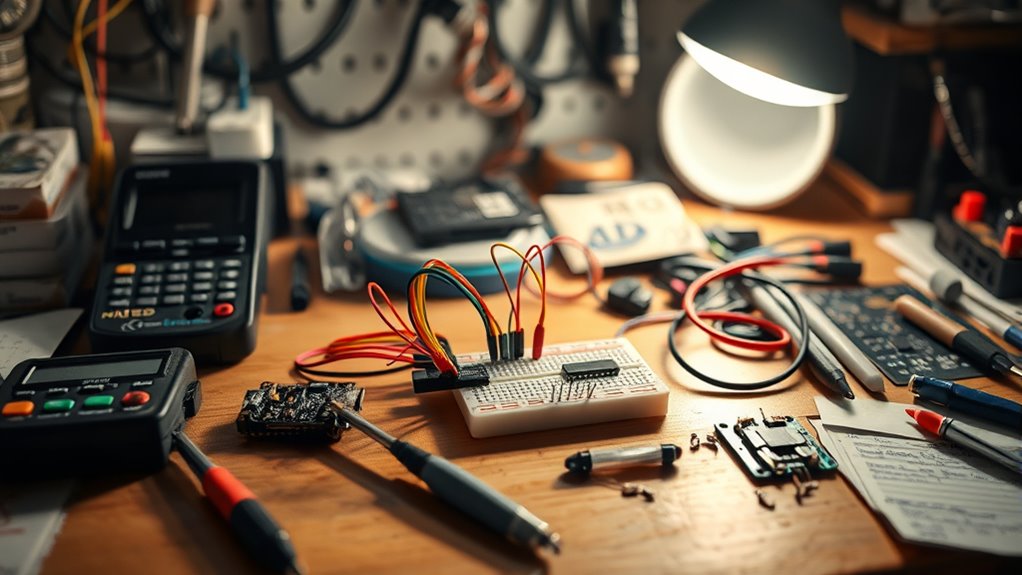
Troubleshooting servo circuits often involves identifying the root causes of common issues like jittery movements, unresponsive servos, or erratic behavior. Start by checking your power management; inadequate or unstable power can cause erratic servo actions. Next, verify servo calibration to ensure the servo is set correctly for your project. Loose connections or damaged wires can also lead to unresponsiveness—secure all connections and inspect wires carefully. Additionally, seasonal variations can impact the performance of your circuits, so consider environmental factors. Finally, ensure your control signals are clean and consistent, as noise can cause jitter. Here are some tips:
- Confirm power supply stability and adequate voltage.
- Recalibrate the servo for precise movement.
- Tighten all wiring connections.
- Use a separate power source if necessary to reduce interference.
Addressing these areas often resolves common servo circuit issues efficiently.
Creative Ideas for Moving Props and Enhancing Effects
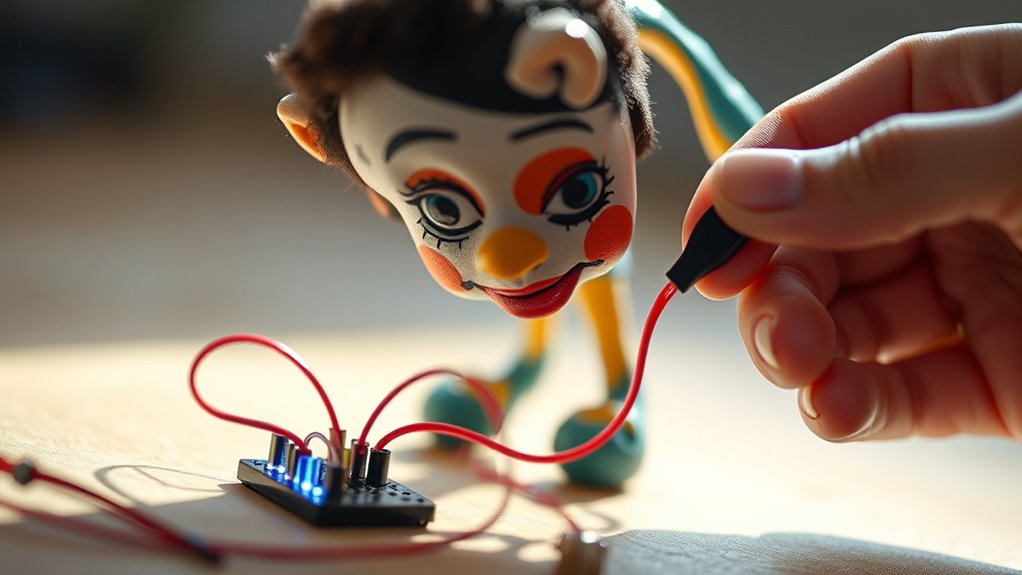
You can make your props more dynamic by integrating servos seamlessly into your designs to create smooth movements. Keep your control circuits simple to guarantee reliable operation and easy troubleshooting. With these ideas, you’ll enhance your effects without overcomplicating your build. Incorporating animated movies can inspire creative motion effects and storytelling elements.
Integrate Servos Seamlessly
Seamlessly integrating servos into your animated props can substantially enhance their realism and impact. To achieve smooth motion, focus on proper servo calibration, ensuring each servo moves accurately to the desired position. Good power management is essential; use appropriate power sources and avoid overloads that could cause jitter or damage. Consider the placement of servos to hide mechanical parts, making movements appear more natural. Additionally, secure all connections and double-check wiring to prevent interruptions. Here are some tips to help you integrate servos effectively: 1. Calibrate servos carefully before installation. 2. Use a dedicated power supply to prevent voltage drops. 3. Mount servos in discreet locations for better realism. 4. Test movements repeatedly to refine motion smoothness. Paying attention to servo torque ensures your servo can handle the required loads without stalling or slipping.
2. Design Simple Control Circuits
Ever wondered how to bring your animated props to life without complex circuitry? Designing simple control circuits is your answer. Start with basic sensors, like light or touch, and guarantee proper sensor calibration for consistent responses. Use straightforward components such as transistors, resistors, and switches to control your servos, avoiding unnecessary complications. Power regulation is essential—adding a voltage regulator stabilizes your power supply, preventing erratic movements or damage. Keep your circuit diagrams simple, focusing on clear connections and easy troubleshooting. By combining calibrated sensors with reliable power regulation, you create a responsive and durable control system. Incorporating high pressure components ensures your system operates smoothly under various conditions. This approach makes your props more convincing, enhances effects, and keeps your build accessible without needing advanced electronics skills.
Frequently Asked Questions
How Do I Ensure My Servo Movements Are Synchronized in Complex Props?
To keep your servo movements synchronized in complex props, focus on precise timing calibration and clear motion sequencing. Use a microcontroller like Arduino to program exact delay times and control multiple servos simultaneously. Test and adjust the timing regularly, ensuring each servo moves together seamlessly. Visualize your sequence beforehand, and consider using a shared power source to prevent lag or jitter, resulting in smooth, synchronized animations.
Can I Use Multiple Servos With a Single Microcontroller?
Yes, you can use multiple servos with a single microcontroller, but it’s like juggling flames—requires care. Make certain your power supply can handle the total current draw to prevent stalls. Proper servo calibration is essential for smooth, synchronized movements. Use dedicated pins for each servo, and consider adding a power bus. With careful planning, your microcontroller can orchestrate a symphony of servos seamlessly, bringing your prop to life.
What Safety Precautions Should I Take When Working With Circuits?
When working with circuits, you should prioritize electrical safety by always disconnecting power before making adjustments and wearing protective gear. Use proper circuit protection like fuses or circuit breakers to prevent overloads and short circuits. Keep your workspace dry and organized to avoid accidental shorts or shocks. Double-check connections before powering up, and never bypass safety features. Staying cautious guarantees safe, successful projects and protects both you and your components.
How Can I Extend the Range of Servo Movement?
To extend your servo movement range, start by calibrating the servo properly to guarantee smooth operation. Use a more powerful power supply to provide consistent voltage and avoid stalling. Additionally, consider adjusting the servo’s limits in your code or hardware to maximize its range. Keep in mind, overextending without proper calibration or power can damage the servo, so monitor its behavior closely during modifications.
Are There Affordable Alternatives to Standard Servos for Beginners?
Did you know that many beginner-friendly servos cost less than $10? For budget options, look for micro or coreless servos, which are affordable and easy to use. These beginner-friendly servos provide reliable movement without breaking the bank, making them perfect for your DIY animated props. They’re simple to wire and operate, giving you great control while keeping costs low. You’ll find plenty of tutorials online to get started easily.
Conclusion
Now that you’ve learned the basics, building animated props is like crafting a lively puppet show—full of movement and magic. With a little wiring, programming, and creativity, you can bring your ideas to life effortlessly. Don’t be afraid to experiment and troubleshoot along the way. Remember, every connection and movement adds to your masterpiece, making your props as dynamic as a bustling carnival parade. So, plunge in and let your imagination run wild!
