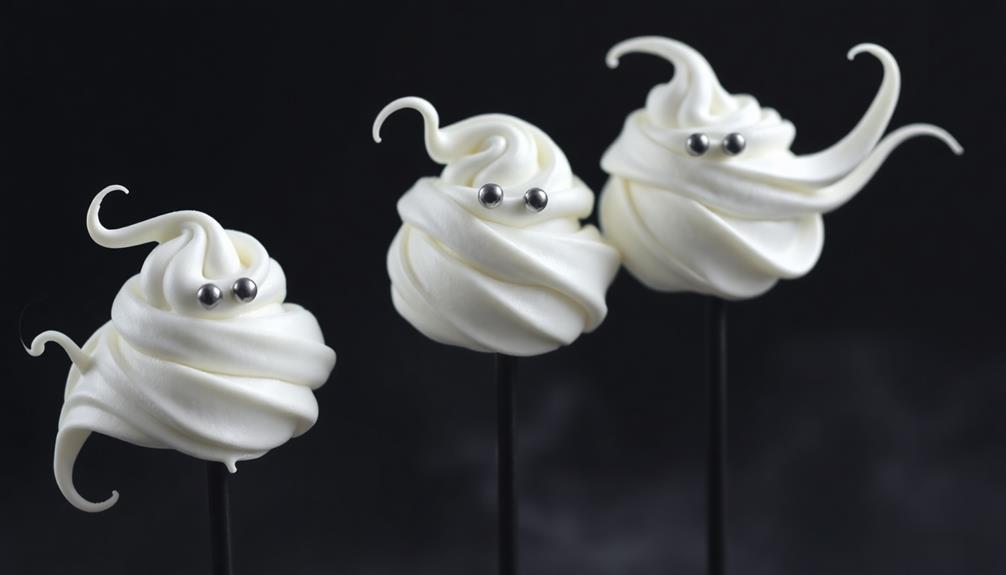
Ghostly Meringue Pops are a fun and spooky Halloween treat you'll love making! These light, airy confections combine the sweetness of meringue with a ghostly shape. You'll need egg whites, sugar, cream of tartar, and vanilla extract to create the perfect meringue. Pipe the mixture onto lollipop sticks in ghost shapes, then bake at a low temperature for two hours. Once cooled, you can add cute or scary faces with black food coloring. They're perfect for parties and make great gifts. Store them in an airtight container for up to a week. Get ready to discover the secrets behind these hauntingly delicious treats!
Key Takeaways
- Ghostly Meringue Pops are Halloween-themed treats made from light, airy meringue shaped like ghosts on lollipop sticks.
- Key ingredients include egg whites, sugar, cream of tartar, vanilla extract, and black food coloring gel for ghostly features.
- The meringue is piped onto sticks in ghost shapes and baked at a low temperature (200°F/95°C) for about 2 hours.
- These treats require patience and precise technique, including proper egg white beating and careful piping for the best ghost shapes.
- Ghostly Meringue Pops can be customized with different colors, flavors, and decorations, making them versatile Halloween party treats.
History
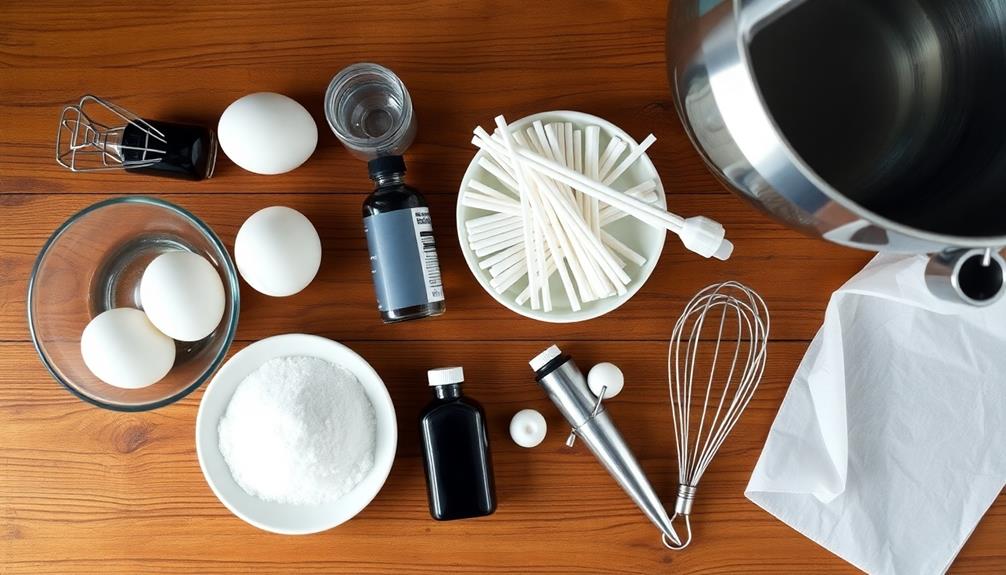
The origins of ghostly meringue pops are shrouded in mystery, much like the spectral shapes they're designed to represent. You might wonder when these spooky treats first appeared on the Halloween scene. While there's no exact date, they've likely been around for a few decades.
Meringue itself has a long history, dating back to the 17th century. It's a versatile dessert that's been shaped into all sorts of fun forms over the years. As bakers sought to create delightful treats, they may have also drawn inspiration from the mood-enhancing effects of aromas that accompany celebrations, adding an extra layer of enjoyment to the experience.
As Halloween treats became more popular, creative bakers started to experiment with meringue. They realized its light, fluffy texture was perfect for crafting ghostly shapes.
You'll find that these pops combine the classic meringue recipe with a dash of Halloween spirit. They're often made by piping meringue onto lollipop sticks and adding chocolate chip eyes for a ghostly effect.
Today, you'll see ghostly meringue pops at Halloween parties, fall festivals, and even some bakeries. They've become a beloved treat that's both tasty and visually appealing.
You can easily make them at home, too, with just a few ingredients and some patience.
Recipe
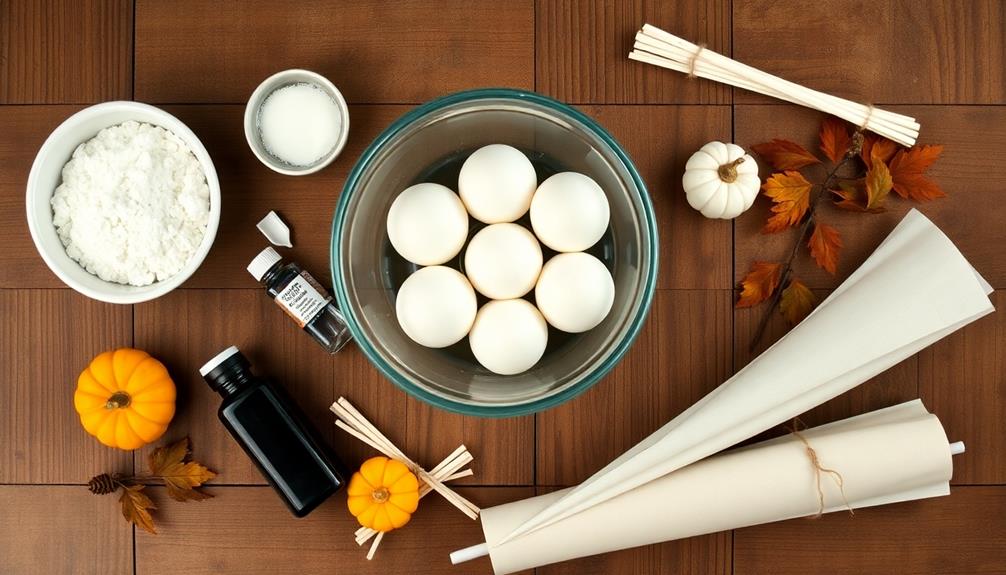
Ghostly Meringue Pops are a delightful Halloween treat that combines the ethereal lightness of meringue with a spooky twist. These adorable ghost-shaped lollipops aren't only visually appealing but also melt-in-your-mouth delicious, making them perfect for Halloween parties or as a fun baking project with kids.
Creating these spectral sweets is surprisingly simple, requiring just a few basic ingredients and some patience. The key to achieving the perfect ghostly shape lies in the consistency of the meringue and the piping technique. With a little practice, you'll be able to create an army of cute, edible ghosts that are sure to impress your guests and satisfy any sweet tooth.
- 4 large egg whites, at room temperature
- 1 cup granulated sugar
- 1/4 teaspoon cream of tartar
- 1/2 teaspoon vanilla extract
- Black food coloring gel
- 12-15 lollipop sticks
- Parchment paper
Preheat the oven to 200°F (95°C) and line two baking sheets with parchment paper. In a clean, dry bowl, beat the egg whites on medium speed until foamy. Add the cream of tartar and continue beating while gradually adding the sugar.
Increase the speed to high and beat until stiff, glossy peaks form and the mixture is cool to the touch, about 5-7 minutes. Gently fold in the vanilla extract. Transfer the meringue to a piping bag fitted with a large round tip.
Insert lollipop sticks into the parchment paper, leaving enough space between them. Pipe the meringue onto the parchment paper in ghost shapes, starting from the stick and moving upward in a swirling motion. Use a toothpick dipped in black food coloring gel to create eyes and mouths on each ghost.
Bake for 2 hours, then turn off the oven and let the meringues cool completely inside without opening the door, preferably overnight.
For best results, make these Ghostly Meringue Pops on a dry day, as humidity can affect the texture of the meringue. If storing, keep them in an airtight container at room temperature for up to a week.
To add variety, consider using different food coloring gels to create colorful ghosts or experiment with flavored extracts like peppermint or almond for a unique twist on the classic recipe.
Cooking Steps
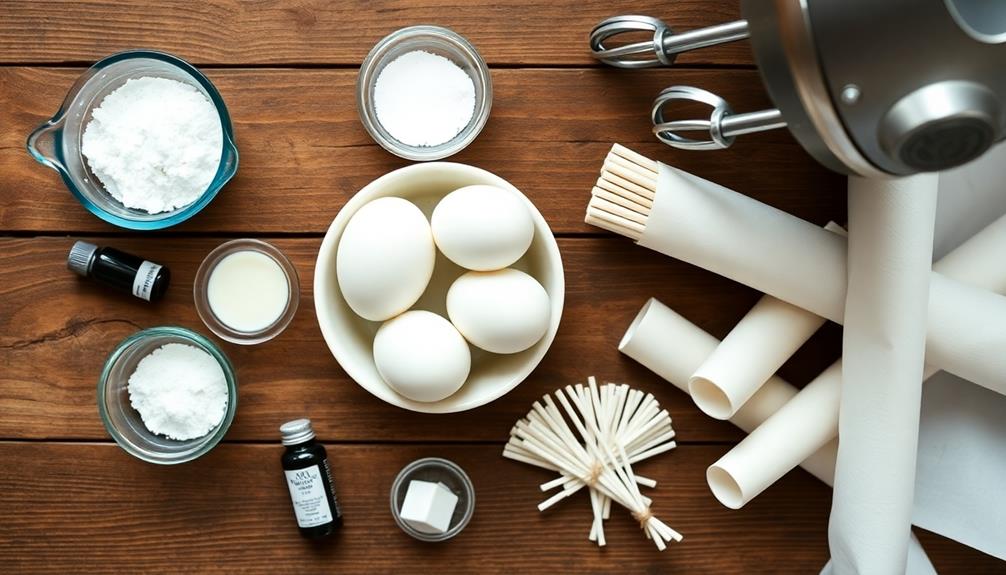
Get ready to create spooky-cute meringue ghosts with these easy steps!
You'll start by preheating your oven to 200°F and beating egg whites until they're nice and foamy.
Then, you'll gradually add sugar and mix well before piping the meringue onto sticks and baking for 2 hours, resulting in perfectly ghostly treats.
Step 1. Preheat Oven to 200°F
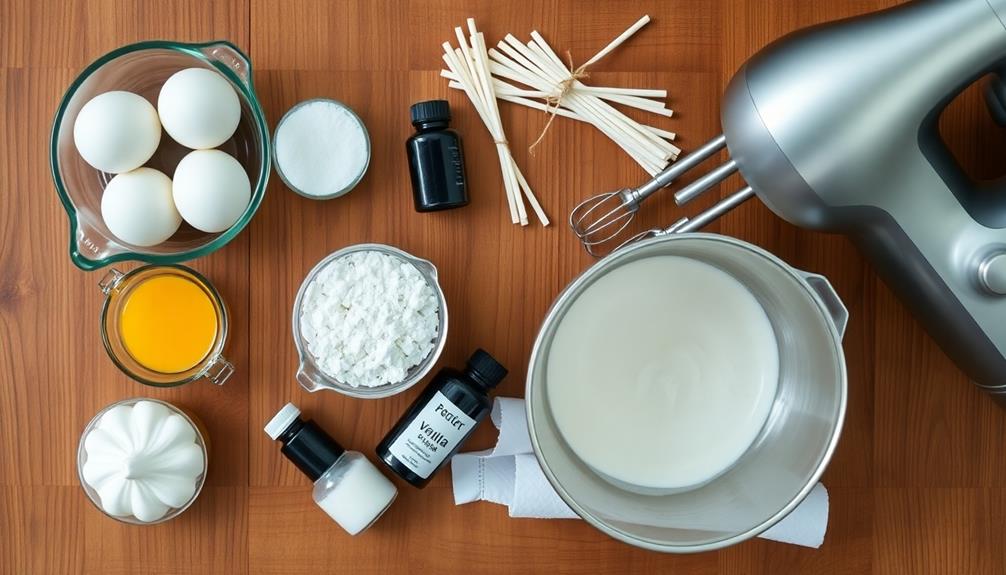
Ovens play a crucial role in creating these spooky treats. Before you start whipping up your ghostly meringues, you'll need to get your oven ready. Set the temperature to 200°F (93°C). This low heat is perfect for slowly drying out your meringues without browning them. It's important to preheat your oven now, as it'll take some time to reach the right temperature.
While you're waiting for the oven to warm up, you can gather your ingredients and tools. You'll want to make sure your oven rack is in the middle position, too. This helps ensure even heat distribution for your meringue ghosts. If your oven has a convection setting, it's best to avoid using it for this recipe. The fan can cause the meringues to crack or become misshapen.
Once your oven reaches 200°F, let it maintain that temperature for about 10 minutes. This step helps eliminate any hot spots and ensures a consistent baking environment.
Step 2. Beat Egg Whites Until Foamy
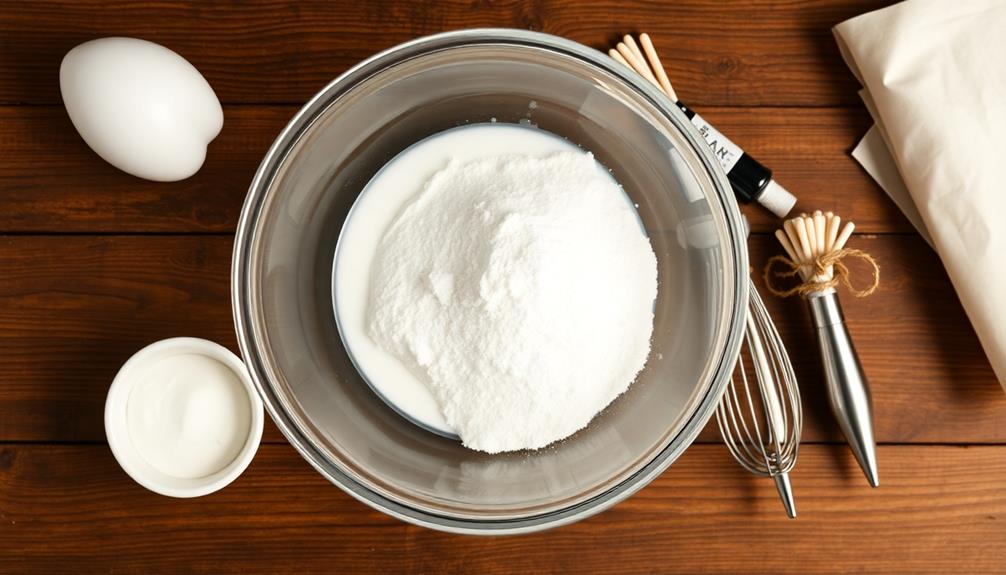
The next crucial step in creating your ghostly meringue pops is beating the egg whites until they're foamy. You'll want to start with room temperature egg whites for the best results. Carefully separate your eggs, making sure no yolk sneaks into the whites. Even a tiny bit of yolk can prevent your whites from whipping up properly.
Keep in mind that using a clean bowl is essential, as any residual grease can hinder the whipping process—just like how unsalted butter can enhance your baking results when free from additives.
Pour the egg whites into a clean, dry mixing bowl. It's important that your bowl and beaters are free from any grease or oil, as this can also interfere with the foaming process.
Using an electric mixer, begin beating the egg whites on medium speed. You'll notice the whites start to look frothy and bubbly. This is exactly what you want!
As you continue beating, the whites will become increasingly opaque and start to increase in volume. Keep a close eye on them, as you don't want to overbeat at this stage.
You're aiming for soft, fluffy peaks that are just starting to hold their shape. When you lift the beaters, the whites should form gentle mounds that slowly sink back into themselves.
Step 3. Gradually Add Sugar, Mix Well
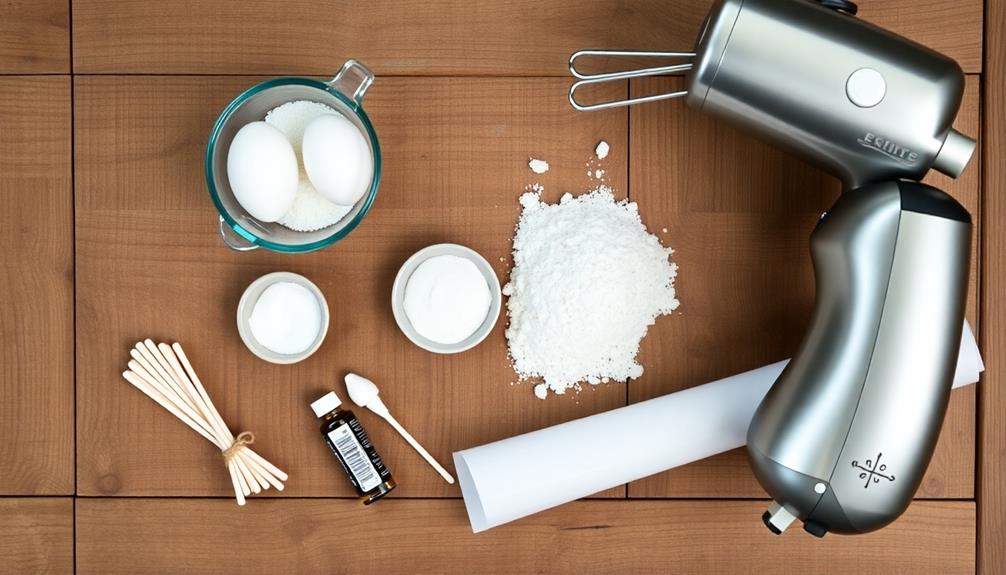
Now that you've achieved foamy egg whites, it's time to gradually incorporate the sugar. You'll want to add it slowly, about a tablespoon at a time, while continuing to beat the mixture. This careful process helps ensure your meringue turns out smooth and glossy.
As you add each spoonful of sugar, give it time to dissolve completely before adding more. You'll notice the mixture becoming thicker and more luxurious with each addition. Keep beating at medium-high speed, and don't rush this step – it's key to creating the perfect texture for your ghostly pops!
Once all the sugar is incorporated, you'll see a dramatic change in your meringue. It should now be shiny, stiff, and forming beautiful peaks. Give it a final mix to make sure everything's well combined.
If you're not sure it's ready, try the classic "upside-down bowl" test. If the meringue stays put, you've nailed it! Your mixture is now primed and ready for the next exciting step in creating your spooky Halloween treats.
Step 4. Pipe Meringue Onto Sticks
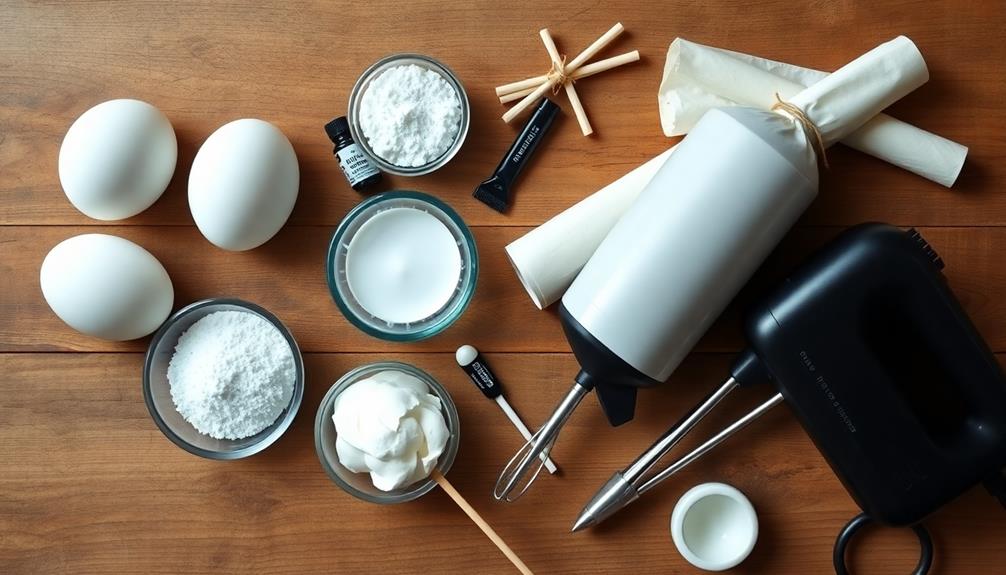
With your perfectly whipped meringue ready, it's time to shape your ghostly pops. Gather your supplies: parchment paper, baking sheets, and lollipop sticks. Line the baking sheets with parchment paper, leaving space between each future ghost.
Now, let's get piping! Fill a pastry bag with your meringue mixture. If you don't have a pastry bag, don't worry! You can use a plastic zip-top bag with a corner snipped off.
Hold the bag vertically and squeeze gently to create a small dollop on the parchment paper. This will be your ghost's base.
Insert a lollipop stick into the base, pushing it about halfway through. Then, pipe the meringue in a swirling motion upwards, creating a cone shape. As you reach the top, apply less pressure to form a tapered point. Your ghost should be about 2-3 inches tall.
Continue piping ghosts onto your baking sheets, leaving about 2 inches between each one. They'll need room to expand slightly as they bake.
Once you've used all your meringue, it's time to add some spooky faces!
Step 5. Bake for 2 Hours
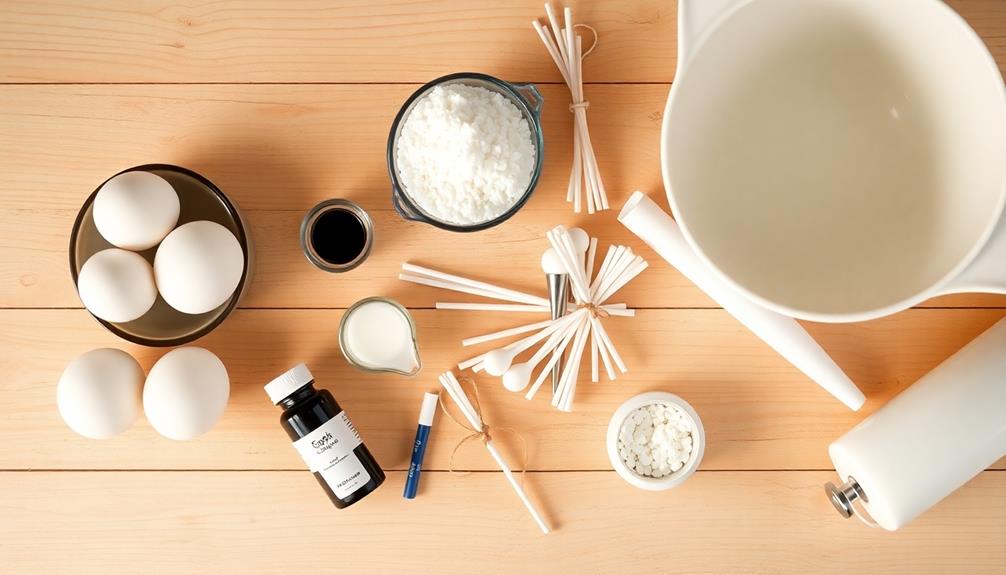
After you've piped your ghostly shapes, it's time to bake them. Preheat your oven to a low temperature, around 200°F (93°C). This gentle heat will help your meringue ghosts dry out slowly without browning.
Place the baking sheet with your piped ghosts into the preheated oven. Set your timer for 2 hours and let the meringues bake. During this time, they'll transform from sticky, wet shapes into crisp, light-as-air treats.
Don't be tempted to open the oven door while they're baking, as this can cause them to crack or collapse. Instead, use your oven light to check on their progress.
After the 2 hours are up, turn off the oven but don't remove the ghosts yet. Let them cool completely inside the oven with the door closed. This gradual cooling helps prevent cracking and ensures a perfectly crisp texture.
Once they're completely cool, you can gently remove them from the baking sheet. Your ghostly meringue pops are now ready for the next step in their spooky transformation!
Final Thoughts
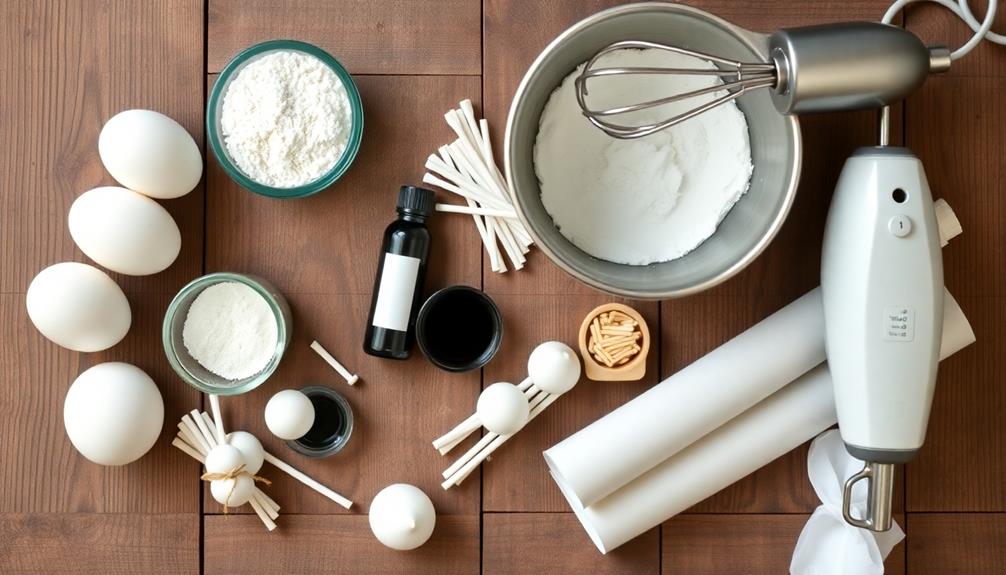
Creativity shines through these ghostly meringue pops, making them a perfect Halloween treat.
You'll love how these spooky sweets add a touch of whimsy to your holiday celebrations. They're not just adorable; they're delicious too! The crisp outer shell gives way to a light, airy center that melts in your mouth.
Remember, you can customize these pops to fit your party theme. Try different food coloring for various ghost hues, or experiment with flavored extracts for unique tastes.
You might even want to add edible glitter for some extra sparkle. Don't forget to store your finished pops in an airtight container to keep them fresh.
These ghostly meringue pops are sure to be a hit with both kids and adults alike. They're a fun project to make with family or friends, and they'll add a special touch to your Halloween dessert table.
