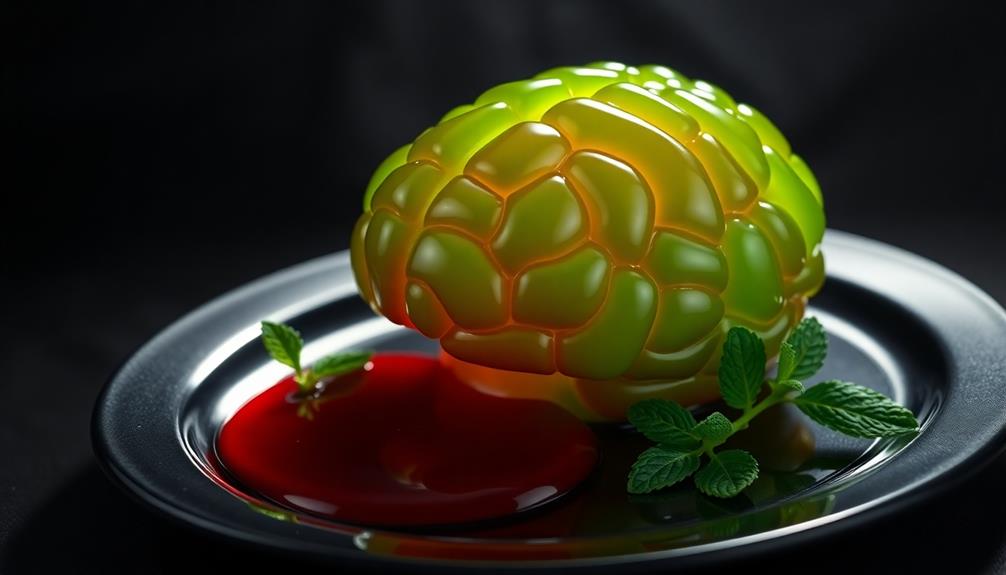
You'll turn heads and delight guests with a zombie brain jello mold, a spooky and edible centerpiece that's perfect for Halloween parties or horror movie nights. This ghoulish treat combines the 1950s trend of gelatin molds with modern zombie culture. Using ingredients like lime jello, condensed milk, and food coloring, you'll create a brain-like texture with an eerie green hue. The process involves preparing a silicon brain mold, mixing the gelatin, and chilling until set. Add realistic touches with red berry syrup for a blood-like effect. Your creepy creation will surely be the talk of the party, and there's so much more to explore in making this deliciously disturbing dessert.
Key Takeaways
- Zombie Brain Jello Mold is a Halloween-themed dessert made with lime jello, condensed milk, and food coloring.
- The mold creates a realistic brain shape, often enhanced with red syrup to mimic blood.
- Preparation involves using a silicon brain mold, carefully mixing gelatin, and refrigerating until set.
- It serves as a spooky centerpiece for Halloween parties and horror-themed events.
- Variations include different jello flavors, adding gummy worms, or using candy eyeballs for extra effect.
History
In recent years, the Zombie Brain Jello Mold has become a popular Halloween party centerpiece.
You've probably seen these creepy, wiggly creations at your friends' spooky gatherings, but did you know they've an interesting history?
The idea of brain-shaped food isn't new. In fact, it dates back to ancient Rome, where chefs would create realistic-looking dishes to impress guests.
Fast forward to the 1950s, when gelatin molds became all the rage. Homemakers loved creating colorful, jiggly desserts in all sorts of shapes.
As zombie culture gained popularity in the late 20th century, creative party-planners combined these two concepts. They started using brain-shaped molds to create gruesome, yet edible, centerpieces.
The Zombie Brain Jello Mold was born!
Today, you'll find countless recipes and tutorials online for making your own brain-shaped treat. Some use strawberry jello for a bloody effect, while others add coconut flakes for a more textured look.
Whether you're hosting a Halloween bash or just want to gross out your family, the Zombie Brain Jello Mold is sure to be a hit!
Recipe
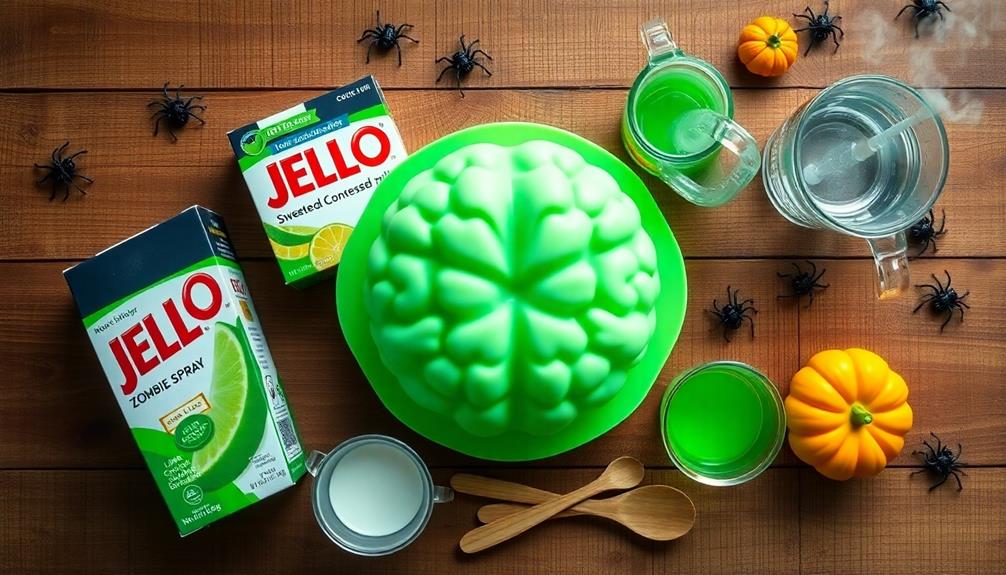
This ghoulishly fun Zombie Brain Jello Mold is the perfect centerpiece for your Halloween party or horror-themed event. With its realistic brain-like appearance and eerie green color, it's sure to both delight and disgust your guests in equal measure.
Creating this spooky treat is surprisingly simple and requires only a few ingredients. The key to achieving the brain-like texture is using a combination of regular and condensed milk, which gives the jello a creamy, opaque appearance. The addition of green food coloring completes the zombie look, making this dessert a true showstopper.
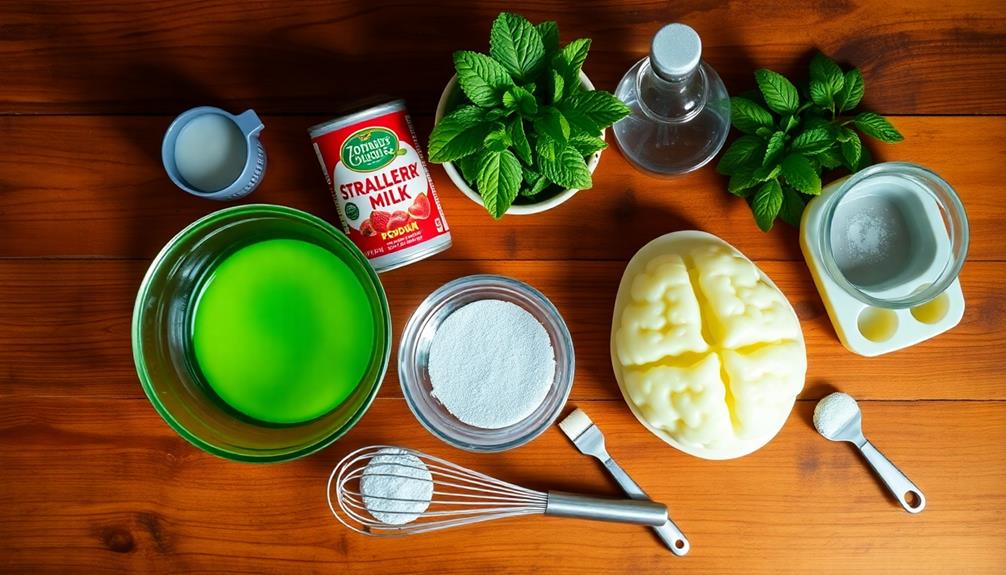
Ingredients:
- 2 packages (3 oz each) lime jello
- 2 cups boiling water
- 1 can (14 oz) sweetened condensed milk
- 1 cup cold water
- Green food coloring
- Non-stick cooking spray
To prepare the Zombie Brain Jello Mold, start by spraying your brain-shaped mold with non-stick cooking spray. In a large bowl, dissolve the lime jello in boiling water, stirring until completely dissolved.
Add the sweetened condensed milk and cold water, mixing well. Add green food coloring until you achieve your desired zombie-like hue. Pour the mixture into the prepared mold and refrigerate for at least 4 hours or overnight until firmly set.
For best results, make sure your brain mold is completely dry before spraying it with non-stick cooking spray. This will help ensure easy removal of the jello once it's set.
When ready to serve, dip the mold briefly in warm water to loosen the jello, then invert onto a serving plate. For an extra gruesome touch, you can drizzle red berry syrup around the brain to simulate blood.
Cooking Steps
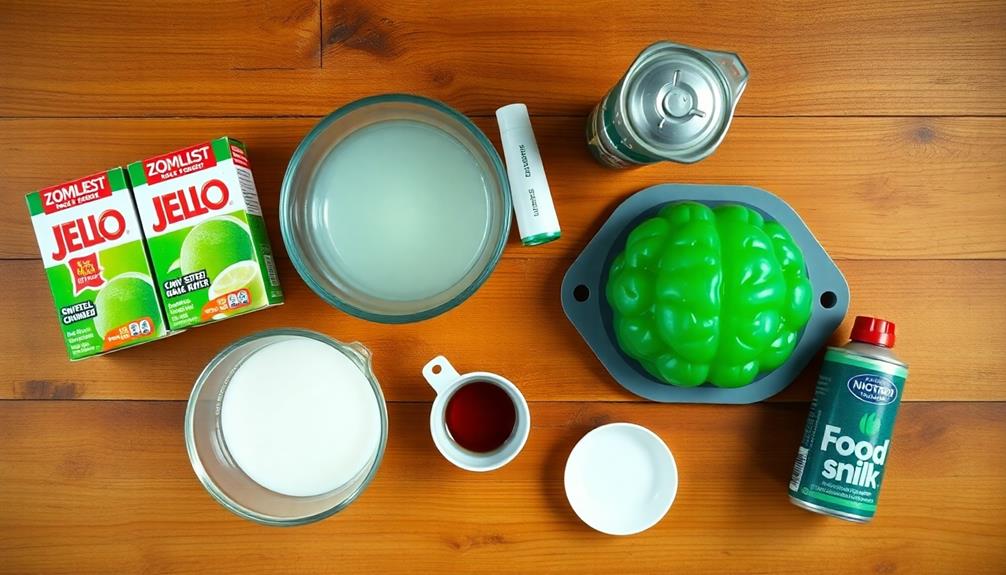
Get ready to create your spooky zombie brain jello mold with these simple steps!
You'll start by preparing your silicon brain mold and mixing up the gelatin, then carefully pour it in.
After it's partially set in the fridge, you'll unmold your creepy creation and serve it chilled for maximum gross-out factor.
Step 1. Prepare Silicon Brain Mold
Preparing your silicon brain mold is the crucial first step in creating a ghoulishly realistic zombie brain jello. You'll want to start with a clean, dry mold to ensure the best results. If it's new, give it a quick wash with mild soap and water, then dry it thoroughly.
Once it's ready, place the mold on a flat, stable surface.
Next, you'll need to prepare the mold for easy jello removal. Lightly coat the inside of the mold with a non-stick cooking spray. Don't overdo it – a thin, even layer is all you need. If you prefer, you can use a small amount of vegetable oil applied with a pastry brush instead.
Now, take a moment to examine your mold. Look for any intricate details or deep crevices. These areas might need a bit more attention to ensure your jello brain pops out perfectly.
Use your fingers to gently work the non-stick spray or oil into these spots. This extra care will pay off when it's time to unmold your creation. Your brain mold is now prepped and ready for the next exciting step in your zombie brain adventure!
Step 2. Prepare Gelatin Mixture
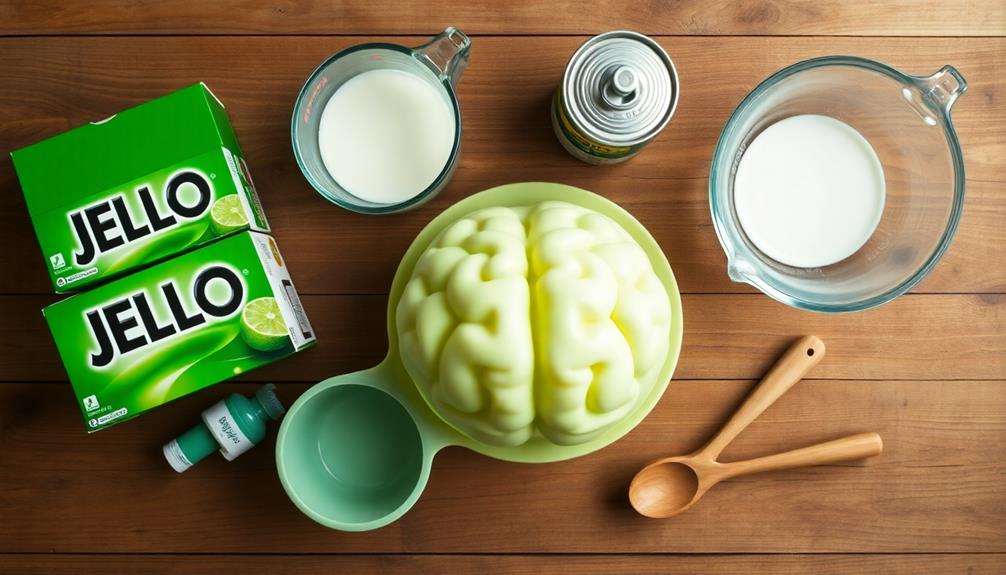
Several key steps are involved in preparing the gelatin mixture for your zombie brain jello. First, you'll need to gather your ingredients: unflavored gelatin, water, condensed milk, and food coloring.
In a large bowl, sprinkle the gelatin over cold water and let it sit for a few minutes to bloom. While that's happening, heat some water in a saucepan until it's just about to boil.
Pour the hot water over the bloomed gelatin and stir until it's completely dissolved. This is where the magic starts! Add the condensed milk and mix well.
Now, it's time to get creative with color. You'll want to aim for a grayish-pink hue to mimic brain tissue. Add a few drops of red and green food coloring, stirring after each addition until you achieve the perfect zombie brain shade.
Once you're happy with the color, let the mixture cool slightly. It should be warm but not hot when you pour it into your prepared brain mold.
Be careful not to let it set too much, or you'll end up with a lumpy brain!
Step 3. Pour Gelatin Into Mold
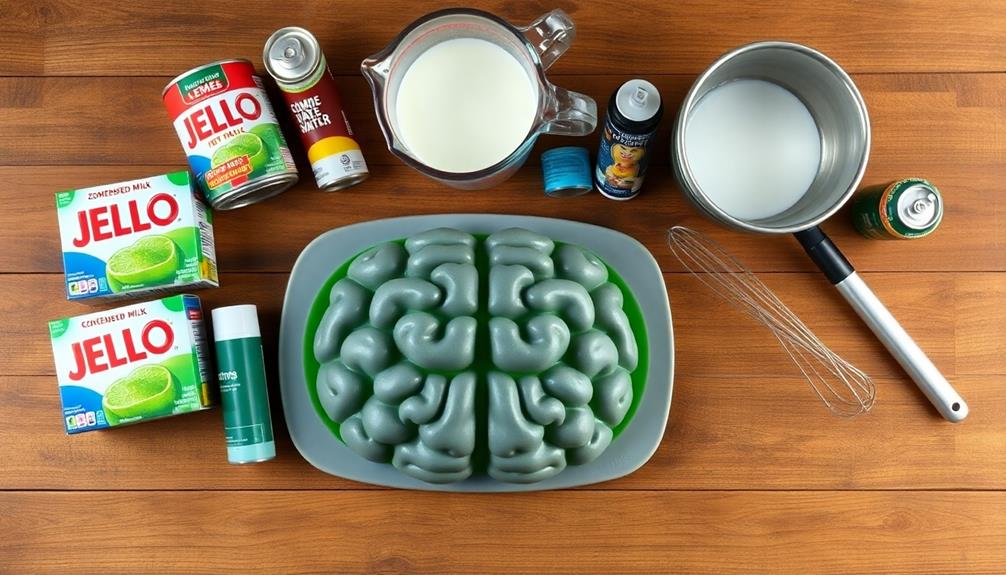
Precision is key when pouring the gelatin mixture into your brain mold. You'll want to work quickly but carefully to ensure the best results. First, make sure your mold is clean and dry.
Then, place it on a flat surface that's easy to access.
Now, it's time to pour! Grab your prepared gelatin mixture and start slowly pouring it into the mold. Don't rush this step – you don't want any air bubbles forming. As you pour, gently tilt the mold to help the gelatin spread evenly into all the nooks and crannies.
You'll see the liquid taking on the shape of the brain, filling in all those wrinkles and folds.
Keep pouring until you've filled the mold to about 1/4 inch from the top. This leaves room for the gelatin to expand slightly as it sets. If you notice any air bubbles, use a toothpick to pop them gently.
Once you're satisfied with the pour, it's time to let your zombie brain set. Carefully transfer the filled mold to the refrigerator, making sure it stays level.
Now, the waiting game begins!
Step 4. Refrigerate Until Partially Set
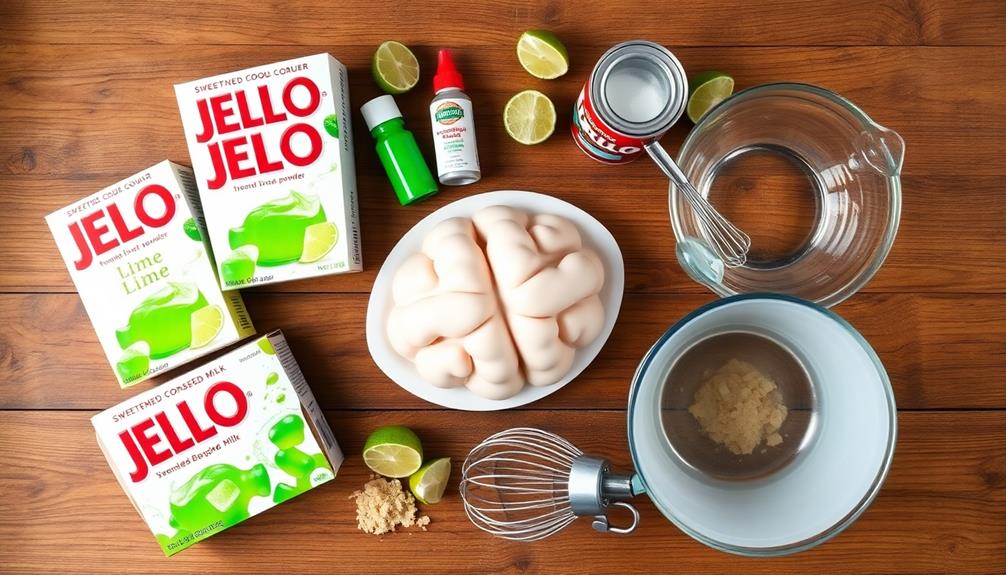
Patience is crucial during this stage of creating your zombie brain jello. After pouring the gelatin into the mold, you'll need to let it set partially in the refrigerator. This step ensures your brain maintains its shape and doesn't fall apart when you unmold it later.
Place the filled mold carefully in the fridge, making sure it's on a flat surface. You'll want to check on it every 15-20 minutes. As it cools, you'll notice the gelatin starting to thicken.
It's ready when it's firmed up but still slightly jiggly – like the consistency of thick pudding.
Don't let it set completely, or you won't be able to add the final gruesome details! The ideal partially-set state usually takes about 1 to 1.5 hours, depending on your fridge's temperature and the size of your mold.
While you're waiting, you can prepare any extra decorations or toppings you'd like to add.
Step 5. Unmold and Serve Chilled
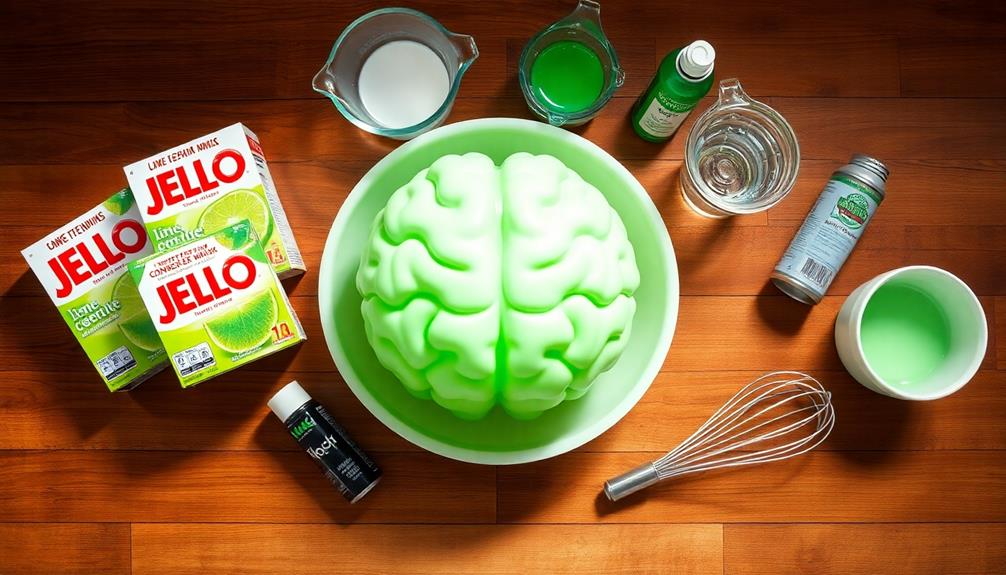
Once your zombie brain jello has reached the perfect consistency, it's time to unmold and serve this creepy creation.
Carefully dip the mold in warm water for about 10 seconds, making sure not to submerge it completely. This will help loosen the jello from the sides.
Place your serving plate upside down on top of the mold, then quickly flip both over together.
Gently shake the mold from side to side, and you should hear a satisfying "plop" as the brain slides out. If it doesn't release right away, don't panic!
Try tapping the mold or dipping it in warm water again for a few more seconds. Once your brain is free, you can add some finishing touches.
Drizzle red food coloring or strawberry syrup for a bloody effect, or use whipped cream to create a foamy, decayed look.
Serve your zombie brain chilled and watch your guests' reactions as they dig into this grotesque but tasty treat.
It's sure to be the centerpiece of your Halloween party or spooky movie night!
Final Thoughts
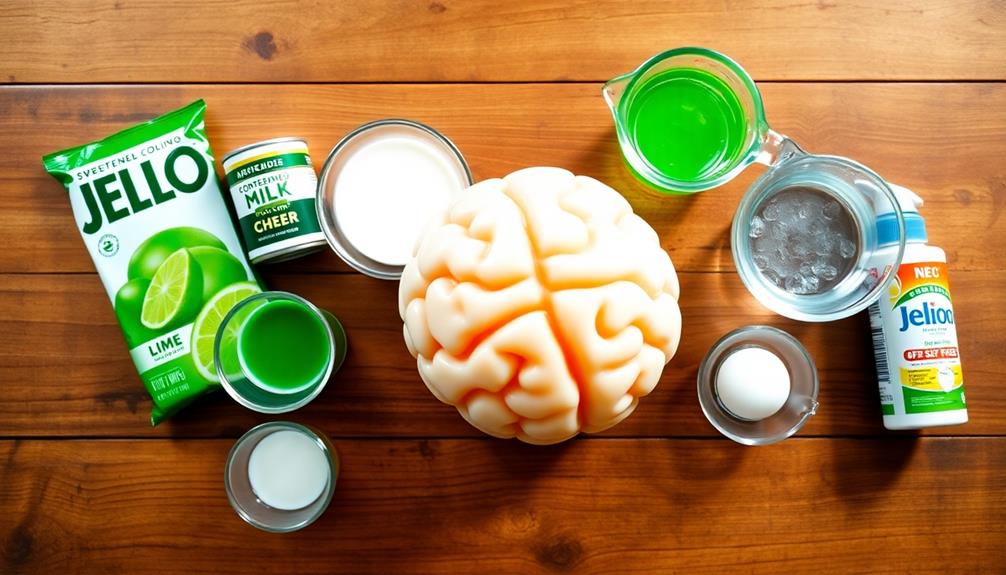
In light of your new culinary creation, you've successfully transformed a simple dessert into a spooky centerpiece. Your zombie brain jello mold is sure to be a hit at any Halloween party or horror-themed event. It's not just a treat for the taste buds, but also a feast for the eyes!
Remember, presentation is key. You can enhance the brain's eerie appearance by adding a few drops of red food coloring around the edges, mimicking blood. For an extra touch, consider placing your jello brain on a silver platter or surrounded by fake spider webs.
Don't be afraid to experiment with different flavors and colors for future attempts. Green lime jello could give your brain a toxic look, while berry flavors might create a more realistic appearance. You can even add gummy worms or candy eyeballs for added gross-out factor.
Most importantly, have fun with your creation! Your guests will appreciate the effort and creativity you've put into this unique dessert. Who knew that playing with your food could be so entertaining?
