Recipes
Vampire Bite Red Velvet Cupcakes
Prepare to sink your fangs into these devilishly delicious Vampire Bite Red Velvet Cupcakes, perfect for Halloween parties and…
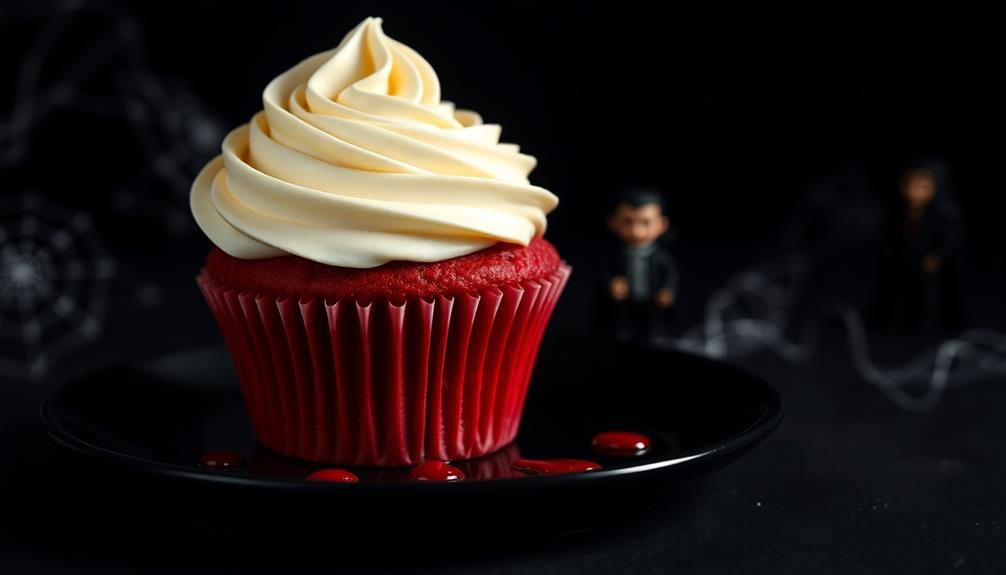
You'll love these spooky Vampire Bite Red Velvet Cupcakes, perfect for Halloween parties or gothic-themed events. These moist, velvety treats boast a rich chocolate flavor with a striking red hue. The cream cheese frosting is adorned with two small puncture marks, creating a playful vampire effect. You'll enjoy the heavenly aroma of cocoa and vanilla as they bake, and the visual appeal of their deep red color. Decorating these cupcakes is half the fun – try adding candy fangs or edible fake blood for extra flair. With just a few simple steps, you'll create a hauntingly delicious dessert that's sure to impress. Sink your teeth into the full recipe to uncover all the ghoulish details.
Key Takeaways
- Red velvet cupcakes are decorated to resemble vampire bites, perfect for Halloween or gothic-themed events.
- The recipe yields 12 moist cupcakes with a rich, velvety texture and subtle chocolate flavor from cocoa powder.
- Cream cheese frosting is applied with two small puncture marks to create the vampire bite effect.
- Optional decorations include candy fangs, edible fake blood, or colored frosting to enhance the spooky theme.
- Presentation tips suggest using themed platters and spooky decorations to amplify the Halloween spirit.
History
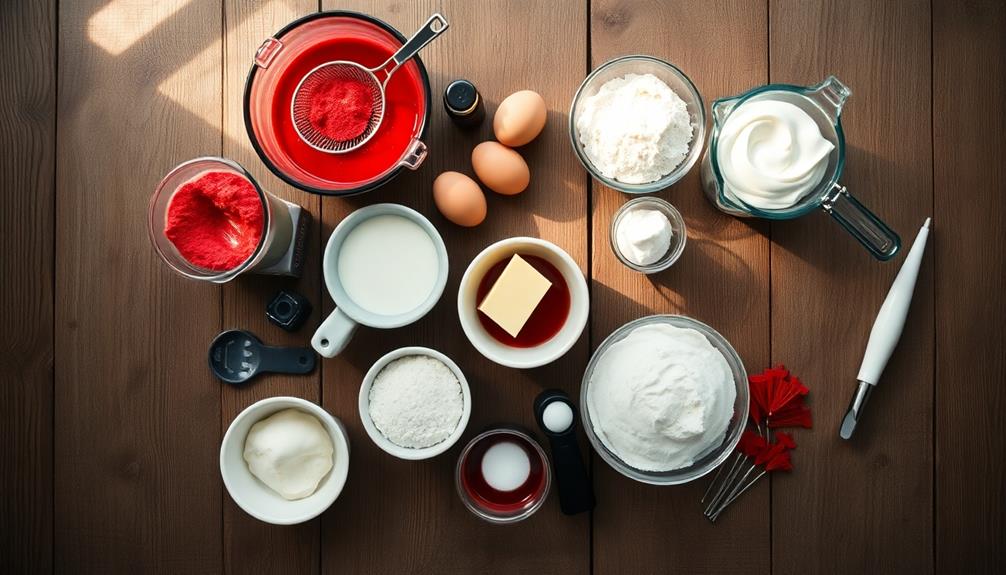
Red velvet cupcakes have a fascinating history that dates back to the early 20th century. You might be surprised to learn that these delicious treats weren't always the bright red color we know today. Originally, they got their reddish-brown hue from a chemical reaction between cocoa powder and acidic ingredients like buttermilk.
During World War II, bakers faced shortages of common ingredients. To make their cakes look more appealing, they started using beet juice to enhance the red color. This clever trick caught on, and soon red velvet cakes became a popular dessert.
In the 1950s, the Waldorf Astoria Hotel in New York City helped make red velvet cake famous. They served a version that became so popular, people started asking for the recipe.
As time went on, food coloring replaced beet juice, giving the cakes their signature vibrant red color.
Today, you'll find red velvet cupcakes in bakeries all over the world. They've become a beloved treat, especially for Valentine's Day and other special occasions.
Isn't it amazing how a simple cake has evolved into a cultural icon?
Recipe
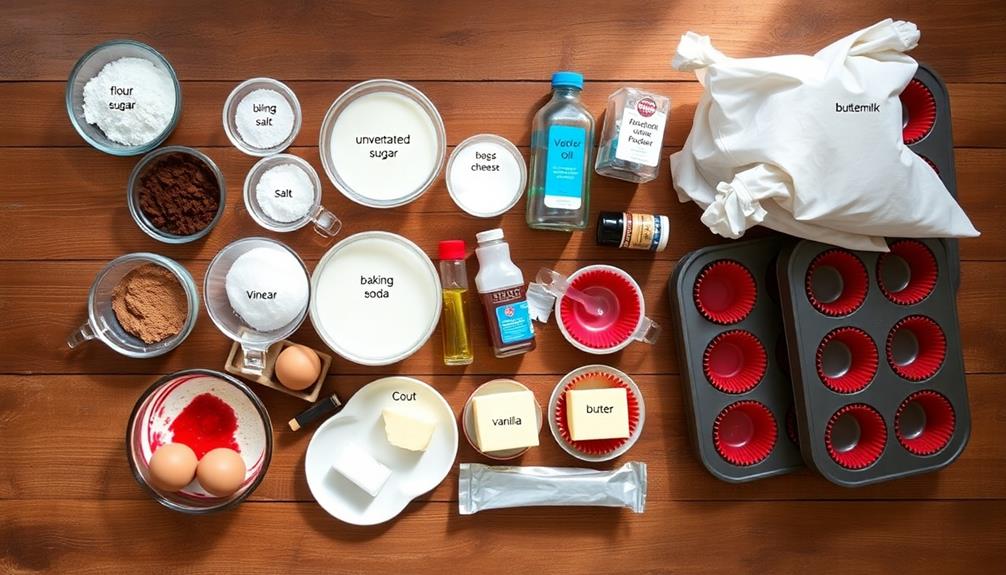
Vampire Bite Red Velvet Cupcakes are a spooky and delicious treat perfect for Halloween parties or any gothic-themed event. These blood-red cupcakes are topped with a creamy cream cheese frosting and feature two small puncture marks to mimic a vampire's bite, adding a touch of eerie charm to your dessert table.
This recipe yields 12 moist and flavorful cupcakes that are sure to impress your guests. The rich, velvety texture of the cake is complemented by the tangy cream cheese frosting, creating a perfect balance of flavors. The addition of cocoa powder gives these cupcakes a subtle chocolate undertone that pairs wonderfully with the vibrant red color.
- 1 1/2 cups all-purpose flour
- 1 cup granulated sugar
- 2 tablespoons unsweetened cocoa powder
- 1 teaspoon baking soda
- 1/2 teaspoon salt
- 1 cup vegetable oil
- 1 cup buttermilk
- 2 large eggs
- 2 tablespoons red food coloring
- 1 teaspoon white vinegar
- 1 teaspoon vanilla extract
- 8 oz cream cheese, softened
- 1/2 cup unsalted butter, softened
- 2 cups powdered sugar
- 1 teaspoon vanilla extract
Preheat the oven to 350°F (175°C) and line a muffin tin with cupcake liners. In a large bowl, whisk together the dry ingredients. In another bowl, mix the wet ingredients. Combine the wet and dry mixtures, stirring until just combined. Fill each cupcake liner about 2/3 full and bake for 18-20 minutes.
While the cupcakes cool, prepare the frosting by beating the cream cheese and butter until smooth, then gradually add the powdered sugar and vanilla. Once the cupcakes are completely cooled, frost them generously. To create the vampire bite effect, use a toothpick to make two small indentations on the frosting surface of each cupcake.
For best results, use gel food coloring instead of liquid for a more vibrant red color without affecting the cupcake's texture. If you want to enhance the vampire theme, consider adding a small amount of red gel food coloring to the frosting to create a pale pink hue, or use black food coloring to create gray "ash" frosting. You can also garnish the cupcakes with small candy fangs or edible fake blood for an extra spooky touch.
Cooking Steps
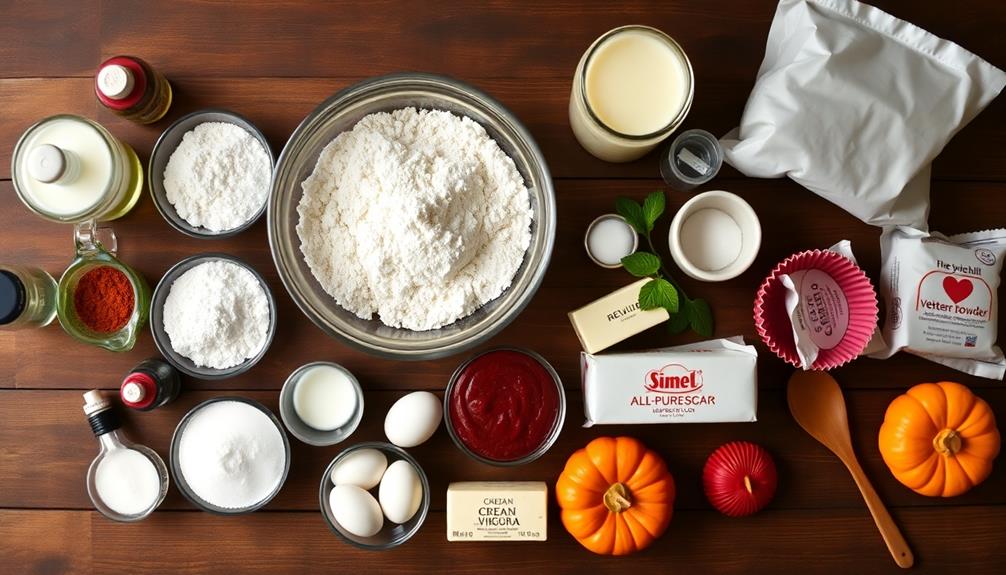
Let's get cooking!
You'll start by preheating your oven to 350°F and combining the dry ingredients in one bowl.
In another bowl, you'll mix the wet ingredients, then carefully fold them into the dry mixture before adding the batter to your cupcake liners.
Once they're ready, pop them in the oven and bake for 18-20 minutes, keeping an eye out for that perfect red velvet color.
Step 1. Preheat Oven to 350°F
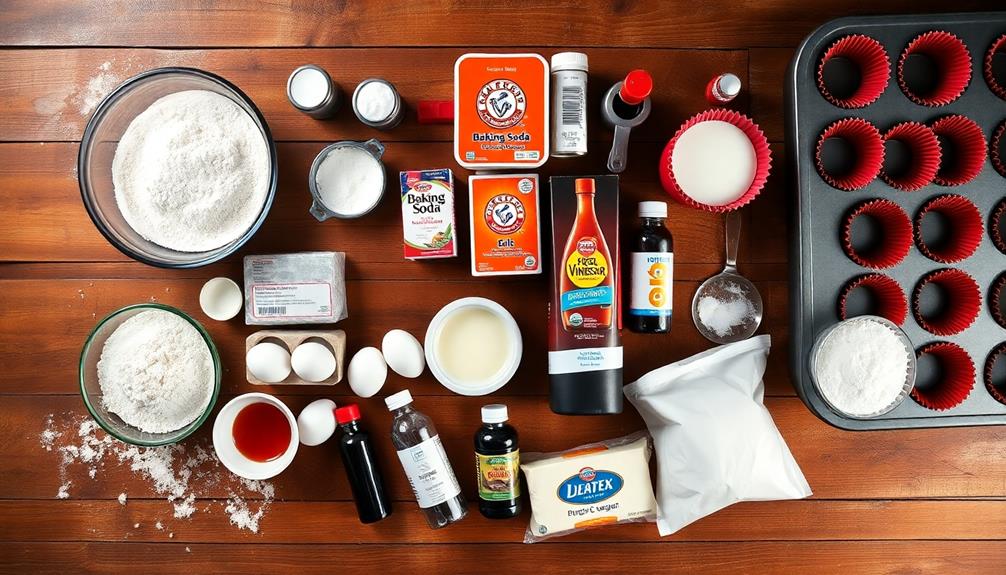
Before diving into the mixing process, you'll need to preheat your oven to 350°F (175°C). This crucial step ensures your cupcakes will bake evenly and rise perfectly. Don't skip it!
While your oven's heating up, it's the perfect time to gather all your ingredients and equipment. Make sure your oven rack is positioned in the center. This allows for optimal heat circulation and even baking.
If you're using a convection oven, you might want to lower the temperature by 25°F, as these ovens tend to run hotter.
While you're waiting, line your cupcake pan with festive Halloween-themed liners. They'll add a spooky touch to your vampire-inspired treats!
If you don't have a dedicated cupcake pan, don't worry. You can use sturdy paper cups on a regular baking sheet.
Step 2. Combine Dry Ingredients
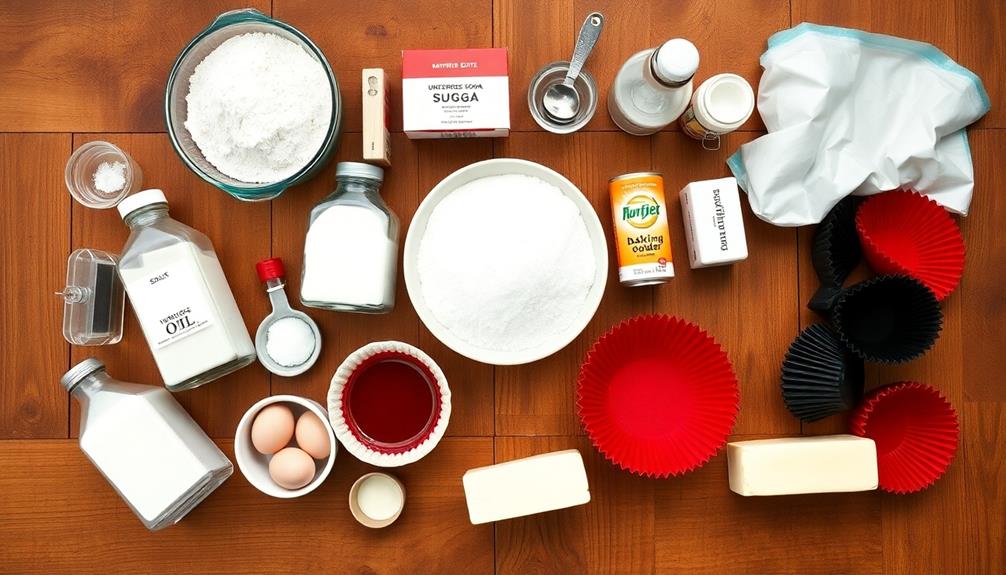
Typically, combining the dry ingredients is the first step in creating your vampire-inspired cupcakes. Grab a large mixing bowl and sift together 2 cups of all-purpose flour, 1 cup of granulated sugar, and 2 tablespoons of unsweetened cocoa powder. The sifting process helps remove any lumps and ensures your dry ingredients blend seamlessly.
Next, add 1 teaspoon of baking soda and 1/2 teaspoon of salt to the mixture. These ingredients are crucial for the cupcakes' texture and flavor. Don't forget to include 1 teaspoon of vanilla extract for that delicious aroma.
As you combine these ingredients, you'll notice the deep red color starting to form – perfect for your vampire-themed treats!
Use a whisk to thoroughly mix all the dry ingredients. Make sure there are no clumps or pockets of unmixed powder. This step is essential for creating a smooth, consistent batter later on.
As you whisk, imagine the rich, velvety cupcakes you'll soon be enjoying. The aroma of cocoa and vanilla will fill your kitchen, building excitement for the final product. Your vampire bite cupcakes are off to a great start!
Step 3. Mix Wet Ingredients Together
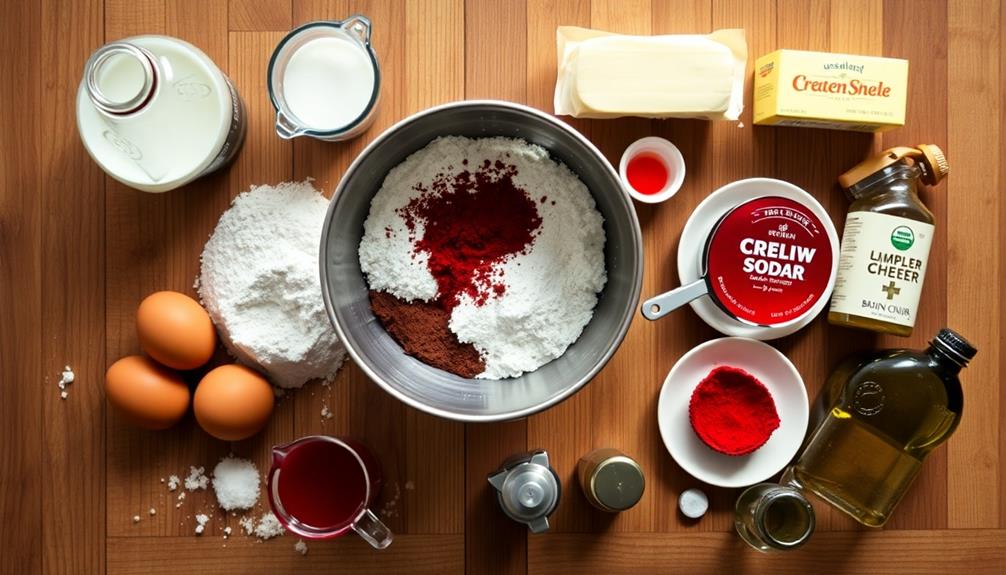
With the dry ingredients combined, it's time to focus on the wet components of your vampire bite cupcakes.
In a large mixing bowl, crack two eggs and add them to the bowl. Next, pour in a cup of buttermilk, which will give your cupcakes a tangy flavor and moist texture. Add half a cup of vegetable oil to keep the cupcakes soft and tender.
Now, it's time for the star ingredient: red food coloring! You'll want to use about two tablespoons to achieve that deep, blood-red color that's perfect for vampire-themed treats.
Don't forget to add a teaspoon of vanilla extract for a subtle sweetness and aroma.
Using an electric mixer or a whisk, blend these wet ingredients together until they're smooth and well combined. You'll see the mixture turn a vibrant red color as you mix.
Make sure there are no streaks of egg white visible and that the oil is fully incorporated. This wet mixture will soon be ready to join your dry ingredients, creating the perfect vampire bite cupcake batter!
Step 4. Add Batter to Liners
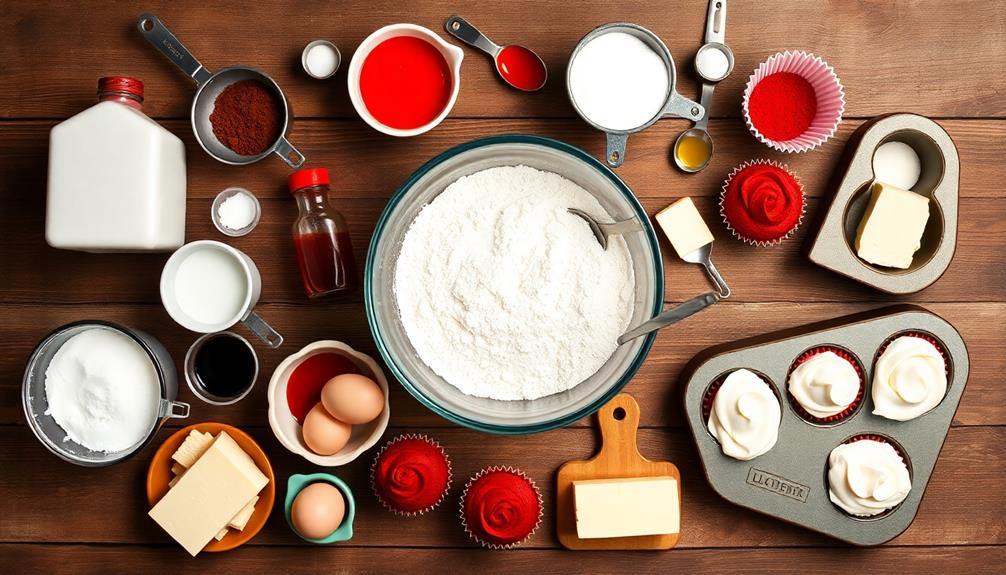
Now that your wet and dry ingredients are perfectly combined, it's time to fill your cupcake liners. Grab your prepared muffin tin with the liners already in place.
You'll want to fill each liner about 2/3 full to leave room for the cupcakes to rise. Using a spoon or an ice cream scoop, carefully transfer the batter into each liner. Try to distribute it evenly so all your cupcakes bake uniformly.
As you're filling the liners, you might notice the rich, deep red color of your batter – it's already looking vampire-worthy! Don't worry if you spill a little; just wipe the edges clean with a paper towel.
Once all the liners are filled, give the muffin tin a gentle tap on the counter. This helps remove any air bubbles trapped in the batter.
Take a moment to admire your handiwork. The vibrant red batter nestled in each liner is a preview of the delicious treats to come.
With your cupcakes ready for baking, you're one step closer to sinking your teeth into these devilishly delightful Vampire Bite Red Velvet Cupcakes!
Step 5. Bake for 18-20 Minutes
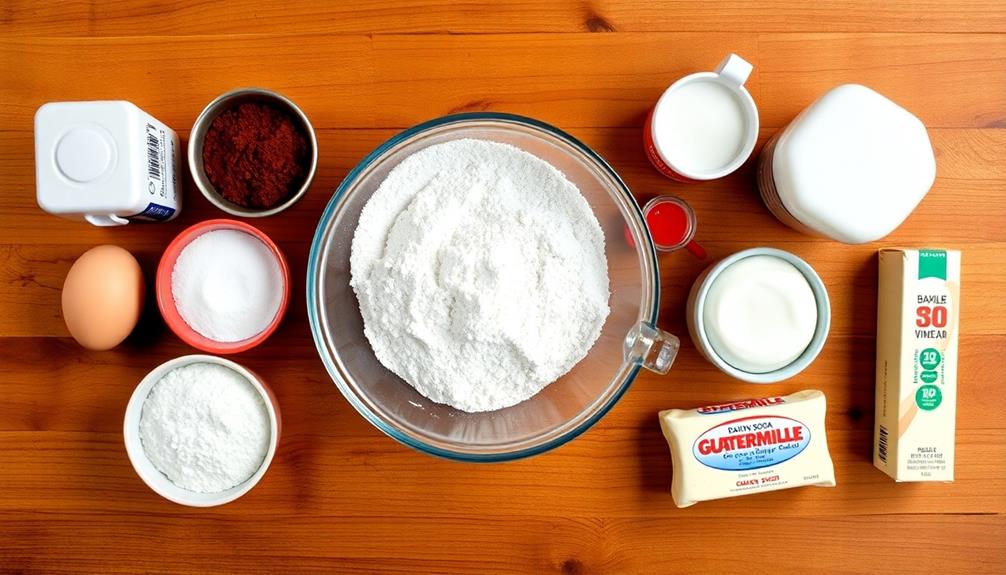
Preheat your oven to 350°F (175°C) before sliding the filled muffin tin onto the center rack.
It's time to transform your vampire-inspired batter into delicious cupcakes! Set your timer for 18 minutes, but keep an eye on them as they bake. You'll know they're ready when the tops spring back lightly when touched, and a toothpick inserted into the center comes out clean.
As the cupcakes bake, you'll notice a heavenly aroma filling your kitchen. The rich cocoa and vanilla scents will mingle, creating an irresistible fragrance that'll make your mouth water.
Watch through the oven door as the cupcakes rise and develop a beautiful deep red color.
If they're not quite done at 18 minutes, give them an extra minute or two. But be careful not to overbake! You want your cupcakes to be moist and tender, not dry.
Once they're perfectly baked, remove the tin from the oven and place it on a wire rack to cool. Let the cupcakes rest in the tin for about 5 minutes before transferring them to the rack to cool completely.
Final Thoughts
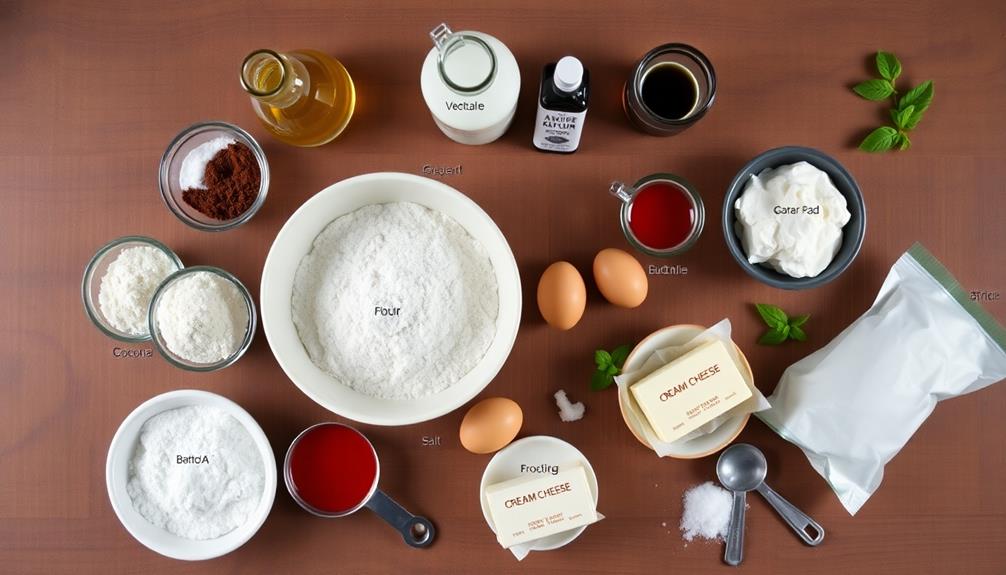
These Vampire Bite Red Velvet Cupcakes are sure to be a hit at your next Halloween party or spooky gathering. They're not only delicious but also visually striking, with their deep red color and fang-like bite marks. Your guests will be impressed by your creativity and baking skills!
Remember, the key to perfect cupcakes is in the details. Don't rush the process, and follow each step carefully. The cream cheese frosting should be smooth and creamy, while the cupcakes themselves should be moist and flavorful.
When you're adding the "bite marks," take your time to make them look realistic. You can get creative with your presentation, too. Try displaying the cupcakes on a themed platter or adding spooky decorations around them.
If you're feeling extra ambitious, you could even make tiny vampire teeth out of white chocolate to place on top of each cupcake.
Don't forget to have fun while you're baking! These cupcakes are all about embracing the Halloween spirit and sharing a tasty treat with friends and family. Enjoy the process, and don't worry if they're not perfect – they'll still be delicious!
Meet Lulu, our creative director at Halloween Product Reviews. With an eye for the unique and the unusual, Lulu brings our costume and decoration reviews to life with her imaginative flair. Halloween has always been a special time for Lulu to explore her creativity and she’s dedicated to helping you find the most original and awe-inspiring ideas to elevate your Halloween festivities.
Recipes
Pomegranate Spritz
Sip on the refreshing effervescence of the Pomegranate Spritz, a cocktail that blends ancient history with modern mixology for an unforgettable summer delight. Continue reading to uncover its versatility.
Harnessing the ancient history and revered health benefits of pomegranate, the Pomegranate Spritz offers a refreshingly fizzy beverage. Start by combining tart pomegranate juice and sparkling water, then optionally add a splash of vodka or gin for an adult twist. Garnish with a lemon wedge and pomegranate seeds to elevate the visual appeal. Muddling pomegranate and mint beforehand enhances the flavor, while carefully pouring the club soda preserves the effervescence. Serve over crushed ice for a chilled, elegant presentation perfect for summer gatherings. This captivating cocktail blends tradition and modern mixology – continue reading to uncover more about its versatility.
Key Takeaways
- The Pomegranate Spritz is a refreshing cocktail or mocktail made with pomegranate juice, sparkling water, and optional alcohol such as vodka or gin.
- Pomegranates have a rich history, being revered for their symbolic significance and health benefits in ancient civilizations.
- Preparation involves muddling pomegranate seeds and mint, adding club soda and gin, and garnishing with pomegranate arils for visual appeal.
- The Pomegranate Spritz pairs well with light appetizers and can be served as a non-alcoholic option for guests.
- The vibrant red color, bubbles, and garnishes create an attractive presentation, making the Pomegranate Spritz a versatile choice for various occasions.
History
The pomegranate's history can be traced back thousands of years, with evidence of its cultivation dating as far as the ancient Egyptian and Sumerian civilizations. This vibrant fruit, with its ruby-red arils and distinctive crown-like shape, has long been revered for its symbolic significance and health benefits.
In ancient Greek mythology, the pomegranate was linked to the goddess Persephone, representing the cycle of life, death, and rebirth. Over the centuries, the pomegranate has also been celebrated in Persian and Islamic cultures, often featured in art, literature, and culinary traditions.
Today, this ancient fruit continues to captivate modern audiences with its unique flavor and versatility in both sweet and savory dishes. From its humble beginnings in the Middle East, the pomegranate has truly blossomed into a global culinary icon, inspiring chefs and home cooks alike to explore its rich history and endless possibilities.
Recipe
Pomegranate Spritz is a refreshing and sophisticated cocktail that marries the tart and sweet flavors of pomegranate with the effervescence of sparkling wine. This vibrant drink is perfect for any occasion, whether you're hosting a dinner party or simply enjoying a quiet evening at home.
The combination of pomegranate juice, lemon juice, and a touch of honey creates a beautifully balanced and complex flavor profile. The addition of sparkling wine adds a festive touch, making this cocktail a true celebration in a glass.
- Pomegranate juice
- Lemon juice
- Honey
- Sparkling wine
- Ice
To prepare the Pomegranate Spritz, start by combining the pomegranate juice, lemon juice, and honey in a cocktail shaker filled with ice. Shake vigorously until well-chilled. Strain the mixture into a champagne flute or wine glass, and top with chilled sparkling wine. Garnish with a lemon twist or a few pomegranate arils, and enjoy this refreshing and flavorful cocktail.
When making the Pomegranate Spritz, be sure to use high-quality pomegranate juice for optimal flavor. You can experiment with the ratio of pomegranate to lemon juice to suit your taste preferences. Additionally, consider using a dry or brut sparkling wine to balance the sweetness of the other ingredients.
Cooking Steps
In a Pomegranate Spritz, start by muddling pomegranate seeds and mint to release their flavors.
Next, add a splash of club soda, a shot of gin, and plenty of ice.
Finish by garnishing with fresh pomegranate arils and serve over crushed ice for a refreshing and festive cocktail.
Step 1. Muddle Pomegranate Seeds and Mint
Grab a sturdy muddler and gently smash the juicy pomegranate seeds, releasing their vibrant essence. The satisfying crunch and burst of flavor are the first steps in crafting this refreshing cocktail.
Regular cleaning of your tools, like the muddler, ensures optimal performance in your cocktail-making endeavors, much like air purifier maintenance contributes to better air quality.
Next, add a few fresh mint leaves and use the muddler to lightly bruise them, releasing their aromatic oils. Be careful not to over-muddle, as you don't want to shred the mint.
The combination of pomegranate and mint will create a fragrant base for your spritz. Take a moment to breathe in the captivating scents – the sweet-tart notes of pomegranate and the refreshing coolness of mint.
This flavorful foundation is the starting point for building layers of complexity in your Pomegranate Spritz. With the produce prepped, you're one step closer to sipping a delightful, balanced cocktail.
Step 2. Add Club Soda
Next, top off the pomegranate-mint base with a splash of club soda. This will give your spritz a refreshing fizz and lighten up the flavors.
Gently pour the club soda over the muddled pomegranate seeds and mint, being careful not to stir too vigorously, as you want to preserve the carbonation.
The club soda will create a lovely effervescence that brings the drink together. Start with a small amount, maybe 2-3 ounces, and then add more to taste. You want enough club soda to balance the sweetness of the pomegranate without diluting the drink too much.
Once you've added the club soda, give the cocktail a gentle stir to incorporate all the flavors. Be delicate, as you don't want to lose the fizz.
Now your Pomegranate Spritz is ready to serve over ice. The perfect refreshing and sophisticated cocktail for any occasion!
Step 3. Add Gin and Ice
To finish off your Pomegranate Spritz, grab a highball or Collins glass and fill it with ice. Next, add 1 1/2 ounces of gin. The gin will give your drink a lovely botanical flavor that complements the sweetness of the pomegranate.
Additionally, incorporating coffee into your routine can offer various health benefits such as enhanced cognitive function and improved mood, making it a great companion for your cocktail evenings. Stir the mixture gently to combine. The ice will chill the drink and dilute it just enough, creating a refreshing and balanced sip.
Now, take a moment to admire your creation. The vibrant pink color of the pomegranate juice will make your Pomegranate Spritz look absolutely stunning. Go ahead and give it a taste – the gin, club soda, and pomegranate should mingle together seamlessly, resulting in a sprightly and invigorating cocktail.
Sip and savor as you enjoy the perfect balance of flavors. Your Pomegranate Spritz is now complete and ready to be shared with friends on a warm afternoon or evening.
Step 4. Garnish With Pomegranate Arils
The final touch to your captivating Pomegranate Spritz lies in the eye-catching pomegranate arils. These vibrant ruby-red jewels add a burst of color and a delightful crunch to your cocktail.
Gently scoop out a handful of the juicy arils and scatter them over the top of your drink. As your guests take their first sip, they'll be delighted by the interplay of flavors – the effervescent sparkle of the club soda, the tartness of the pomegranate, and the subtle sweetness of the simple syrup, all complemented by the unexpected pop of the pomegranate arils.
Not only do the arils heighten the visual appeal of your Pomegranate Spritz, but they also provide a fun textural experience, inviting your guests to savor each sip.
With a sprinkle of these ruby-red gems, you've elevated your cocktail to a work of art, sure to impress and delight all who indulge.
Step 5. Serve Over Crushed Ice
Fill a rocks glass or highball glass with crushed ice. Gently pour the pomegranate spritz over the ice, allowing it to cascade down the sides.
Top off the glass with a little more crushed ice, creating a nicely chilled and beautifully layered drink. The pomegranate juice and club soda will swirl together, creating a vibrant, ruby-red hue that's sure to catch the eye.
Don't be afraid to get creative with your ice! Try using an ice cube tray to make decorative pomegranate-shaped or star-shaped ice cubes.
These fun ice additions will make your pomegranate spritz even more visually appealing. Garnish the drink with a few fresh pomegranate arils, a lime wedge, or a sprig of mint for a final touch of color and flavor.
Serve the pomegranate spritz immediately, so your guests can enjoy the fizzy, refreshing combination of sweet and tart.
Final Thoughts
With the Pomegranate Spritz now at your fingertips, you're poised to savor the refreshing blend of pomegranate, lemon, and sparkling water.
This vibrant cocktail is sure to delight your taste buds and impress your friends.
Don't be afraid to experiment with garnishes, such as a lemon wedge or a pomegranate seed, to add a personal touch.
The Pomegranate Spritz is a versatile drink that can be enjoyed on its own or paired with a variety of snacks.
As you sip and savor, remember that the beauty of this cocktail lies in its simplicity.
With just a few ingredients, you've created a refreshing and visually stunning drink that's perfect for any occasion.
Frequently Asked Questions
What Alcoholic Spirits Can Be Used in a Pomegranate Spritz?
You can use a variety of alcoholic spirits in a pomegranate spritz, such as vodka, gin, or white wine. The choice depends on your personal taste preferences and the flavor profile you're aiming to create.
How Can I Make the Pomegranate Spritz Less Sweet?
To make the drink less sweet, you can reduce the amount of pomegranate juice or simple syrup used, and increase the proportion of sparkling wine or club soda. You can also add a splash of lemon or lime juice to balance the sweetness.
Can I Use Other Fruit Juices Instead of Pomegranate?
You can absolutely use other fruit juices instead of pomegranate. Try citrus juices like orange or grapefruit, or even berry juices like raspberry or blackberry. The possibilities are endless when it comes to creating a refreshing spritz.
What Type of Glassware Is Best for Serving a Pomegranate Spritz?
For a refreshing spritz, you'll want to serve it in a tall, slim glass like a collins or highball. These glasses provide ample room for the bubbly beverage and allow the vibrant color to shine.
How Long Can a Prepared Pomegranate Spritz Be Stored?
You can typically store a prepared cocktail like a pomegranate spritz for up to 3-4 days when kept refrigerated in an airtight container. However, the carbonation and freshness may diminish over time, so it's best enjoyed soon after preparation.
Meet Lulu, our creative director at Halloween Product Reviews. With an eye for the unique and the unusual, Lulu brings our costume and decoration reviews to life with her imaginative flair. Halloween has always been a special time for Lulu to explore her creativity and she’s dedicated to helping you find the most original and awe-inspiring ideas to elevate your Halloween festivities.
Recipes
Lemon Basil Spritz
Perfectly balanced and refreshingly bright, the Lemon Basil Spritz is a must-try summer cocktail that transports you to the Mediterranean. Continue reading for the full recipe.
The Lemon Basil Spritz is a refreshing summer cocktail that blends the bright, citrusy notes of lemon with the aromatic herbiness of fresh basil. You'll start by combining lemon juice and muddled basil, then add fizzy soda water and a touch of simple syrup for sweetness. Garnish it with a lemon slice and extra basil for a visually appealing drink that's perfect for sipping on warm days. The Lemon Basil Spritz offers a balance of flavors that'll have you dreaming of Mediterranean getaways. And if you keep reading, you'll discover more details on crafting this delightful cocktail.
Key Takeaways
- The Lemon Basil Spritz is a refreshing cocktail that originated from Mediterranean culinary traditions and evolved from the classic Italian Aperol Spritz.
- The recipe combines gin, freshly squeezed lemon juice, simple syrup, and fresh basil leaves, topped with chilled sparkling water and garnished with a lemon slice and basil sprig.
- The drink offers a balance of citrusy lemon, herbal basil, and a light, effervescent texture, making it an ideal summertime sipper with a Mediterranean flair.
- Preparation involves combining the lemon juice and basil, adding soda water and ice cubes, and garnishing with fresh lemon slices for a visually appealing presentation.
- The Lemon Basil Spritz is celebrated for its refreshing qualities, low-calorie profile, and potential health benefits from the inclusion of basil and lemon.
History
The origins of the Lemon Basil Spritz can be traced back to the vibrant culinary traditions of the Mediterranean region, where the refreshing combination of lemon and basil has long been cherished.
This refreshing cocktail likely evolved from the classic Aperol Spritz, a beloved Italian aperitif, with the addition of fresh lemon and fragrant basil.
As the popularity of craft cocktails grew, bartenders and home mixologists began experimenting with new flavor profiles, leading to the creation of the Lemon Basil Spritz.
The bright, herbal notes of the basil perfectly complement the tart citrus, while the sparkling wine or soda base provides a light, effervescent finish.
Today, the Lemon Basil Spritz is a beloved summertime sipper, enjoyed for its balance of flavors and ability to transport sippers to sun-drenched Mediterranean terraces, even in the comfort of their own homes.
Recipe
The Lemon Basil Spritz is a refreshing and flavorful cocktail that combines the zestiness of lemon with the herbaceous notes of fresh basil. This sparkling drink is perfect for sipping on a warm day or enjoying as a pre-dinner aperitif. The combination of citrus and botanicals creates a balanced and invigorating taste that will delight your taste buds.
Additionally, learning how to pair drinks with your favorite coffee can enhance your overall beverage experience, as coffee culture continues to evolve with unique offerings like cocktails featuring coffee flavors unique offerings.
To make this delightful Lemon Basil Spritz, you'll need a few simple ingredients and a bit of preparation. By following the recipe below, you'll be able to whip up this vibrant cocktail in no time, and impress your guests with your mixology skills.
Ingredients:
- 2 ounces gin
- 1 ounce freshly squeezed lemon juice
- 1 ounce simple syrup
- 8-10 fresh basil leaves
- Chilled sparkling water
- Lemon slice and fresh basil sprig for garnish
In a cocktail shaker, gently muddle the basil leaves with the lemon juice and simple syrup. Add the gin and fill the shaker with ice. Shake vigorously for 10-15 seconds until well-chilled. Strain the mixture into a chilled wine glass or coupe glass. Top with chilled sparkling water and stir gently to combine. Garnish with a lemon slice and a fresh basil sprig.
When making this Lemon Basil Spritz, be sure to use fresh, high-quality ingredients for the best flavor. The basil should be fragrant and the lemon juice should be tart and bright.
You can adjust the sweetness to your personal preference by adding more or less simple syrup. For an extra refreshing twist, you can also serve this cocktail over ice.
Enjoy your Lemon Basil Spritz and savor the perfect balance of citrus and herbal notes.
Cooking Steps
First, combine the freshly squeezed lemon juice and chopped basil leaves in a glass.
Next, top it off with some bubbly soda water and a handful of ice cubes.
Step 1. Combine Lemon Juice and Basil
Next, combine the lemon juice and basil. Pour the freshly squeezed lemon juice into a small bowl.
Gently tear the basil leaves and add them to the bowl. Use your hands to lightly bruise the basil, releasing its aromatic oils.
Give the mixture a quick stir to evenly distribute the basil. This step infuses the lemon juice with the bright, herbal flavor of the basil.
The lemon's acidic bite pairs perfectly with the sweet, peppery notes of the basil. Take a moment to breathe in the fragrant blend – it's going to make your spritz simply divine!
Once the lemon and basil are combined, you're ready to move on to the next step. Grab your soda water and get ready to assemble the final cocktail.
Step 2. Add Soda Water
Now grab your glass and fill it with ice.
Next, take your freshly squeezed lemon juice and basil leaves and pour them over the ice. Stir gently to combine.
Time to add the final touch – soda water! Slowly pour the soda water into your glass, watching as it fizzes and mingles with the lemon and basil.
Give it a gentle stir to fully incorporate all the flavors. The carbonation from the soda water will create a refreshing, bubbly spritz that's perfect for a hot summer day.
Take a sip and enjoy the bright, citrusy taste with the herbaceous notes of the basil.
This Lemon Basil Spritz is a delightful balance of flavors that's sure to quench your thirst.
Feel free to customize it to your taste by adjusting the amounts of lemon juice, basil, or soda water. Have fun experimenting!
Step 3. Add Ice Cubes
Start by grabbing your glass and filling it with ice cubes. This will help chill your Lemon Basil Spritz and give it a refreshing, icy texture. Carefully drop the cubes into the glass, making sure not to splash or spill the mixture.
You'll want enough ice to fill the glass about three-quarters full, leaving just a bit of room at the top for the final touches.
Once the ice is in, slowly pour the lemon-basil soda water over the top. Watch as the fizzy liquid cascades over the ice, creating a bubbly, chilled cocktail.
Gently stir the drink to combine all the flavors. The cool temperature of the ice will help balance the tartness of the lemon and the herbaceous notes of the basil.
Take a sip and enjoy the refreshing, invigorating sensation of your perfectly crafted Lemon Basil Spritz. The ice cubes are the final piece that brings this delightful beverage together.
Step 4. Garnish With Fresh Lemon Slices
Take a fresh lemon and slice it into thin, even rounds. These lemon slices will make the perfect garnish for your Lemon Basil Spritz. Carefully place one or two slices on the rim of each glass, letting them hang over the edge.
The bright, citrusy flavor of the lemon will complement the herbal notes of the basil and the refreshing fizz of the spritz.
Don't be afraid to get creative with the lemon garnish. Try arranging the slices in an overlapping pattern or cutting them into fun shapes like stars or hearts.
You can even try twisting the lemon slices for a playful, spiraled effect. The key is to make the garnish visually appealing, drawing the eye to the delightful Lemon Basil Spritz.
Step 5. Stir Gently Before Serving
Before serving your Lemon Basil Spritz, gently stir the contents of the glass. This will help incorporate all the flavors and ensure a harmonious sip.
Don't be too vigorous, though – you don't want to create a frothy mess! Just a few gentle rotations of your spoon should do the trick.
Once stirred, your refreshing drink is ready to enjoy. The citrusy lemon notes will dance on your tongue, balanced by the fragrant, herbal basil. Each sip offers a burst of bright, summery flavor.
Be sure to pause and savor the Lemon Basil Spritz. Take your time and let the flavors unfold.
This is a drink to be savored, not rushed. As you sip, appreciate the careful craftsmanship that went into creating this delightful libation. Cheers!
Final Thoughts
As you round out your lemon-basil spritz experience, consider the refreshing balance of tart citrus and aromatic basil that this cocktail delivers. The bright, herbal notes of the basil complement the zestiness of the lemon, creating a vibrant, thirst-quenching beverage.
While the spritz may seem delicate, it packs a flavorful punch that's sure to delight your taste buds.
Don't be afraid to experiment with the ratio of ingredients to suit your personal preferences. A touch more lemon for an extra tart kick, or a little extra basil for an herbaceous boost – the choice is yours.
And remember, a gentle stir before serving is key to ensuring all the flavors mingle harmoniously.
As you sip and savor your lemon-basil spritz, let the refreshing combination transport you to a sun-drenched garden, where the scent of fresh basil mingles with the zest of citrus.
Cheers to this delightful summer sipper!
Frequently Asked Questions
How Long Does the Lemon Basil Spritz Last?
The lemon basil spritz should last about 2-3 days when stored in the refrigerator with the lid tightly sealed. You'll want to consume it before it starts to lose its fresh, vibrant flavors.
Can I Use Other Citrus Fruits Instead of Lemon?
You can absolutely use other citrus fruits instead of lemon. Try orange, grapefruit, or even lime for a zesty twist on the classic spritz. The key is to balance the citrus with fresh herbs like basil.
Is the Lemon Basil Spritz Suitable for Vegetarians/Vegans?
You'll be happy to know that the citrus-based spritz is a suitable option for vegetarians and vegans, as it doesn't contain any animal-derived ingredients. Feel free to experiment with other citrus fruits like oranges or limes for a unique twist.
Can I Make the Spritz in Advance?
Yes, you can make the spritz in advance. Simply prepare the ingredients, mix them together, and store the mixture in the refrigerator until you're ready to serve. This will allow the flavors to meld and the drink to chill before serving.
What Is the Ideal Serving Temperature for the Spritz?
The ideal serving temperature for a spritz is typically chilled, around 40-45°F (4-7°C). This allows the flavors to shine and provides a refreshing, crisp sip. Adjust the temperature based on your personal preference and the ambient conditions.
Meet Lulu, our creative director at Halloween Product Reviews. With an eye for the unique and the unusual, Lulu brings our costume and decoration reviews to life with her imaginative flair. Halloween has always been a special time for Lulu to explore her creativity and she’s dedicated to helping you find the most original and awe-inspiring ideas to elevate your Halloween festivities.
Recipes
Raspberry Spritz
Lively and vibrant, the Raspberry Spritz is a refreshing cocktail that combines fresh raspberries, lemon, and sparkling wine for a delightful garden party experience. Learn more to discover the secret to making this perfect sip.
The Raspberry Spritz is a refreshing and vibrant cocktail that'll transport you to a sun-drenched garden party. You'll blend together fresh raspberries, a touch of sweetness, and tangy lemon juice, then top it all off with bubbly sparkling wine. As the fizz dances on your tongue, you'll savor the balance of tart, herbal, and effervescent flavors. It's the perfect sip to enjoy on a warm afternoon – and if you keep reading, you'll discover even more tips to make your Raspberry Spritz shine.
Key Takeaways
- Raspberry Spritz is a refreshing cocktail that originated in the late 19th century, featuring a balance of raspberry, sparkling wine, and herbal gin flavors.
- The recipe calls for using fresh raspberries, sugar syrup, lemon juice, and chilled sparkling wine, with optional additions like herbal gin for complexity.
- Proper preparation techniques, such as chilling glassware and avoiding over-muddling raspberries, are key to achieving the desired flavor profile and mouthfeel.
- Raspberry Spritz is a versatile cocktail suitable for various occasions, from casual gatherings to summer parties, and pairs well with light appetizers or salads.
- The vibrant pink hue and effervescence of the Raspberry Spritz make it a visually appealing and refreshing drink to be enjoyed immediately.
History
The Raspberry Spritz has roots dating back to the late 19th century, when Italian bartenders began experimenting with carbonated beverages and fruit-based liqueurs.
As these mixologists explored new flavor combinations, they discovered that the subtle sweetness and tart notes of raspberries paired perfectly with the effervescence of sparkling wine or soda.
Over time, the Raspberry Spritz evolved, with bartenders experimenting with different base spirits, sweeteners, and garnishes to create their own unique takes on the classic.
Some favored the bright, refreshing profile of a dry prosecco, while others opted for the richer, more complex flavors of a bitter Italian aperitif.
No matter the specific recipe, the Raspberry Spritz became known for its ability to balance fruit, bubbles, and a touch of bitterness – making it a versatile and beloved cocktail.
Recipe
Raspberry Spritz is a refreshingly tart and bubbly cocktail that combines the sweetness of raspberries with the effervescence of sparkling wine. This vibrant drink is perfect for summer gatherings or as a palate cleanser between courses.
The key to a successful Raspberry Spritz is using high-quality, fresh raspberries. When muddled, they release their juices, creating a natural sweetness that balances the acidity of the wine. The addition of a touch of sugar syrup and a squeeze of lemon further enhances the flavors, resulting in a well-rounded and complex cocktail.
Ingredients:
- 8-10 fresh raspberries
- 1 tsp sugar syrup
- 1 tbsp lemon juice
- 4 oz chilled sparkling wine
Instructions:
In a cocktail shaker, gently muddle the raspberries with the sugar syrup and lemon juice until the berries have released their juices. Fill a stemmed glass with ice, then strain the raspberry mixture over the ice. Top with the chilled sparkling wine and stir gently to combine.
When making Raspberry Spritz, it's important to use a high-quality sparkling wine, as the bubbles are essential to the overall experience. Additionally, be gentle when muddling the raspberries to avoid extracting too much bitterness from the seeds.
Serve the cocktail immediately, garnished with a fresh raspberry or a lemon twist, and enjoy the refreshing and vibrant flavors of this delightful summer sipper.
Cooking Steps
First, chill your glasses before assembling the spritz.
Next, add a splash of tart raspberry puree to each glass.
Then, top it off with chilled sparkling wine and garnish with fresh raspberries.
Serve immediately for the best bubbly, berry-infused experience.
Step 1. Chill Glasses Before Assembling
Chill your glasses in the freezer for about 30 minutes before assembling the Raspberry Spritz. This step helps create the perfect frosty and refreshing drinking experience.
Chilled glassware will keep your spritz nice and cool, so you can enjoy it at the optimal temperature.
Once your glasses are properly chilled, you're ready to build your Raspberry Spritz. Grab your bottle of sparkling wine and pour it into the frosty glasses, filling them about 3/4 full.
Next, top off each glass with a splash of raspberry liqueur. This tart and fruity addition complements the bubbly perfectly.
Step 2. Add Raspberry Puree
To elevate your Raspberry Spritz, you'll want to add a vibrant raspberry puree. This step brings a burst of bright, tangy flavor that perfectly complements the bubbles and citrus notes.
Start by gently heating 1 cup of fresh or frozen raspberries in a small saucepan over medium heat. Stir frequently until the berries break down and release their juices, about 5-7 minutes.
Next, press the raspberry mixture through a fine-mesh sieve, discarding the seeds. You should end up with around 1/2 cup of silky smooth puree. This concentrated flavor will be the star of your cocktail.
Carefully spoon the puree into your chilled glasses, then top with the sparkling wine or Prosecco. Give it a gentle stir to incorporate the puree.
The result is a beautifully layered spritz with vibrant purple hues and an intense berry aroma. Garnish with a fresh raspberry or lemon twist, and enjoy this elevated twist on a classic aperitif.
Step 3. Add Sparkling Wine
Once you've prepared the vibrant raspberry puree, it's time to add the sparkling wine. Slowly pour in the chilled sparkling wine, stirring gently to combine. The fizzy bubbles will give your Raspberry Spritz a delightful effervescence.
Be careful not to overstir, as you don't want to lose too much of that lovely carbonation. The sparkling wine you choose can really shape the final flavor. Opt for a dry, crisp variety like Prosecco or Cava to let the raspberry shine.
Avoid overly sweet options, which could make the drink cloying. Aim for a ratio of about 3 parts sparkling wine to 1 part raspberry puree. Taste as you go and adjust to your personal preferences.
Once blended, pour the Raspberry Spritz into chilled glasses and garnish with a fresh raspberry or a twist of lemon peel. The bubbly, tart, and sweet combination is sure to delight your taste buds.
Sip and savor this refreshing cocktail on a warm day.
Step 4. Garnish With Fresh Raspberries
Finish the drink by garnishing with fresh raspberries. Gently drop a few plump, juicy raspberries into the glass, allowing them to float on the surface of the sparkling wine. The vibrant red color of the raspberries will create a stunning visual contrast, making your Raspberry Spritz even more appealing.
Arrange the raspberries in a decorative pattern, such as a spiral or scattered arrangement, to add a touch of elegance. You can also try gently pressing a raspberry against the inside of the glass, so it sticks to the side and becomes a striking focal point.
The fresh raspberries won't only look beautiful, but they'll also provide a burst of natural sweetness and aroma to complement the dry, effervescent character of the sparkling wine.
Sip your Raspberry Spritz and enjoy the interplay of flavors and textures as the raspberries infuse the drink with their delightful essence.
Step 5. Serve Immediately After Garnishing
After adorning your Raspberry Spritz with the vibrant raspberries, it's time to serve the drink immediately. This bubbly, fruity cocktail is best enjoyed fresh, when the sparkling wine is still effervescent, and the raspberry flavor is at its peak.
Don't let your hard work go to waste – pour the drink into chilled glasses right away.
The Raspberry Spritz should be served chilled, so make sure your glasses are properly cooled before assembling the final cocktail. Fill each glass about two-thirds full with the sparkling wine or Prosecco.
Then, gently pour in the raspberry syrup, stirring just enough to incorporate it. Finally, top off each glass with the reserved fresh raspberries, ensuring each serving gets an equal amount of the vibrant fruit.
The Raspberry Spritz is meant to be a light, refreshing drink, so resist the urge to over-mix or over-garnish. Serve it immediately, so your guests can appreciate the sparkling wine, sweet-tart raspberry flavors, and beautiful presentation in every sip.
Enjoy!
Final Thoughts
The Raspberry Spritz is a delightful and refreshing cocktail that's perfect for any occasion. Now that you've masterfully prepared and garnished this stunning beverage, take a moment to sit back and enjoy your creation.
The vibrant pink hue and effervescent bubbles are sure to impress your guests, making this spritz a true showstopper. You might even consider pairing your cocktail with a soothing flower tea to elevate your experience, as many varieties are known for their calming effects.
As you sip your Raspberry Spritz, savor the balance of tart raspberries, herbal gin, and the subtle sweetness of the simple syrup.
The garnish of fresh raspberries and a lemon twist adds a beautiful finishing touch, both visually and in terms of flavor. This cocktail is a wonderful way to celebrate the arrival of warmer weather or to simply unwind after a long day.
Frequently Asked Questions
How Long Does the Raspberry Spritz Keep in the Refrigerator?
You can keep the raspberry spritz in the refrigerator for up to 3-5 days. It's best to store it in an airtight container to maintain its freshness and prevent any contamination. Enjoy your tasty beverage within this time frame.
What Kind of Glass Is Best for Serving the Raspberry Spritz?
The best glass for serving your Raspberry Spritz is a wine glass or a champagne flute. These glassware options will showcase the beautiful color and effervescence of the cocktail, making it an elegant and visually appealing presentation.
Can I Substitute Other Berries for the Raspberries in the Recipe?
You can absolutely substitute other berries in this recipe! Blueberries, blackberries, or even a mix of different berries would work great. Just adjust the sweetness as needed to account for the unique flavors of your chosen fruit.
How Can I Make the Raspberry Spritz Non-Alcoholic?
To make the spritz non-alcoholic, you can swap the alcoholic component with a non-alcoholic mixer like club soda, tonic water, or even fruit juice. This will create a refreshing, alcohol-free beverage that still captures the essence of the original recipe.
Is the Raspberry Spritz Suitable for a Large Gathering?
The raspberry spritz can certainly work well for a large gathering. Its refreshing, lightly carbonated nature makes it an ideal non-alcoholic option that'll please a crowd. Just be sure to prepare enough to keep up with demand.
Meet Lulu, our creative director at Halloween Product Reviews. With an eye for the unique and the unusual, Lulu brings our costume and decoration reviews to life with her imaginative flair. Halloween has always been a special time for Lulu to explore her creativity and she’s dedicated to helping you find the most original and awe-inspiring ideas to elevate your Halloween festivities.
-
Halloween5 months ago
Mga Tauhan ng Florante at Laura Costume
-
Halloween5 months ago
Can You Go to Halloween Horror Nights While Pregnant?
-
Vetted8 months ago
14 Best Sweet Raccoon Teen Costumes for Halloween Fun
-
Halloween5 months ago
Sexy Harry Potter Outfits For Halloween
-
Halloween5 months ago
A Child in a Hitler Costume Causes a Stir Online
-
Halloween5 months ago
Alvin and the Chipmunks Costume Ideas
-
Vetted8 months ago
13 Best DC Superheroes Supergirl Teen Costumes to Transform Your Look
-
Halloween5 months ago
How to Get Halloween Cookies in Cookie Clicker