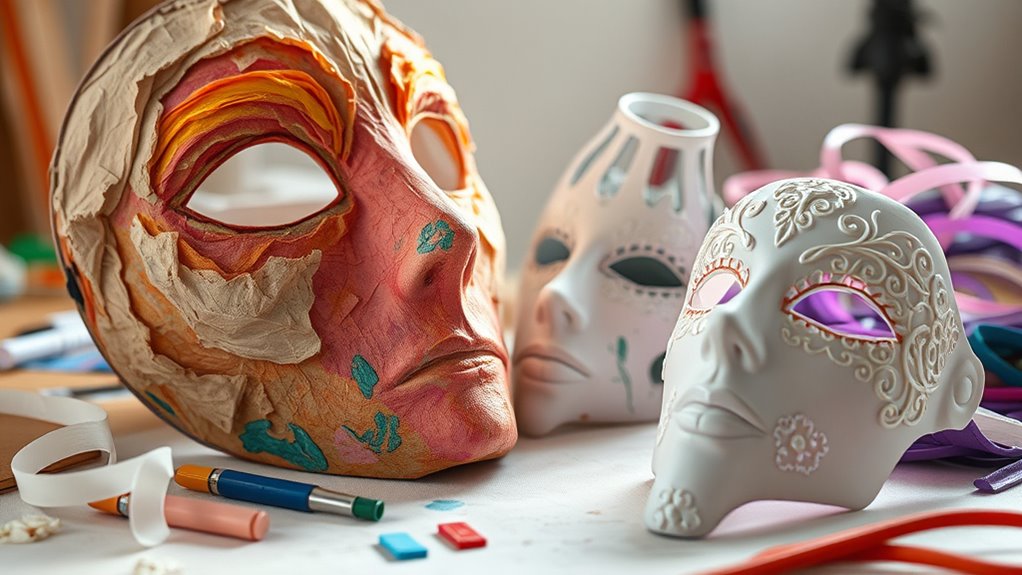
To begin mask making, start with traditional paper mache techniques, layering soaked paper strips on molds for strength and detail. Use versatile materials like paints, fabrics, and textures to add artistic flair. For modern touches, incorporate 3D printing to create complex shapes and intricate details efficiently. Combining these approaches allows you to craft durable, culturally rich masks. Keep exploring different methods to improve your skills and access even more creative possibilities.
Key Takeaways
- Traditional paper mache creates durable masks by layering soaked paper strips onto molds, emphasizing cultural and artistic significance.
- Essential materials include paper pulp, base forms, brushes, scissors, and safety gear for effective mask construction.
- Finishing touches like painting, texturing, and embellishments enhance mask realism and cultural authenticity.
- Modern 3D printing allows precise, complex mask designs, offering customization and efficiency in the crafting process.
- Combining traditional techniques with digital methods, such as mixed media and recycled materials, results in innovative, hybrid masks.
Exploring Traditional Paper Mache Techniques
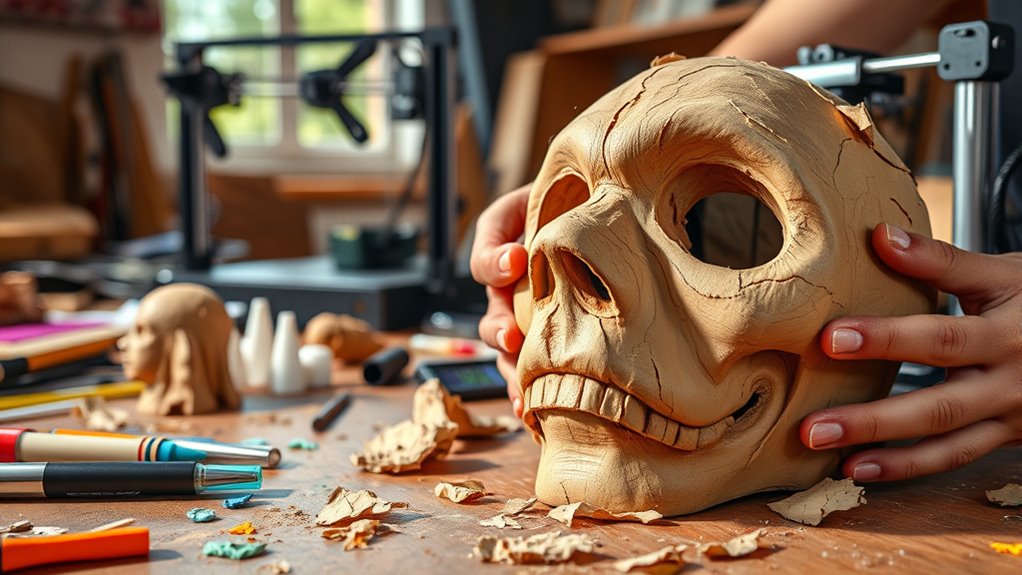
Traditional paper mache techniques have been used for centuries to create durable and expressive masks. These methods often carry deep cultural symbolism, reflecting the beliefs, stories, and traditions of various communities. Historically, paper mache originated in China, where artisans crafted masks for performances and rituals. Over time, its popularity spread across Asia, Europe, and the Americas, evolving into a versatile art form. The process involves layering strips of paper soaked in a glue or paste mixture onto a mold, building strength and detail. This technique allows artists to imbue masks with cultural significance, making them more than simple decorations—they become symbols of identity, spirituality, and history. Understanding these historical origins enriches your appreciation for traditional paper mache masks, connecting you to centuries of craftsmanship. Cultural significance continues to inspire modern artists in their mask-making endeavors.
Materials and Tools for Mask Crafting

To create a sturdy and visually striking mask, you’ll need a selection of essential materials and tools. Your choice influences mask design and safety precautions. Basic supplies include paper mache pulp, a base form (like a balloon or mask mold), scissors, and brushes. Additional tools such as a craft knife, sandpaper, and a heat gun can refine details. For safety, always work in a well-ventilated area and wear protective gloves and masks when handling fumes or adhesives. Here’s a quick overview:
| Material/Tool | Purpose |
|---|---|
| Paper mache pulp | Forming the mask base |
| Mask mold or form | Shaping the mask |
| Scissors | Cutting materials |
| Paints and brushes | Adding colors and details |
| Safety gear | Preventing accidents and inhalation hazards |
Additionally, understanding the asset division process can help ensure your project remains cost-effective and safe.
Incorporating Artistic Details and Finishing Touches
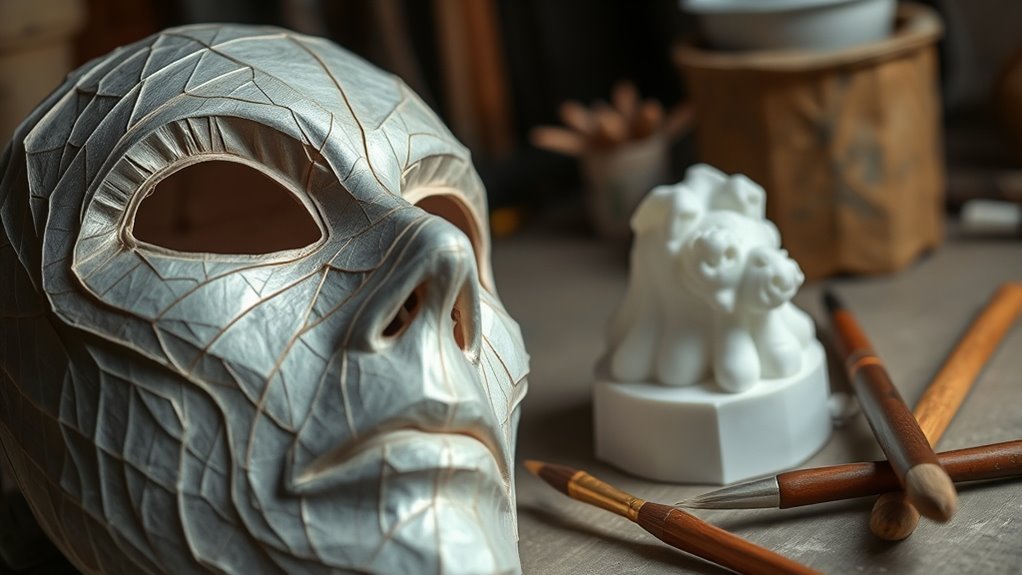
Once you’ve shaped your mask, adding artistic details and finishing touches brings it to life. Start by choosing a color scheme that reflects your theme or character, blending paints to create depth and contrast. Use bold or subtle hues to highlight specific features or add personality. Surface textures also play an essential role—consider using tools or materials like sponges, brushes, or textured fabrics to create realistic skin, scales, or other effects. Applying details such as patterns, shading, or metallic accents enhances visual interest and realism. Don’t rush this stage; take your time to refine each element. Incorporating regional artistic techniques can also add unique flair to your mask. These artistic touches transform a basic shape into a mesmerizing, expressive mask that truly stands out.
Transitioning to Modern 3D Printing Methods
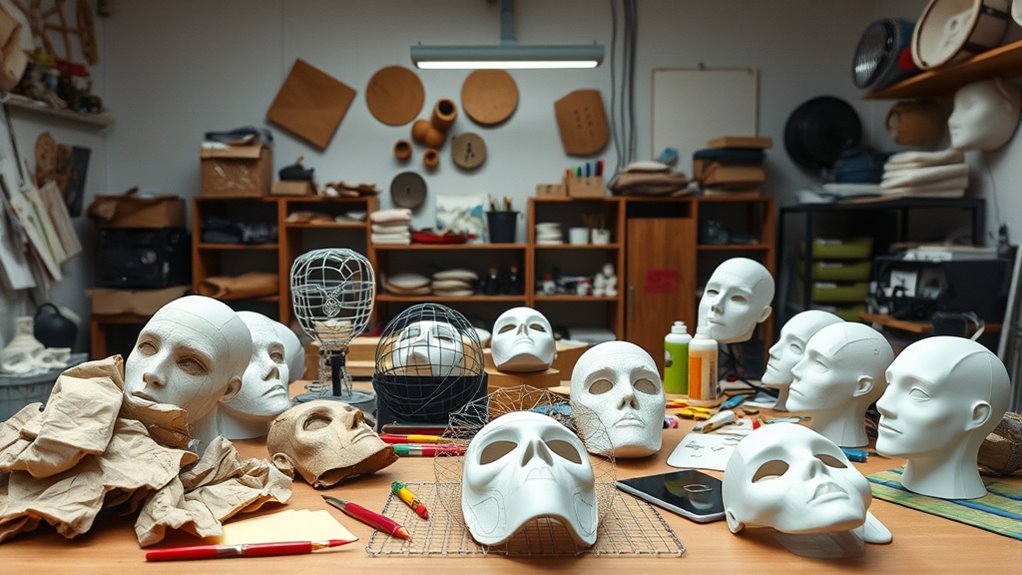
Switching to modern 3D printing methods can considerably streamline your mask-making process and expand your creative possibilities. Digital fabrication allows you to design intricate, customized masks with precision, saving time compared to traditional techniques. You can easily experiment with shapes, textures, and details on your computer before printing. Plus, many 3D printing materials are eco-friendly, such as biodegradable filaments made from plant-based plastics, reducing environmental impact. This shift not only enhances your efficiency but also aligns with sustainable practices. With advancements in 3D printing technology, you can produce complex designs that would be difficult with paper mache or carving. Additionally, understanding predictive modeling can help you anticipate material needs and optimize your workflow for better resource management. Overall, adopting modern methods opens up new avenues for creativity while promoting eco consciousness.
Tips for Combining Classic and Contemporary Approaches
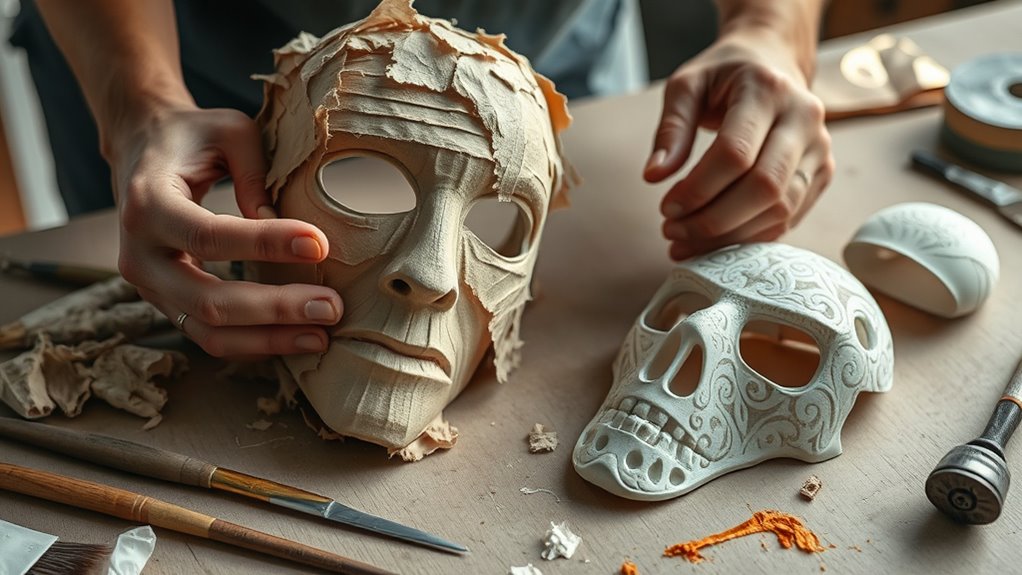
Combining classic and contemporary mask-making techniques allows you to harness the strengths of both approaches for unique and innovative results. To do this effectively, experiment with mixed media, integrating traditional materials like paper mache or clay with modern elements such as 3D printed parts or digital textures. Use mixed techniques to layer different textures and surface treatments, blending hand-painted details with digital embellishments. Don’t shy away from mixing materials—fabric, foam, and metal can all work together to create depth and visual interest. Keep your design cohesive by planning how each element interacts and supports your overall concept. Incorporating unique materials like recycled products or innovative textures can elevate your masks to new creative heights. Embracing this hybrid approach opens up endless creative possibilities, helping you craft masks that are both timeless and cutting-edge.
Frequently Asked Questions
How Do I Choose the Right Mask Design for Different Occasions?
You should choose a mask design that matches the costume theme and guarantees mask comfort for the occasion. Consider the event’s vibe—elegant for formal parties or fun for Halloween—and pick a design that complements your outfit. Make sure the mask fits well and isn’t too heavy or restrictive, so you stay comfortable throughout. This way, your mask enhances your look while keeping you at ease.
What Safety Precautions Should I Take During Mask Creation?
You should always wear safety gear like gloves, masks, and eye protection to prevent injuries from fumes or sharp tools. Guarantee proper ventilation to avoid inhaling dust, fumes, or vapors from adhesives, paints, or resins. Work in a well-ventilated area, take regular breaks, and use masks with filters if necessary. Keep your workspace organized and follow manufacturer instructions to stay safe during your mask-making process.
How Long Does Each Mask-Making Method Typically Take?
The time it takes to make a mask varies with the method. Paper mache typically dries in 24 to 48 hours, depending on thickness and humidity, with material curing happening as it fully dries. 3D printed masks can take several hours to complete, including printing and post-processing. Silicone molds and other methods may need additional curing time, so always factor in drying and curing times to plan your project efficiently.
Can These Techniques Be Adapted for Children’s Craft Projects?
Yes, you can adapt these techniques for children’s craft projects by using child-friendly materials like non-toxic paints, lightweight papers, and safe glues. Focus on simple design techniques, such as basic shapes and easy decorating methods, to make the process enjoyable and manageable for kids. Keep projects short and supervised, so children stay engaged and safe while creating their own masks with these accessible methods.
What Maintenance or Storage Tips Ensure Mask Longevity?
To guarantee your mask lasts, you should follow proper storage and maintenance tips. Store it in a cool, dry place away from direct sunlight to prevent fading and warping. Keep it in a breathable container, like a cloth bag, to avoid moisture buildup. Regularly clean with a soft, damp cloth, and avoid harsh chemicals. Proper storage and gentle maintenance will keep your mask looking great and extend its lifespan.
Conclusion
Whether you stick to traditional paper mache or embrace modern 3D printing, you’ve got the tools to bring your mask ideas to life. Don’t be afraid to mix old and new techniques—think of it as blending paint on a palette to create something truly unique. With patience and creativity, you’ll find that the possibilities are endless, and your mask-making journey is just beginning. So, roll up your sleeves and let your imagination run wild!
