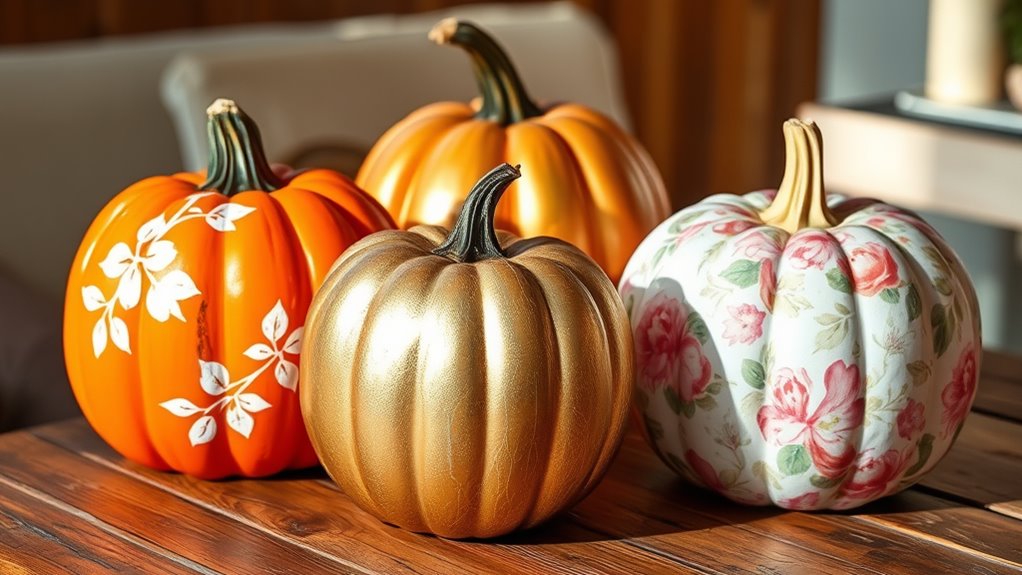
No-carve pumpkins let you create gorgeous fall decor using paint, decoupage, and wrapping techniques that are easy and mess-free. You can choose from vibrant paints, decorative papers, and textured wraps to personalize your pumpkins for Halloween or autumn displays. Focus on selecting the right materials and tools for durability and style. For tips on decorating, sealing, and showing off your designs, keep exploring—you’ll find ideas to make your pumpkins truly stand out.
Key Takeaways
- Use outdoor-specific paints and sealants for vibrant, weather-resistant no-carve pumpkin decorations.
- Enhance designs with decoupage using seasonal patterned paper or tissue for a textured look.
- Wrap pumpkins with twine, burlap, or fabric strips to create unique, ribbed or layered effects.
- Properly surface prep and sealing extend the durability and longevity of painted, decoupage, or wrapped pumpkins.
- Experiment with stencils, freehand painting, and layering techniques for customized, festive styles.
Getting Started With No-Carve Pumpkin Techniques

If you’re looking for a fun and mess-free way to decorate pumpkins, no-carve techniques are a great option. Start with selecting the right pumpkin; choose one with a sturdy stem and smooth surface for easier decorating. Consider size and shape based on your seasonal decoration theme. When picking your pumpkin, avoid ones with soft spots or bruises to ensure your designs stay intact longer. Once you’ve selected the perfect pumpkin, clean it gently with a damp cloth to remove dirt. This preparation sets a clean canvas for your creative ideas. No-carve methods allow you to experiment without the mess of carving tools, making it ideal for quick, festive decorations. Using natural materials and simple painting techniques can enhance your pumpkin’s appearance while maintaining a rustic, farmhouse-inspired look. With the right pumpkin, your seasonal display will be both attractive and easy to maintain.
Creative Painting Ideas for Pumpkins

Painting pumpkins offers a versatile and mess-free way to create eye-catching decorations. You can transform a plain pumpkin into a work of art with simple techniques. For example, use stencils and vibrant colors to craft themed designs perfect for Halloween costumes or party decor. Try combining different painting styles for unique effects, like watercolor washes or bold geometric patterns. To add depth, experiment with shading and highlighting. Here’s a quick guide:
| Technique | Materials Needed | Effect |
|---|---|---|
| Stenciling | Stencils, paint, brushes | Precise, detailed designs |
| Freehand Painting | Acrylic paints, brushes | Artistic, personalized |
| Dabbing & Blending | Sponges, brushes | Textured, soft look |
Skip pumpkin carving tools and embrace your creativity with these ideas! Additionally, incorporating sound healing techniques can inspire a calm and focused environment while working on your pumpkin art.
Using Decoupage to Decorate Your Pumpkins

Decoupage offers a creative and easy way to add intricate designs and textures to your pumpkins without the mess of traditional carving or painting. You can transform your pumpkin into a seasonal masterpiece by applying decorative accents like patterned paper, tissue, or napkins with seasonal themes such as leaves, pumpkins, or snowflakes. To start, choose a design that fits your decor, cut it to size, and apply a layer of decoupage medium on the pumpkin’s surface. Smooth out any wrinkles and seal the design with additional decoupage medium. This technique allows you to create detailed, layered effects that enhance your pumpkin’s appearance and add a touch of elegance, making your harvest decor truly unique and eye-catching. Using proper materials needed for decoupage, such as suitable paper and medium, ensures a professional-looking finish.
Wrapping and Texturing for Unique Pumpkin Designs
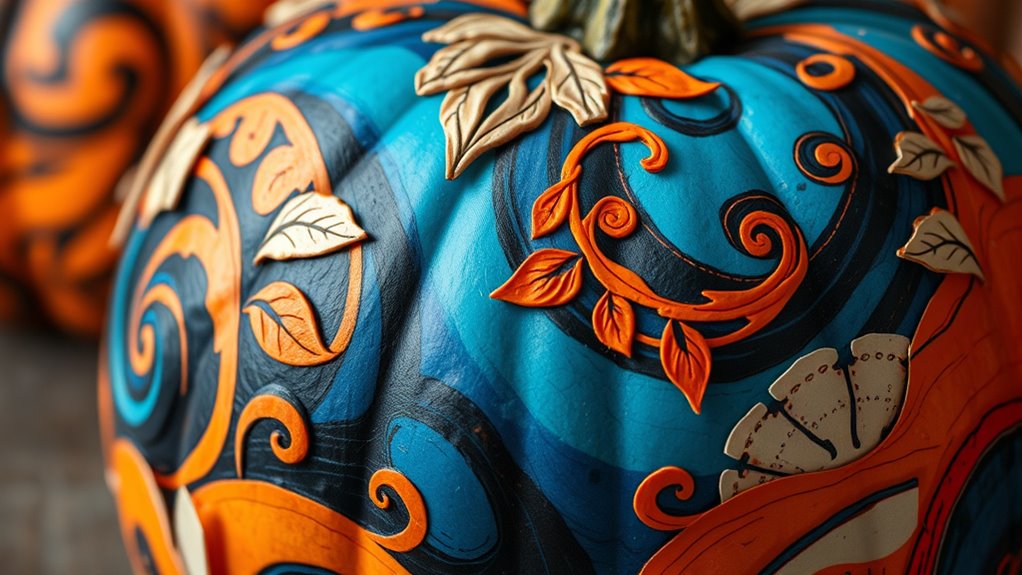
Wrapping and texturing offer a simple yet striking way to give your pumpkins a one-of-a-kind look. You can experiment with various textural techniques and wrapping patterns to add depth and interest. For example, you might create a ribbed effect by wrapping twine tightly around the pumpkin or add a layered look with fabric strips. Consider this visual guide:
| Wrapping Pattern | Textural Technique |
|---|---|
| Spiral wrapping | Wrapping with burlap or twine |
| Crosshatch pattern | Layering with lace or ribbon |
| Random wrapping | Applying textured paint or glue |
These methods allow you to craft unique textures and patterns, transforming your pumpkins into artful, textured displays perfect for any fall decor.
Tips for Choosing the Right Materials and Tools
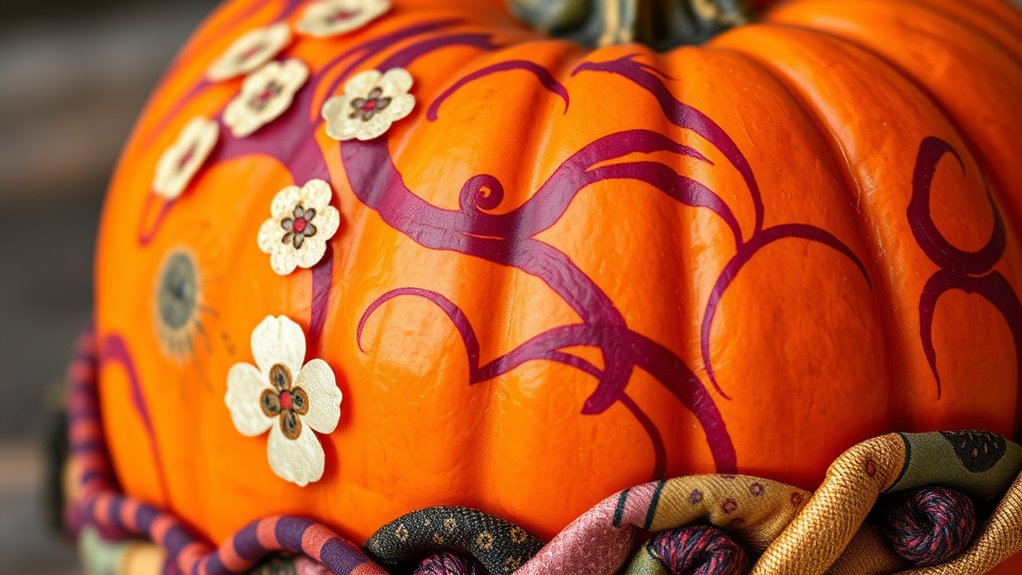
When selecting materials and tools, make sure they work well with your pumpkin’s surface to prevent damage. Choose paints and adhesives that are safe and compatible, ensuring your design stays intact. Use precise tools that offer control and keep safety in mind to make your no-carve project smooth and enjoyable. Remember, inspirational quotes about the importance of patience and creativity can motivate you throughout your crafting process.
Surface Compatibility Tips
Choosing the right materials and tools is essential to guarantee your no-carve pumpkin project turns out clean and professional-looking. Start by considering surface compatibility; not all paints, decoupage papers, or wraps work well on every pumpkin surface. Smooth, non-porous surfaces like glass or plastic need different products than natural, porous gourds. To verify good paint adhesion, select paints formulated for outdoor use or specifically designed for textured surfaces. Test a small area first to see how well your chosen medium sticks and dries. Proper surface prep, such as cleaning and drying your pumpkin thoroughly, also helps improve adhesion. Using compatible materials reduces peeling, cracking, or smudging, resulting in a polished, long-lasting finish. Additionally, understanding the material compatibility of your chosen supplies can help prevent issues like smudging or flaking over time.
Paint and Adhesive Choices
Wondering how to pick the best paints and adhesives for your no-carve pumpkin? Start by considering your color mixing options—use acrylic paints for vibrant, blendable colors that dry quickly. When choosing adhesives, think about the surface and project. For lightweight decoupage or wraps, a strong craft glue or Mod Podge works well, providing a clear, durable bond. For attaching heavier embellishments, opt for a hot glue gun for quick adhesion. Always check that the paint and adhesive are compatible with your pumpkin’s surface to avoid peeling or smudging. Test small spots first. Selecting the right combination guarantees your design stays vibrant and secure, giving your pumpkin a professional, polished look that lasts throughout the season. Glycolic acid benefits can also help in preparing the pumpkin surface for better adhesion and longevity.
Tool Precision and Safety
Selecting the right tools and materials is essential for achieving precise, safe results with your no-carve pumpkin project. Choose quality brushes, decoupage tools, and wraps suited for your design to guarantee accuracy. Always inspect your tools for damage and perform regular tool maintenance to keep them in excellent condition. Proper safety equipment, like gloves and protective eyewear, protects you from accidental slips or splatters. Use sharp, well-maintained blades carefully to prevent injuries, and work slowly to maintain control. Keep your workspace organized to avoid mishaps. Remember, safety isn’t just about avoiding cuts; it’s about creating a smooth, enjoyable craft experience. Prioritizing the right tools and safety measures helps you achieve professional-looking results while keeping your project safe and fun. Additionally, understanding projector technology can help you select the best equipment for your needs.
Displaying and Preserving Your No-Carve Creations
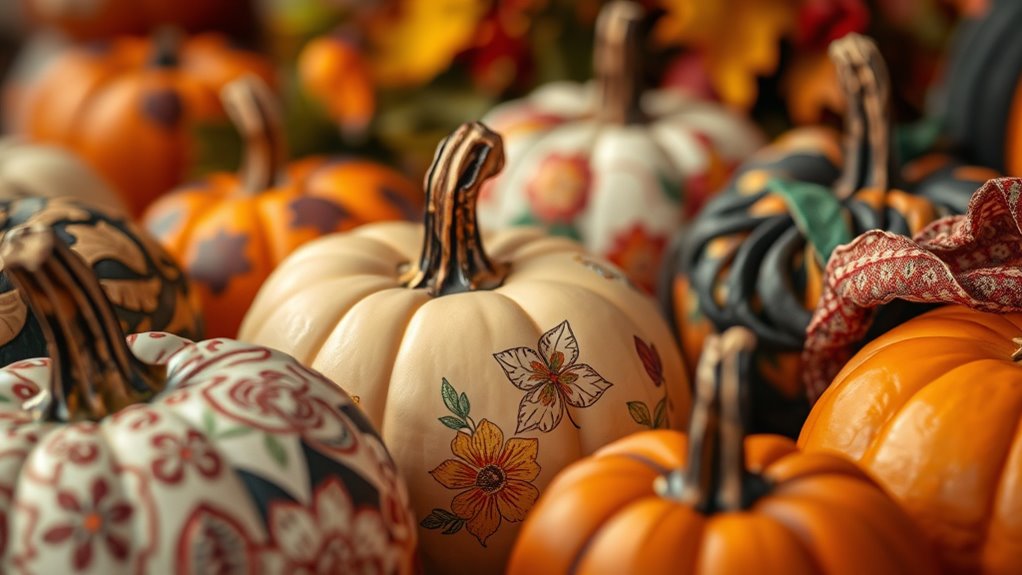
To keep your no-carve pumpkins looking fresh and vibrant, consider applying a protective sealant to lock in moisture. Get creative with display ideas that highlight your designs and make them stand out. You also want to explore long-term preservation tips so your pumpkins stay impressive throughout the season. Additionally, choosing high-quality paints and finishes can enhance the durability and appearance of your pumpkin art, aligning with expert care and preservation techniques.
Protective Sealing Tips
Protective sealing is essential to keep your no-carve pumpkins looking fresh and vibrant longer. Before applying a protective coating, guarantee proper surface preparation. Gently clean your pumpkin’s surface to remove dust, dirt, and oils that could prevent the sealant from adhering properly. Lightly sanding the surface can also help create a better bond for the protective coating. Once prepared, choose a clear, weatherproof sealant suitable for your chosen decoration method, such as paint, decoupage, or wraps. Apply the sealant evenly in thin layers, allowing each to dry thoroughly before adding the next. This not only enhances durability but also helps preserve your artwork’s color and texture. Proper sealing extends your pumpkin’s life, keeping it vibrant and beautiful throughout the season. Selecting the right sealant is crucial for ensuring your no-carve pumpkin remains protected and visually appealing.
Creative Display Ideas
Displaying your no-carve pumpkins creatively can turn them into eye-catching seasonal decorations that last longer. You can showcase your painted, decoupaged, or wrapped pumpkins as standout harvest decoration pieces. To make an impact, consider placing them:
- On a rustic wooden table with string lights for a cozy harvest vibe
- Arranged along your porch steps, paired with hay bales and gourds
- As a centerpiece on your dining table, accented with fall leaves and candles
These display ideas highlight your pumpkin carving alternatives, adding color and personality to your seasonal decor. By thoughtfully positioning your no-carve pumpkins, you create a warm, inviting atmosphere perfect for fall festivities. Plus, their creative presentation ensures they remain a charming part of your harvest decoration for weeks. To help you quickly change your pumpkin display styles, consider using a free online capitalization tool to experiment with different text styles for your labels or signs.
Long-Term Preservation
Ever wondered how to keep your no-carve pumpkins looking fresh and vibrant throughout the season? Achieving lasting pumpkin longevity involves effective preservation techniques. To extend their appearance, start by cleaning your pumpkins gently with a mixture of water and mild soap, then dry thoroughly. Applying a clear acrylic sealant or spray helps lock in color and protect surfaces from moisture and decay. You can also coat your painted or decoupaged pumpkins with a layer of varnish for added durability. Keep your pumpkins in a cool, shaded spot away from direct sunlight and harsh weather. Regularly inspect them for signs of deterioration and touch up with paint or sealant as needed. Using proper preservation methods can significantly enhance their lifespan and appearance. These preservation techniques ensure your no-carve creations stay beautiful and festive longer, making your display truly stand out.
Frequently Asked Questions
Are No-Carve Pumpkins Suitable for Outdoor Display in All Weather Conditions?
No, no-carve pumpkins aren’t suitable for outdoor display in all weather conditions. Their weather durability varies, and exposure to rain, snow, or strong sunlight can cause paint to peel or decorations to deteriorate. To keep them looking good, you should provide outdoor protection by placing them in shaded areas or bringing them inside during harsh weather. Proper care helps maintain their appearance and prolongs their lifespan outside.
How Long Do Painted and Decoupage Pumpkins Typically Last?
Like a vintage vinyl, painted and decoupage pumpkins can last several weeks with proper care. Typically, their shelf life for seasonal decor is about 2 to 4 weeks outdoors, but indoors, they can stay vibrant longer—up to a month or more. To maximize pumpkin preservation, seal your designs well and keep them away from harsh weather. This way, your autumn display remains charming and fresh for as long as possible.
Can No-Carve Techniques Be Used on Artificial or Faux Pumpkins?
Yes, you can definitely use no-carve techniques on artificial or faux pumpkins. Their durability makes them ideal for painting, decoupage, or wraps, allowing you to create long-lasting decorations. Faux pumpkin painting is easier because the surface is smooth and non-porous, which helps your designs stay vibrant longer. Plus, using artificial pumpkins means you can reuse your decorations year after year without worrying about rot or damage.
What Safety Precautions Should Be Taken When Working With Paints and Adhesives?
Think of working with paints and adhesives as a dance—you want to stay in sync and stay safe. Always wear protective gear like gloves and masks to avoid unwanted contact or fumes. Make sure you work in well-ventilated areas to keep the air fresh and reduce inhalation risks. Taking these simple steps helps you enjoy your creative process without worry, turning your pumpkin decorating into a fun, safe experience.
Are There Eco-Friendly or Non-Toxic Material Options for Decorating Pumpkins?
You can choose eco-friendly options like biodegradable paints and natural adhesives to decorate your pumpkins safely. These materials are non-toxic and better for the environment, making your project more sustainable. Look for paints made from plant-based ingredients and adhesives that use natural ingredients like beeswax or plant resins. Using these options helps you create beautiful pumpkin decorations without harming the environment or posing health risks to yourself or others.
Conclusion
With no-carve pumpkins, you’re the artist of your own fall masterpiece, turning simple gourds into vibrant canvases that tell your story. Whether you paint, decoupage, or wrap, each method offers a unique way to bring your creativity to life. Embrace these techniques like a gardener tending to a blooming flower—nurturing your designs until they flourish. Let your imagination run wild, and watch your pumpkins become the heartwarming centerpiece of your autumn decor.
