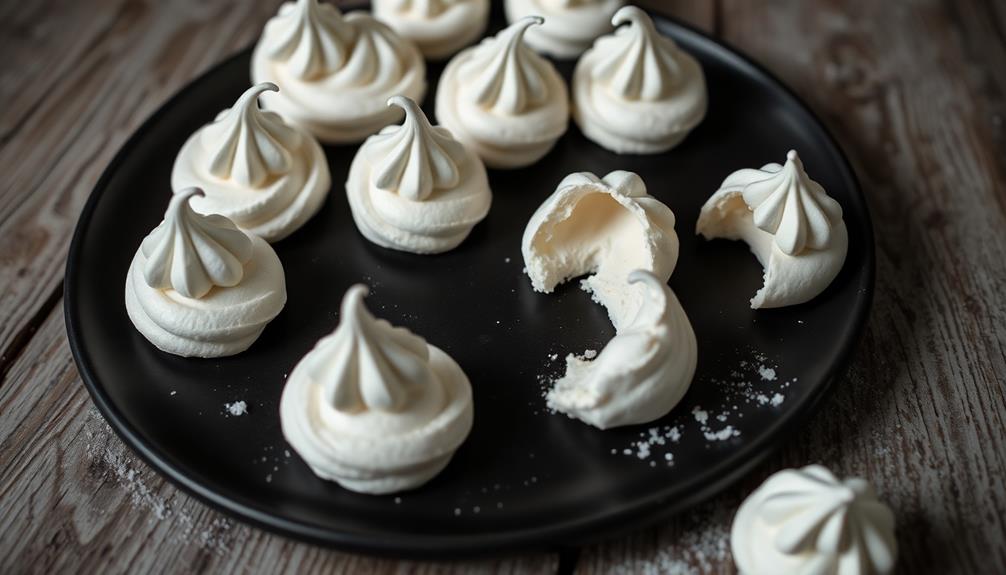
Ghostly Meringue Cookies are the perfect spooky treat for your Halloween party! These light, airy cookies have a crisp exterior and slightly chewy center, capturing the essence of ghostly forms. You'll need egg whites, sugar, cream of tartar, and vanilla extract to create these hauntingly delicious sweets. Preheat your oven to 200°F, beat the egg whites until stiff, slowly add sugar, and pipe ghost shapes onto baking sheets. Bake for 2 hours, then let them cool in the oven. Decorate with chocolate chip eyes for an extra festive touch. Your guests will be amazed at how these ethereal treats melt in their mouths. Discover the secrets to making these ghostly delights truly spectacular.
Key Takeaways
- Ghostly Meringue Cookies are light, airy Halloween treats made from egg whites, sugar, and cream of tartar.
- They're baked at a low temperature (200°F/95°C) for 2 hours, then cooled in the oven for crisp texture.
- Pipe meringue into ghost shapes using a large round tip, adding chocolate chip eyes for decoration.
- Store in an airtight container; these cookies can last up to a week when properly stored.
- Customize with food coloring or different piping techniques for unique ghostly designs.
History

The origins of ghostly meringue cookies are shrouded in mystery, much like the spectral shapes they're designed to resemble. You'll find that these spooky treats have become a Halloween favorite, but their exact beginnings aren't clear. Meringue itself has been around since the 17th century, and you can trace its roots to Swiss, Italian, and French culinary traditions.
As for the ghostly twist, it's likely that creative bakers started shaping meringues into ghost forms in the 20th century. You'll notice that Halloween-themed treats became more popular as the holiday gained commercial appeal. Ghostly meringues fit right in with this trend, offering a fun and tasty way to celebrate.
You might wonder how these ethereal confections caught on. Well, their light, airy texture and pure white color make them perfect for mimicking spirits. Plus, they're easy to decorate with chocolate chip eyes or food coloring details. As Halloween parties became more elaborate, you'd often find these ghostly treats floating among the spread of sweets, delighting both children and adults alike.
Recipe
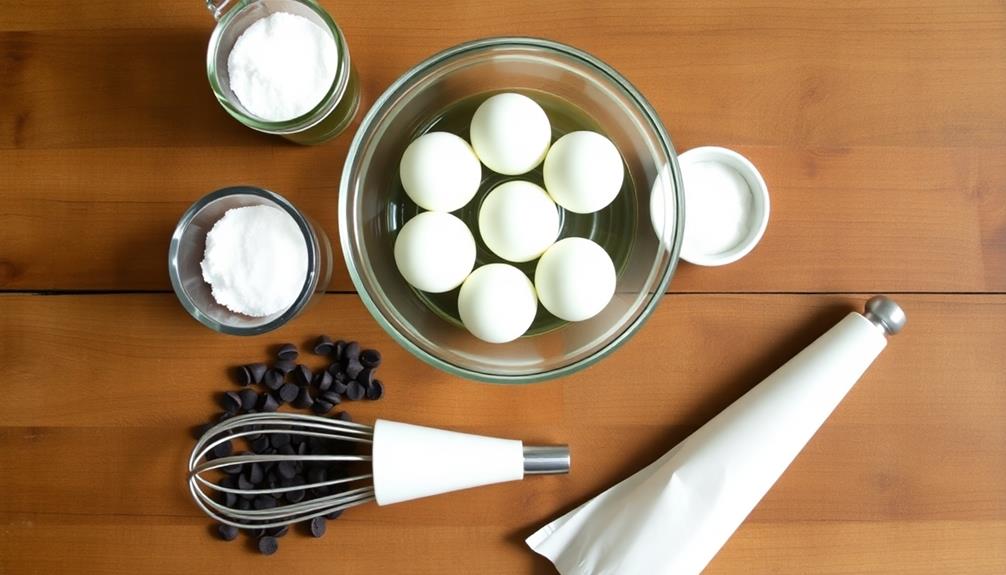
Ghostly Meringue Cookies are a delightful and spooky treat perfect for Halloween parties or any autumn gathering. These light, airy cookies are shaped like adorable ghosts and have a crisp exterior with a slightly chewy center. Their pure white appearance makes them an eye-catching addition to any dessert table. For a playful twist, consider pairing them with other fun desserts like Dirt Cups or incorporating colorful sprinkles, which can enhance your festive spread. Creating these ethereal confections is surprisingly simple, requiring just a few ingredients and some patience. The key to successful meringue cookies lies in achieving stiff peaks with the egg whites and sugar mixture, and then carefully piping the meringue into ghost shapes. With proper technique and a slow baking process, you'll end up with hauntingly delicious treats that are sure to impress your guests.
- 4 large egg whites, room temperature
- 1 cup granulated sugar
- 1/4 teaspoon cream of tartar
- 1/2 teaspoon vanilla extract
- Mini chocolate chips for eyes
Preheat the oven to 200°F (95°C) and line two baking sheets with parchment paper. In a large, clean, dry bowl, beat the egg whites on medium speed until foamy. Add the cream of tartar and continue beating while gradually adding the sugar. Increase the speed to high and beat until stiff, glossy peaks form, about 5-7 minutes. Gently fold in the vanilla extract. Transfer the meringue to a piping bag fitted with a large round tip. Pipe ghost shapes onto the prepared baking sheets, making them about 2-3 inches tall. Use mini chocolate chips to create eyes. Bake for 2 hours, then turn off the oven and let the meringues cool completely inside for several hours or overnight.
For best results, avoid making meringues on humid days, as moisture can affect their texture and drying time. If you don't have a piping bag, you can use a zip-top plastic bag with a corner snipped off. To ensure your meringues don't brown, avoid opening the oven door during baking. Store the finished cookies in an airtight container at room temperature for up to a week, keeping them away from moisture to maintain their crisp texture.
Cooking Steps
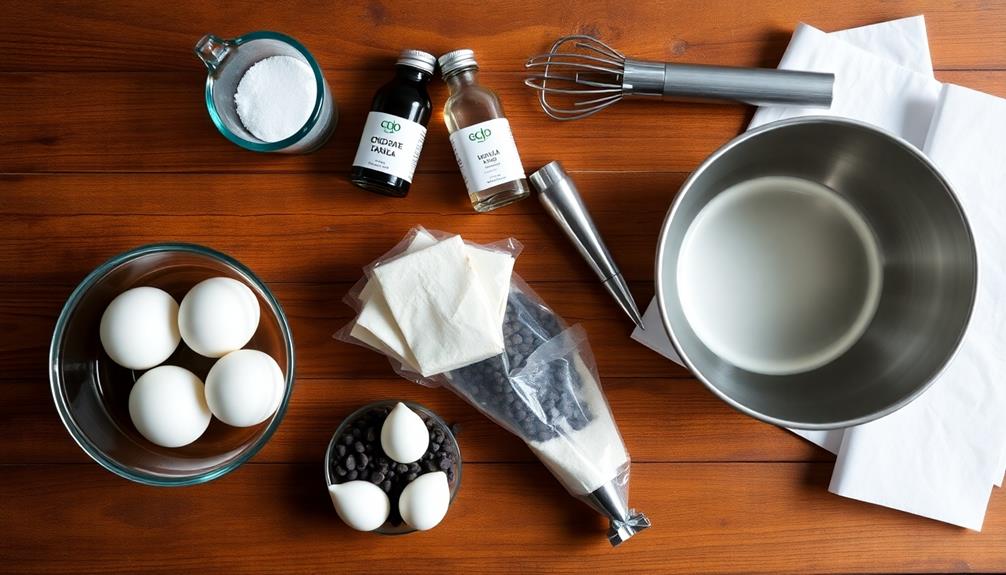
Get ready to create spooky-cute ghost cookies! You'll start by preheating your oven to 200°F and whipping up stiff egg whites. As you continue beating, you'll gradually add sugar to form a glossy meringue, which you'll then pipe into adorable ghost shapes. Pop these ghostly treats into the oven for 90 minutes, and you'll have hauntingly delicious cookies perfect for Halloween!
Step 1. Preheat Oven to 200°F

Ready to start baking these spooky treats? The first step in creating your ghostly meringue cookies is to preheat your oven. You'll want to set it to 200°F, which is much lower than you might be used to for other baked goods. This low temperature is crucial for achieving the perfect meringue texture.
While your oven's heating up, it's a good time to gather your other ingredients and tools. You'll need egg whites, sugar, and any flavorings you'd like to add. Don't forget to line your baking sheets with parchment paper, too!
Remember, patience is key when baking meringues. The low temperature allows the cookies to dry out slowly, creating that crisp exterior and marshmallowy interior we're aiming for. It might take a while for your oven to reach 200°F, so use this time wisely. You can start separating your egg whites or measuring out your sugar.
Once your oven's preheated, you'll be all set to move on to the next exciting step in creating your ghostly treats!
Step 2. Beat Egg Whites Until Stiff
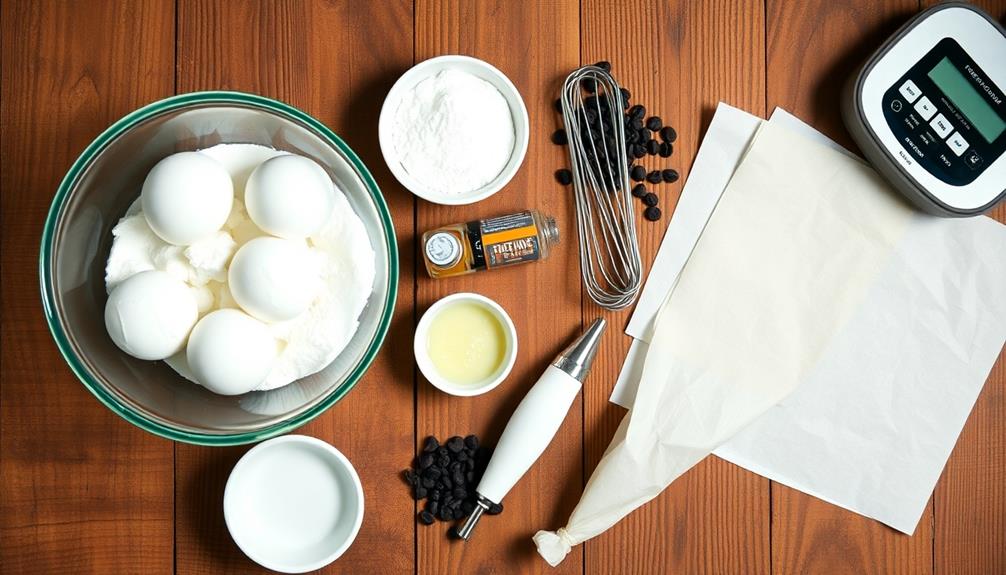
The egg-white whipping stage is crucial for creating perfectly light and airy meringue ghosts. You'll want to start with room temperature egg whites, as they'll whip up better than cold ones. Separating your eggs carefully is vital, making sure no yolk sneaks in. Even a tiny bit of yolk can prevent your whites from reaching their full, fluffy potential. Maintaining a clean environment is also essential, as any grease can hinder the whipping process. For a cleaner home environment, consider using an air purifier for improved air quality.
Pour the egg whites into a clean, dry mixing bowl. It's important that your bowl and beaters are free from any oil or grease. Now, it's time to start beating! Begin at a low speed, gradually increasing as the whites become foamy. You'll see them transform from clear liquid to white foam, then to soft peaks.
Keep going until you reach stiff peaks. This means when you lift the beaters, the egg whites form pointed tips that stand straight up without flopping over. They should look glossy and smooth. Don't overbeat, though! If your whites start looking grainy or separated, you've gone too far. With practice, you'll get a feel for the perfect consistency. Your ghostly meringues are now ready for the next step!
Step 3. Add Sugar Gradually While Beating
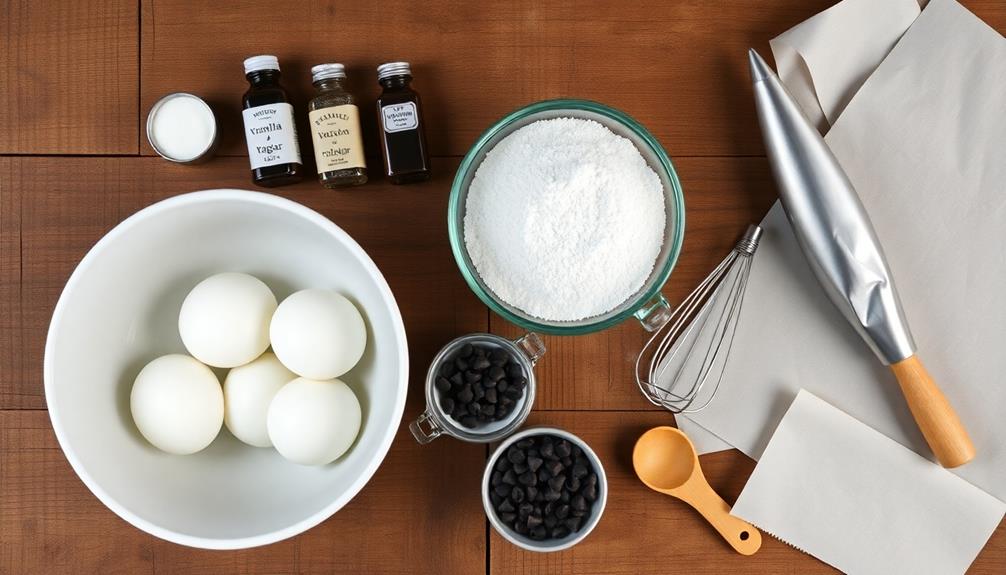
With your perfectly whipped egg whites ready, it's time to incorporate the sugar. You'll want to do this slowly and carefully to maintain the air you've worked so hard to whip into those whites. Start by adding just a tablespoon of sugar at a time while your mixer continues to run on medium speed.
As you add each spoonful, give it about 10 seconds to mix in completely before adding the next. This gradual approach helps the sugar dissolve properly and prevents your meringue from becoming grainy. Keep a close eye on the mixture as you work. You'll notice it becoming glossier and more opaque with each addition of sugar.
Continue this process until you've added all the sugar called for in your recipe. By the end, your meringue should be thick, glossy, and able to hold stiff peaks. If you're not sure it's ready, try the pinch test: rub a bit between your fingers. If it feels gritty, keep beating. When it's smooth, you've nailed it! Now you're ready to shape your ghostly meringue cookies.
Step 4. Pipe Meringue Into Ghost Shapes
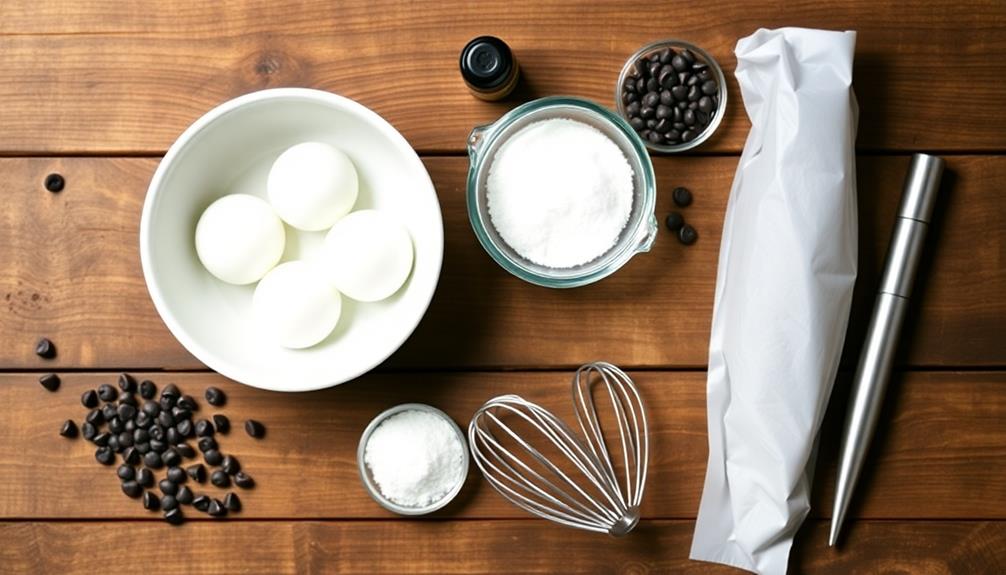
Having prepared your glossy meringue, you're now set to bring your ghostly treats to life. Grab a piping bag and fit it with a large round tip. If you don't have a piping bag, don't worry! You can use a zip-top plastic bag with a corner snipped off instead.
Fill your bag with the meringue mixture, being careful not to overfill it. Now, let's create those spooky shapes! On a baking sheet lined with parchment paper, start by piping a base for your ghost. Squeeze the bag gently to form a round blob about 2 inches wide. Then, without releasing pressure, lift the bag straight up while continuing to squeeze. This will create the ghost's body and head. To finish, give a little swirl at the top for a ghostly wisp.
Keep piping until you've used all your meringue. Remember, ghosts come in all shapes and sizes, so don't worry if they're not all identical. That's part of their charm! Once you've piped all your ghosts, it's time to give them some personality with chocolate chip eyes.
Step 5. Bake for 90 Minutes
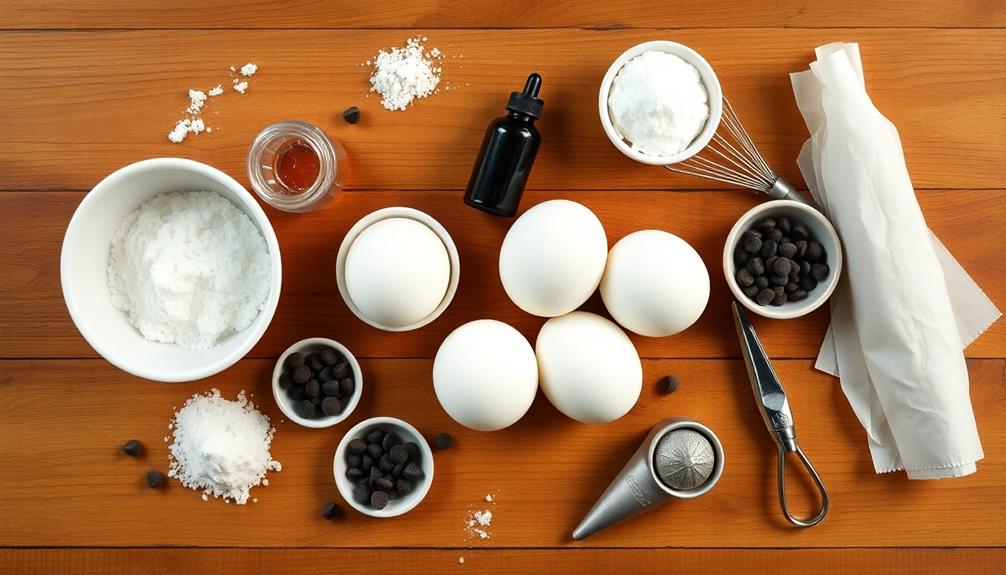
Now that your ghostly shapes are piped and decorated, it's time to bake them. Preheat your oven to a low temperature of 200°F (93°C). This gentle heat will help your meringues dry out slowly without browning. Place your baking sheet with the piped ghosts into the preheated oven.
Set your timer for 90 minutes. During this time, your meringues will gradually lose moisture and become crisp. It's important not to open the oven door while they're baking, as this can cause sudden temperature changes that might crack your ghosts. After the 90 minutes are up, turn off the oven but don't take out the meringues just yet. Leave them inside with the door closed for another hour. This extra time allows them to cool down slowly and finish drying out completely.
Once the hour has passed, you can remove your ghostly treats from the oven. They should be light, crisp, and dry to the touch. If they still feel a bit sticky, you can leave them in the cooling oven for a bit longer. Your patience will be rewarded with perfect, spooky meringue ghosts!
Final Thoughts

Creating these ghostly meringue cookies is a delightful way to add a spooky touch to your Halloween festivities. You'll love how these light and airy treats melt in your mouth, leaving a hint of sweetness behind. They're perfect for parties, trick-or-treaters, or just as a fun family project.
Remember, patience is key when making meringues. Don't rush the process, and you'll be rewarded with perfectly crisp, ghostly shapes. If you're feeling creative, try adding food coloring to create colorful ghosts or experiment with different piping techniques for unique designs.
Store your finished ghost cookies in an airtight container to keep them fresh and crispy. They'll last for several days, so you can make them ahead of time for your Halloween celebrations. If you have any leftover egg yolks, consider using them in custards or homemade ice cream.
Don't be afraid to get the kids involved in making these spooky treats. It's a great opportunity to teach them about baking and have some fun in the kitchen. Happy Halloween baking!
