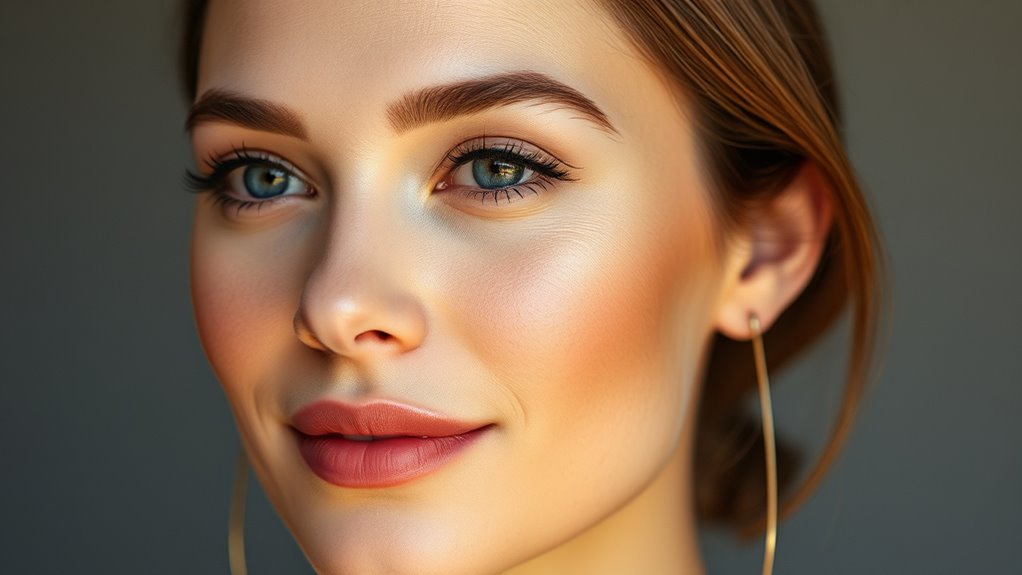
To avoid flashback and shine in photos, start with a matte, pore-filling primer that creates a smooth base. Use non-reflective, matte foundations and concealers, applying powders lightly with a fluffy brush or damp sponge to minimize excess shine. Set your makeup with a shine-control mist and avoid shimmery highlighters or blushes. Keep blotting papers handy for touch-ups, and be cautious with highlighter placement. For detailed tips on keeping your look flawless, continue exploring proven techniques.
Key Takeaways
- Use matte, pore-filling primers and avoid luminous or shimmer finishes to create a shine-free, smooth base.
- Select oil-free, matte foundations and concealers that minimize reflection and prevent flashback.
- Lightly powder oily areas with translucent, non-cakey formulas to control shine without dulling the skin.
- Apply oil-control setting sprays evenly to lock in makeup and reduce greasiness throughout the shoot.
- Keep highlighter and blush minimal, opting for matte or satin finishes, and use blotting papers for quick shine removal.
Choosing the Right Primer for a Matte Finish
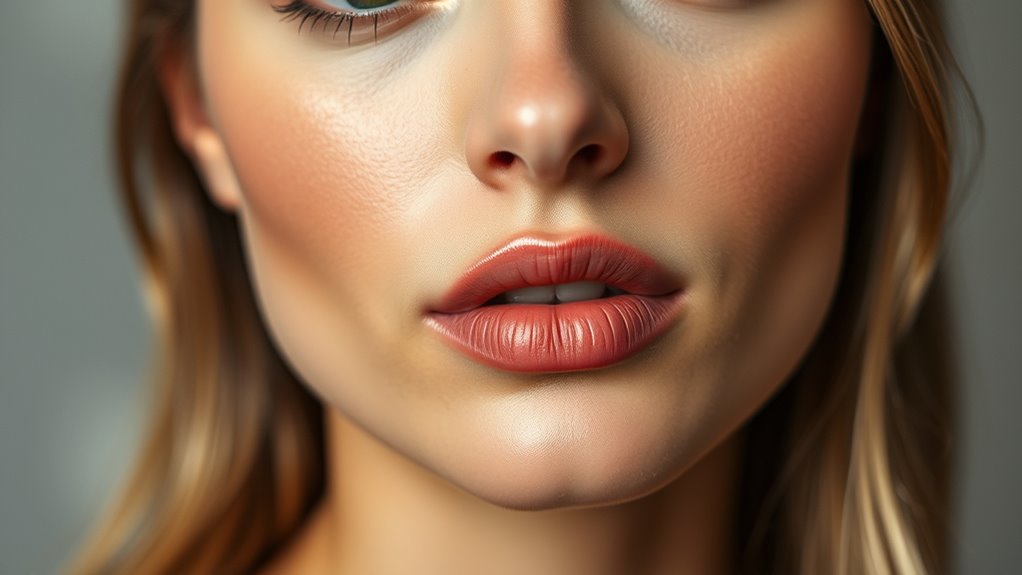
To achieve a flawless matte finish, selecting the right primer is vital. Your primer’s texture plays a pivotal role in controlling shine and creating a smooth base. Opt for a mattifying primer with a pore-filling or gel-like consistency, which helps absorb excess oil without adding shine. When applying, use application tools like a clean finger, brush, or sponge to distribute the primer evenly across your face. A good primer should blend seamlessly into your skin, minimizing the appearance of pores and creating a matte canvas for foundation. Avoid primers with luminous or shimmer finishes, as they can counteract your goal of a matte look. Proper application ensures your makeup stays matte longer and reduces the risk of flashback in photos. Incorporating skincare products that control oil can further enhance your matte finish and improve your overall look.
Selecting Non-Reflective Foundations and Concealers

Choosing the right foundation and concealer is essential for a non-reflective, matte finish in photos. Matte versus dewy finishes notably impact how your skin appears on camera; opt for matte formulas to reduce shine and avoid unwanted glow. When selecting products, check for reflective ingredients in makeup, such as mica or certain oils, which can cause flashback or shine. Non-reflective foundations and concealers are formulated to absorb light rather than reflect it, helping your skin look flawless and natural under flash. Ensure your chosen products have a matte finish and are specifically designed to minimize reflection. This careful selection prevents unwanted shine and guarantees your makeup stays photo-ready, giving you a smooth, shine-free appearance with minimal effort. Additionally, choosing products that incorporate AI-powered analysis can help identify formulations that are less likely to cause reflection or flashback during photography.
Techniques for Applying Powder to Minimize Shine
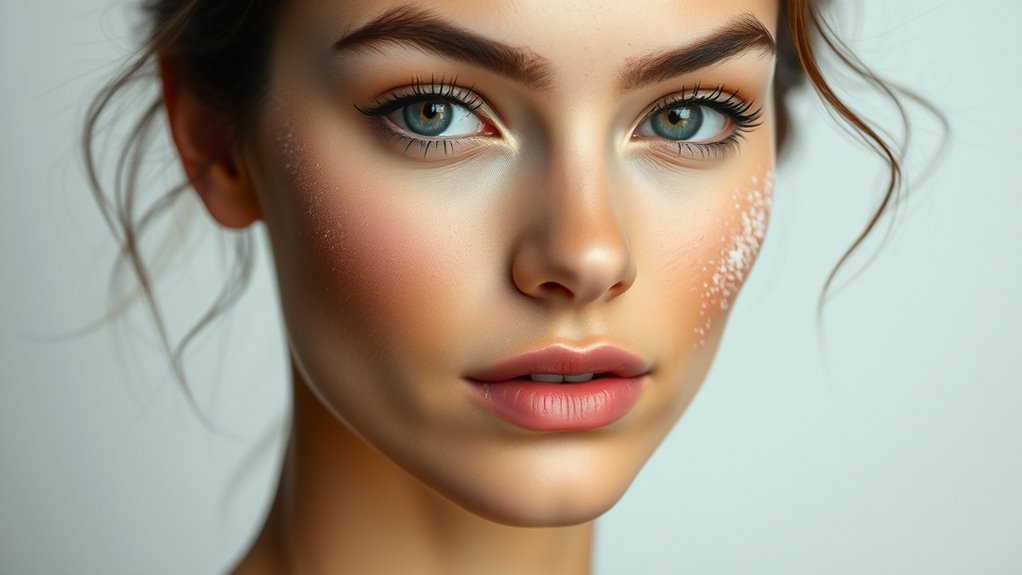
Applying powder strategically is key to minimizing shine and achieving a matte finish in photos. To do this effectively, focus on these techniques:
- Use a fluffy brush to lightly dust powder over oily areas like the T-zone, ensuring even shine control without caking.
- Press a small amount of translucent powder onto problem spots with a damp sponge for a flawless, matte finish.
- Avoid over-powdering; instead, set your makeup with a gentle, sweeping motion to keep shine at bay without losing your natural glow.
- Incorporating ingredients like glycolic acid can help improve skin texture and control oil production over time, contributing to a matte appearance. Glycolic acid benefits
These methods help prevent flashback and reduce unwanted shine, giving your skin a smooth, matte appearance. Proper powder application ensures your makeup stays fresh and shine-free throughout your photoshoot.
Tips for Using Setting Sprays to Control Greasiness

Ever wonder how setting sprays can help control greasiness during a photoshoot? The key is choosing a spray formulated for oil control and shine prevention. After applying your makeup, hold the spray about 8-10 inches away from your face and mist evenly. This creates a barrier that helps lock in your look without adding extra shine. To maximize oil control, use a matte-finish setting spray designed for oily skin types. Avoid over-spraying, as too much product can make your skin look greasy. Instead, a light, even mist is enough to set your makeup and reduce shine throughout the shoot. Reapply as needed, especially if you notice your skin becoming oily or shiny. Proper use of setting spray keeps your makeup fresh and matte, ensuring your photos look flawless. Regular use of setting sprays can also help maintain the indoor air quality, which is especially beneficial during long shoots in enclosed spaces.
The Best Highlighters and Blushes for Photos
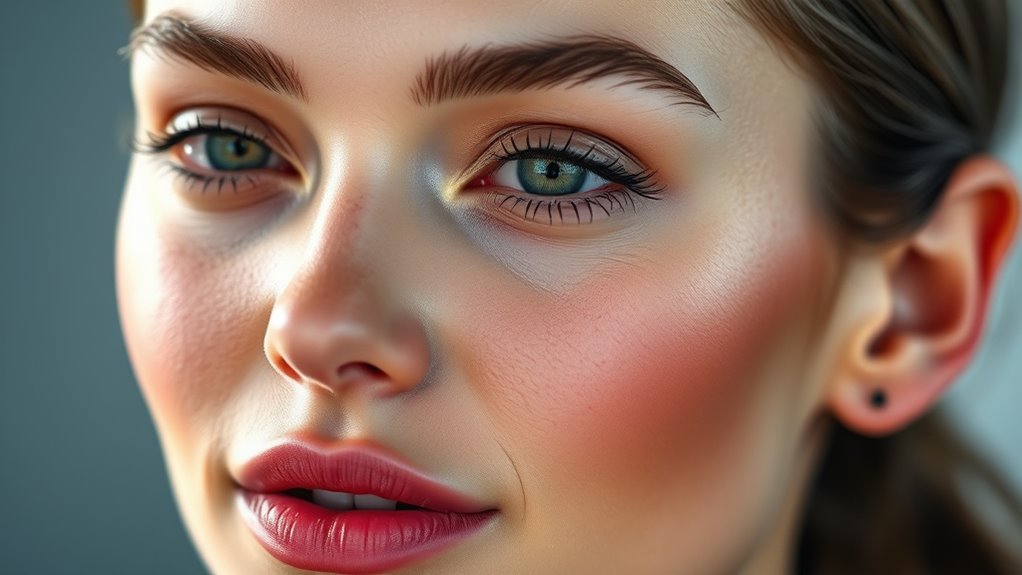
To look radiant in photos, selecting the right highlighters and blushes is essential, as they can enhance your features without adding unwanted shine or unevenness. Use highlighting techniques that focus on the high points of your face—cheekbones, brow bones, and the bridge of your nose—applying sparingly to avoid flashback. For blush application, choose shades that complement your skin tone and blend well for a natural glow. Consider these tips:
Enhance your photos with subtle highlighters and blushes that highlight features naturally and avoid unwanted shine.
- Opt for powder highlighters with a matte or satin finish over shimmery formulas to prevent excess shine.
- Use a fluffy brush for blush to achieve a smooth, even application, focusing on the apples of your cheeks.
- Keep highlighting and blush application light and build gradually for a soft, photo-ready look.
- Selecting appropriate makeup products is crucial for achieving the best results in photos.
Final Touches: Blotting and Touch-Up Strategies
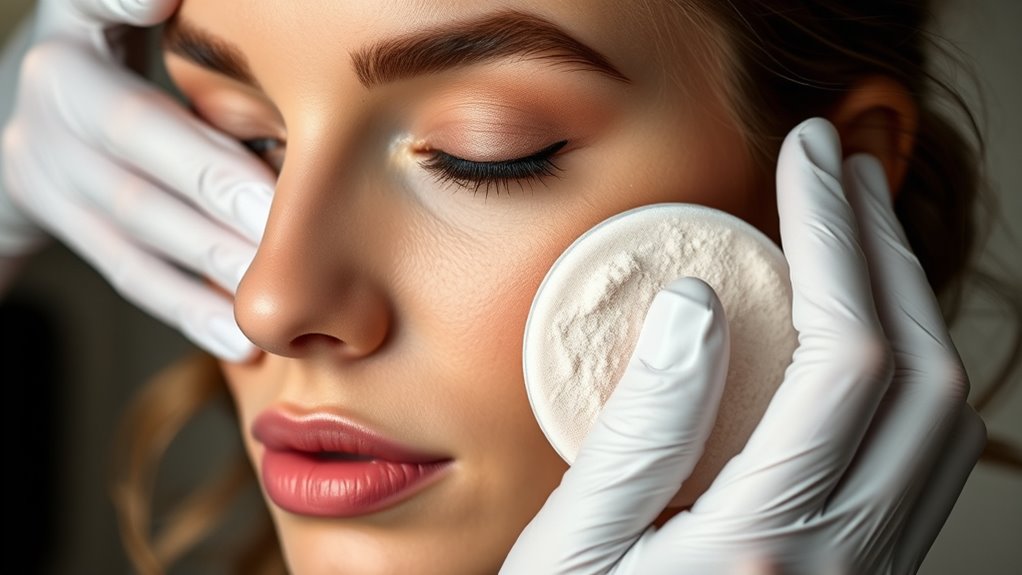
After finishing your makeup application, the final step is to guarantee your look stays fresh and flawless throughout your photoshoot. Use blotting techniques to absorb excess oil and reduce shine without disturbing your makeup. Gently press a blotting paper or translucent powder over shiny areas, avoiding rubbing to prevent smudging. Keep touch-up tools nearby, like a small brush, sponge, or setting spray, to make quick corrections if needed. If your lipstick fades or smudges, a quick reapplication with a lip brush can make a big difference. For any uneven foundation or concealer, use a clean sponge or brush to blend seamlessly. Remember that shine control is key to maintaining a matte finish and preventing flashback in photos. These final touches ensure your skin looks matte and even, so your photos capture your natural beauty without unwanted shine or flashback.
Frequently Asked Questions
How Can I Prevent Makeup From Appearing Cakey in Photos?
To prevent your makeup from appearing cakey in photos, focus on texture smoothing and opt for matte finishes. Start with a lightweight primer to create a smooth base, then apply a thin layer of foundation, blending well. Use a matte setting powder to control shine and minimize any cakey appearance. Avoid heavy layers and excess product, and always set your makeup properly to keep it looking fresh and natural in photos.
What Ingredients Should I Avoid in Photo-Ready Makeup Products?
Like a painter avoiding smudges on a canvas, steer clear of oil-based ingredients and comedogenic substances in your photo-ready makeup. These can cause unwanted shine and flashback, ruining your look in photos. Check labels carefully—stay away from heavy oils and pore-clogging compounds. Instead, opt for non-comedogenic, oil-free formulas that keep your skin matte, flawless, and camera-ready without the risk of shine or breakouts.
How Do Lighting Conditions Affect Makeup Application for Photos?
Lighting conditions greatly impact your makeup application by affecting how it appears on camera. You should focus on achieving proper lighting balance to prevent harsh shadows or overexposure. Use techniques like shadow correction to even out your complexion, ensuring your makeup looks natural in different lighting. Adjust your foundation and highlighter accordingly, and consider using matte products in bright settings to reduce shine and flashback.
Are There Specific Brushes or Tools Recommended for Photo Makeup?
Think of your brushes as your makeup’s trusted allies—use soft, dense brushes for seamless foundation and tapered ones for precise contouring. For photo-ready looks, opt for synthetic brushes that pick up product smoothly without streaks. Always keep your tools clean and well-maintained; dirty brushes can turn your flawless work into a muddy mess. The right brush selection and proper maintenance make certain your makeup looks picture-perfect, every time.
How Can I Make My Makeup Last Through Long Photo Shoots?
To make your makeup last through long photo shoots, start with a good primer that suits your skin type to create a smooth base. Use a setting spray benefits to lock in your look and control shine. Throughout the shoot, lightly reapply setting spray as needed, and keep blotting papers handy to absorb excess oil. This approach guarantees your makeup stays fresh, vibrant, and camera-ready all day.
Conclusion
Think of your makeup as a shield against the flash’s glare, a gentle sunset that softens and dims the shine. When you choose the right products and techniques, you’re painting a picture of confidence that shines softly, like moonlight on calm waters—glowing but never overwhelming. With these tips, your beauty remains timeless and true, a steady lighthouse guiding your photo moments with grace and subtle radiance.
